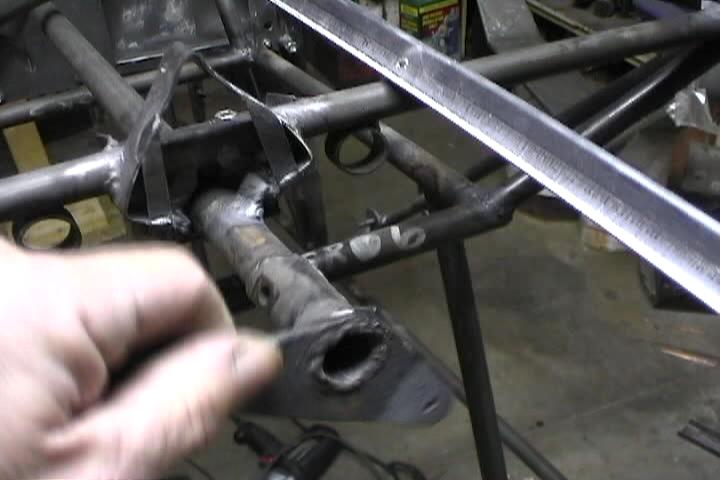
This is for the connection between the aileron bellcrank on the torque tube and the actuator arm. Plans show a forked fitting and a rod end bearing which is more than likely good enough. But I went with 2 rod end bearings and had to make up my own threaded rod.
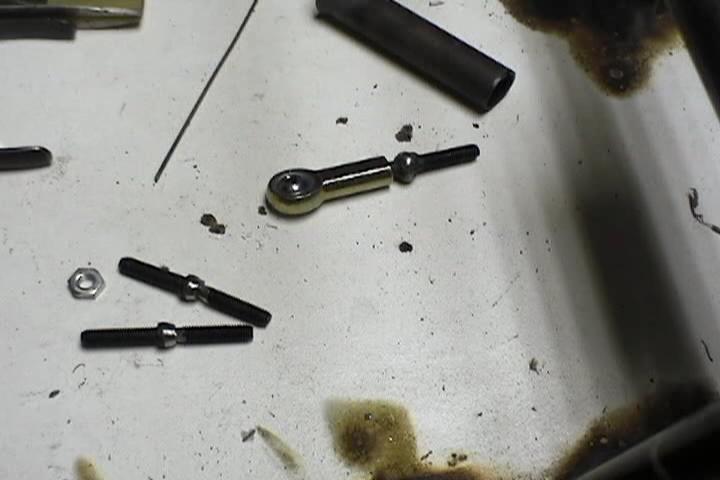
Couldn't find a threaded rod or a full threaded bolt to use so I welded 2 bolts together. Made up an extra one to destroy to make sure it was strong enough. 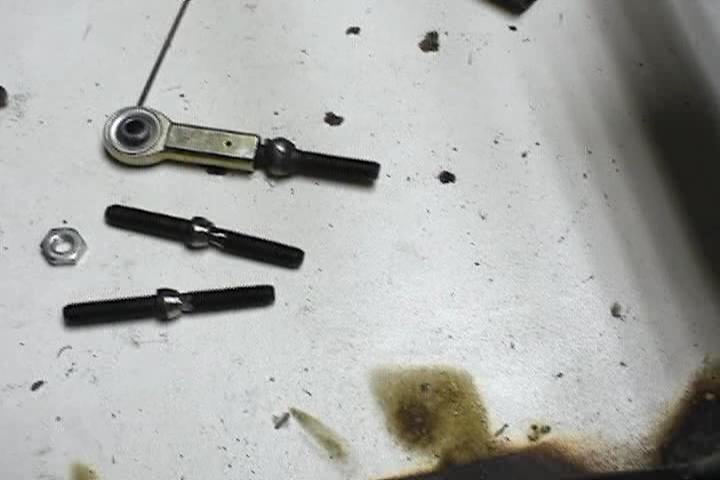
A male REB wouldn't be quite long enough to reach comfortably. 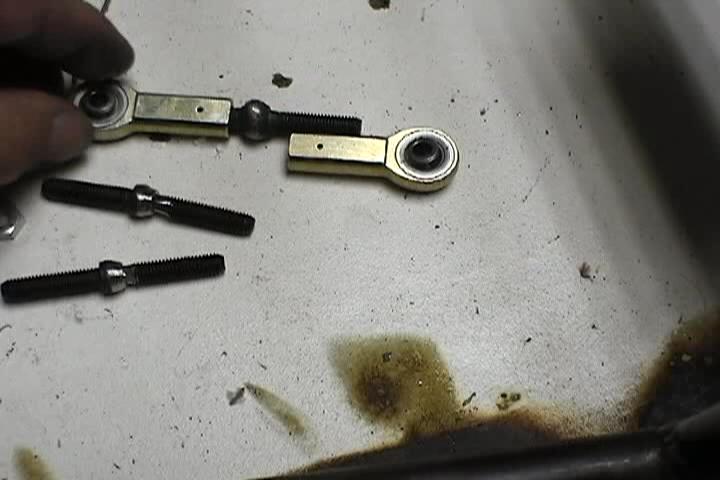
Used 2 allen head bolts and ground down one head to fit in the other to help keep it straight while welding. 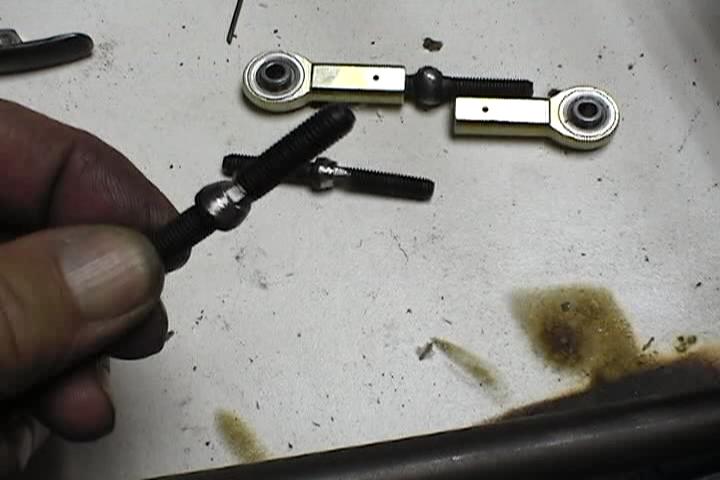
Checking the controls for clearances. 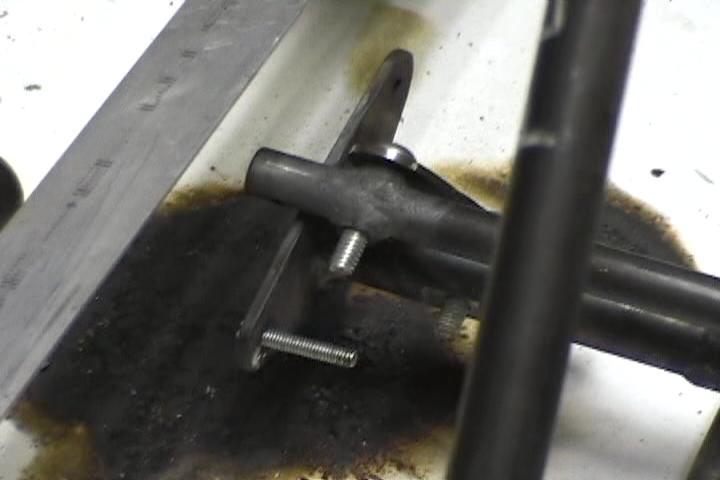
Thrust washers brazed in at rear torque tube bearing block. 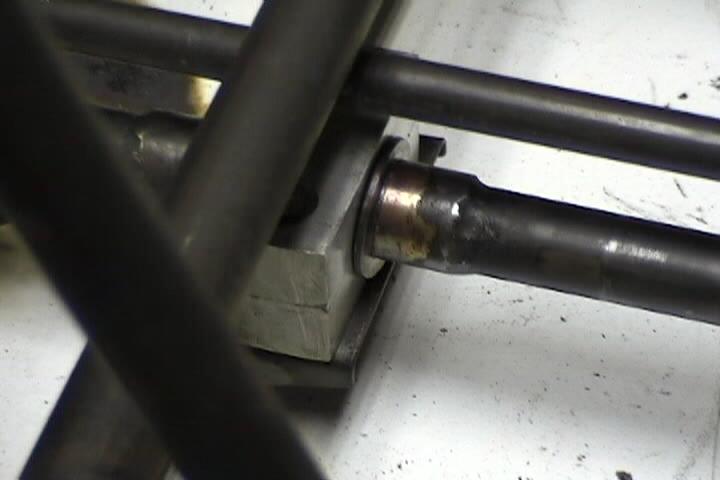
Destroying welded together test bolt. Didn't brake at the weld. 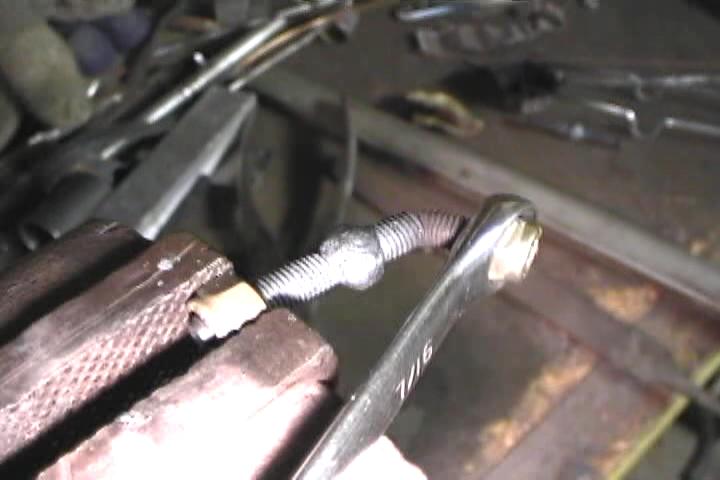
Took quite a bit of presure to brake. 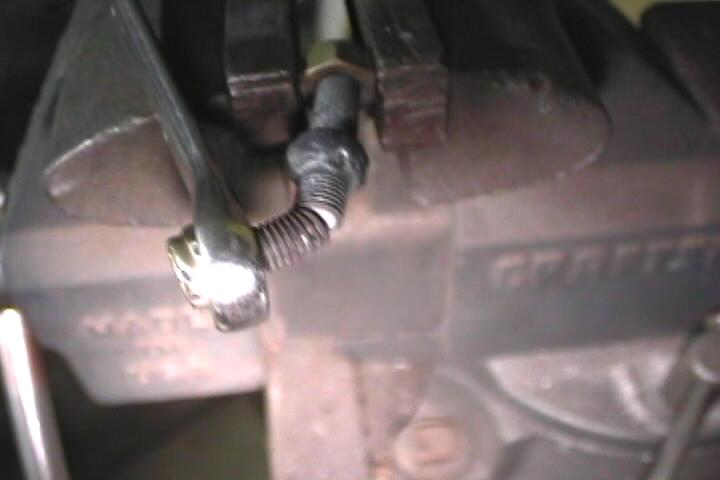
This is where the elevator control horn passes between the diagonals going to the tailpost. Not enough clearance. 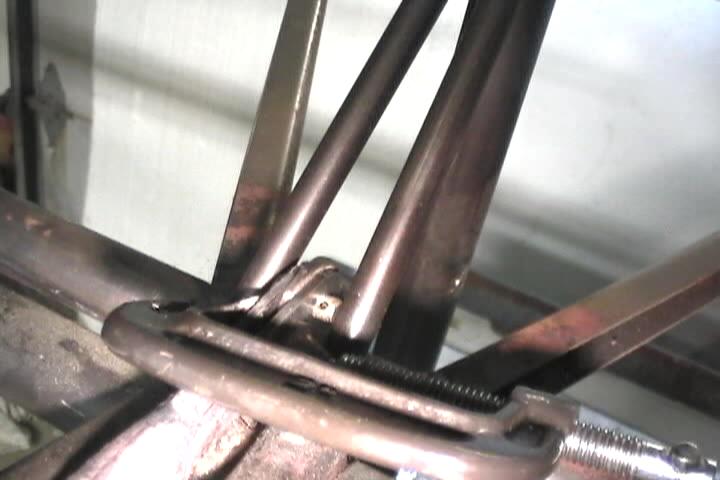
Better view of horn and pin clearance. 
Welded my diagonals to the center of the top longerons. Would have more clearance if they were welded flush to the outside of the longerons. 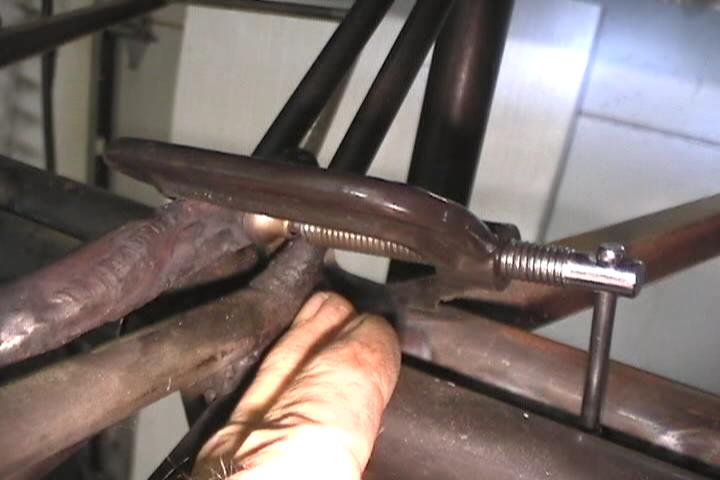
Circled are a couple of tight clearance situations that required slight modifications.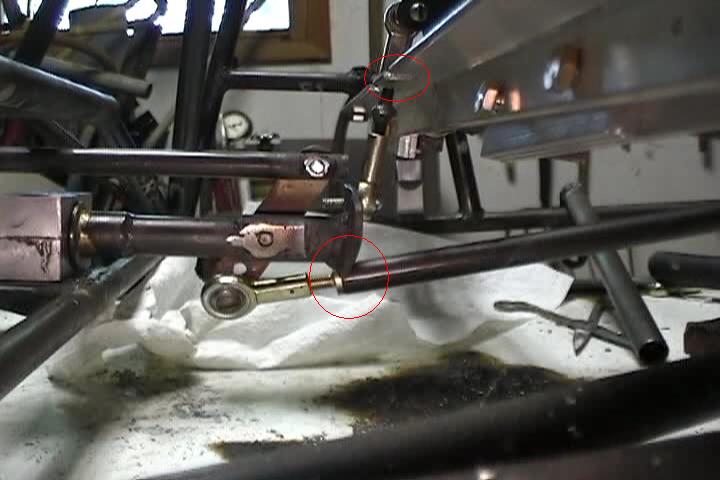
Aileron control horn required a little grinding in this area for clearance.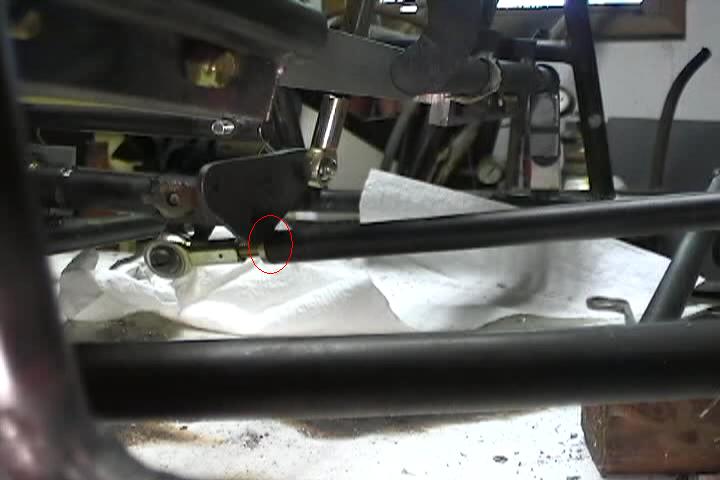
Clearance has to be allowed for depending on how you attach the male pushrod end to the elevator pushrod (bolts, rivets or weld). 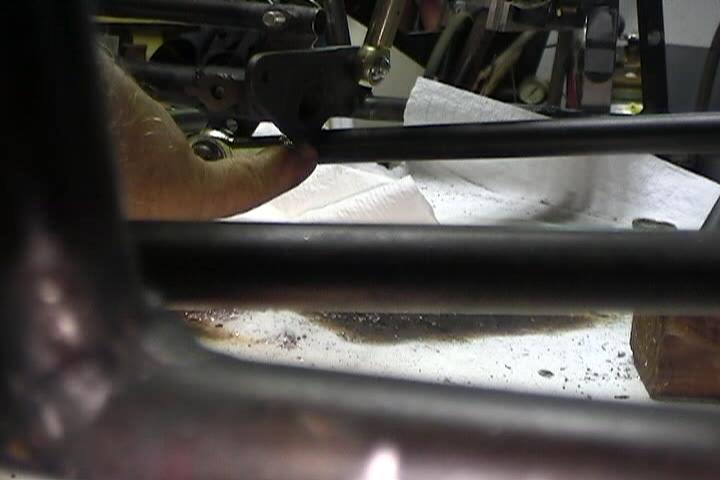
This is how I did my aileron stops. 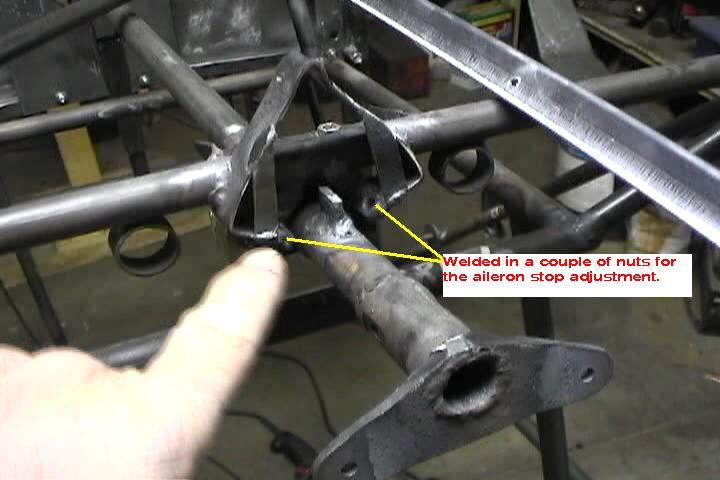
Hopefully their will be room for adjustment.