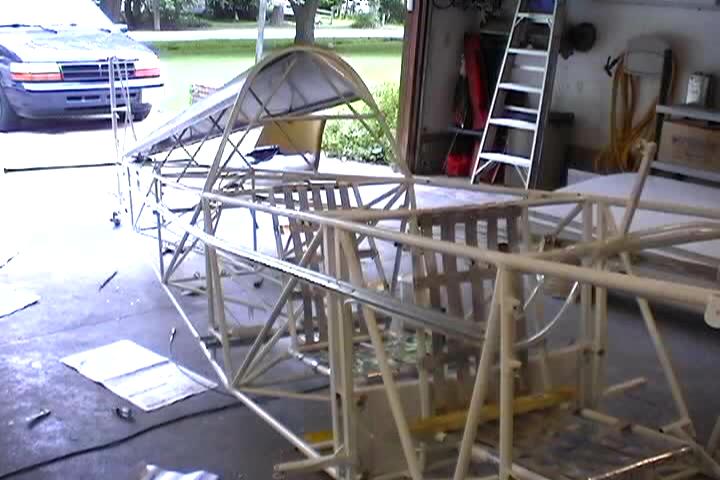
Getting ready to cover the plane.
Ran the static and pitot lines along hat section. Used safety tie wire to hold in position. 
Drilled 1/16" holes in hat section for the tie wire. 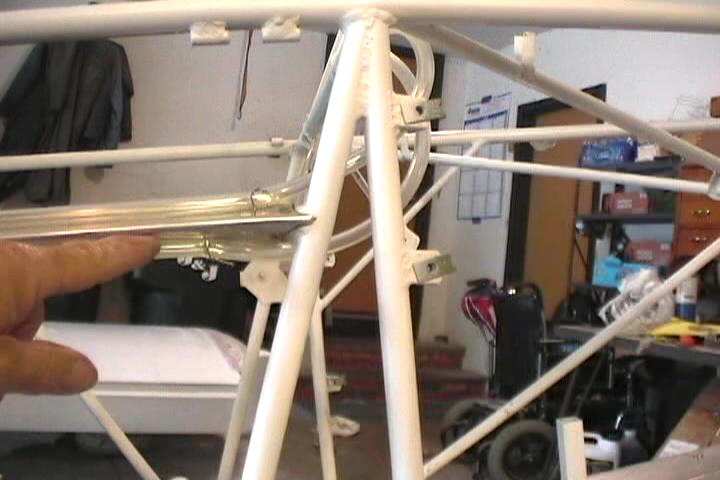
Put in the static line with an upward slope to moisture out of the line. 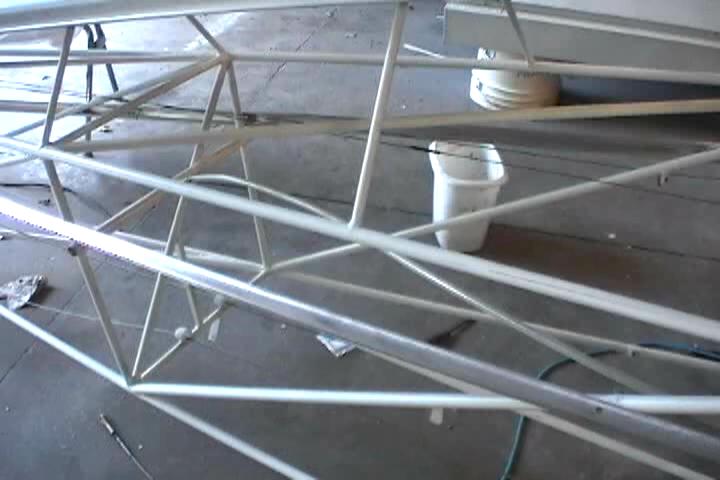
Nipple for the static line comes out of the crosstube at about a 30 degree angle towards the front. 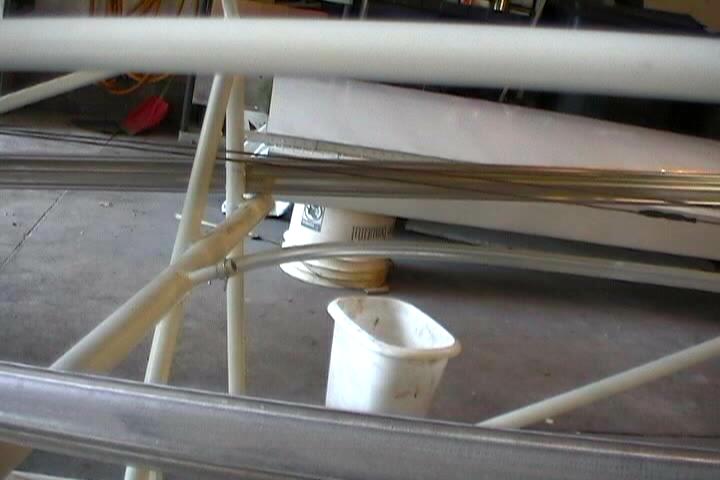
Stab indicator lever installed. Tried to install all equipment that would be easier to install with covering off. 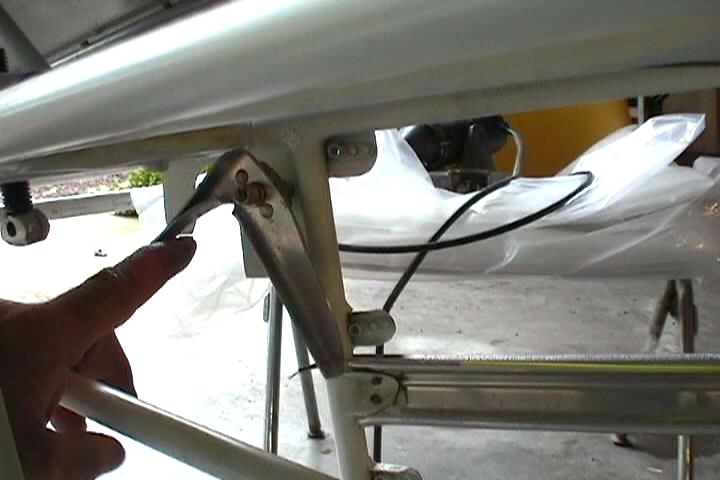
Made up vertical tail to turtledeck filet using balsa wood. A welded in piece would probably be better but that would require removing the turtledeck and reprepping the tubing with primer. The balsa worked out nicely. 
Marked the tubing in the area that the rudder cables would go through the fabric. 
Another view. 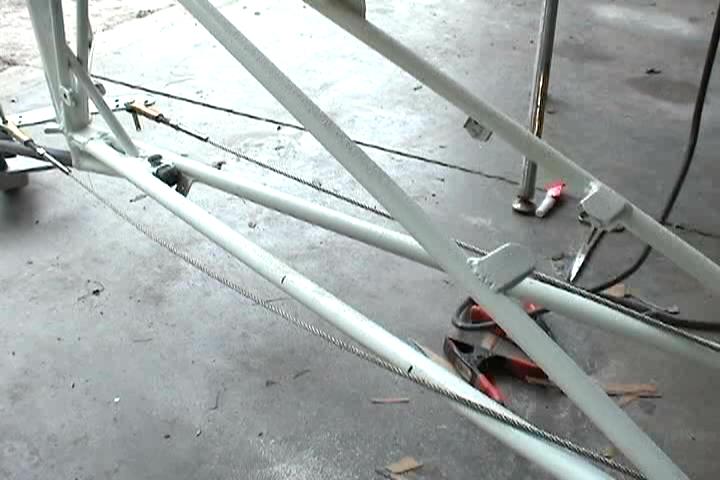
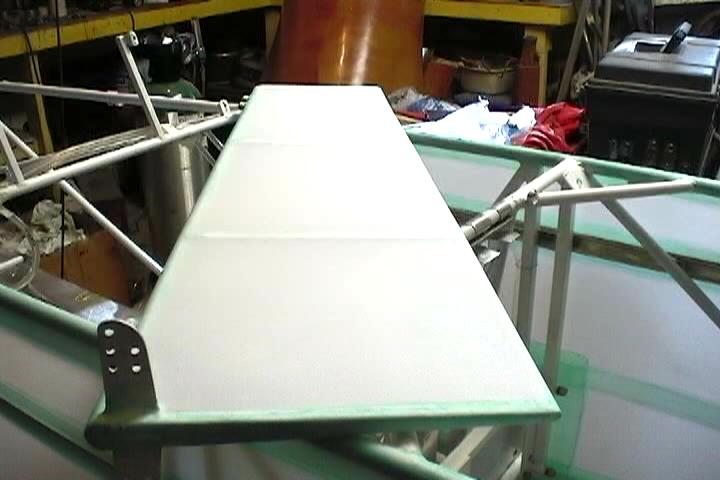
Tried to work on getting the wings prepped for painting at the same time. 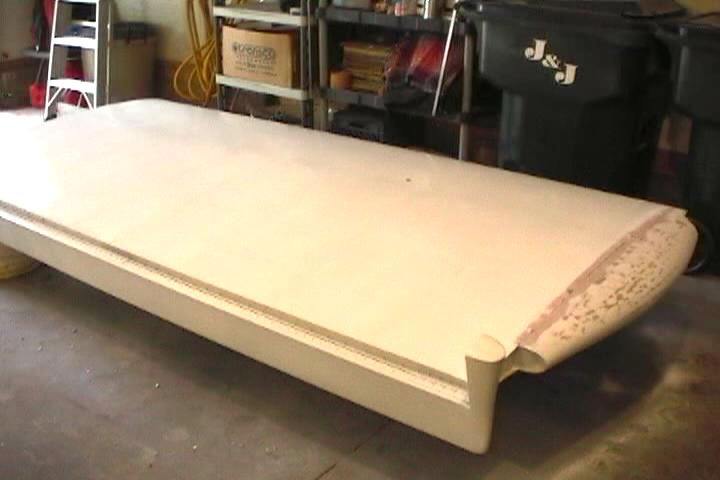
Other wing. 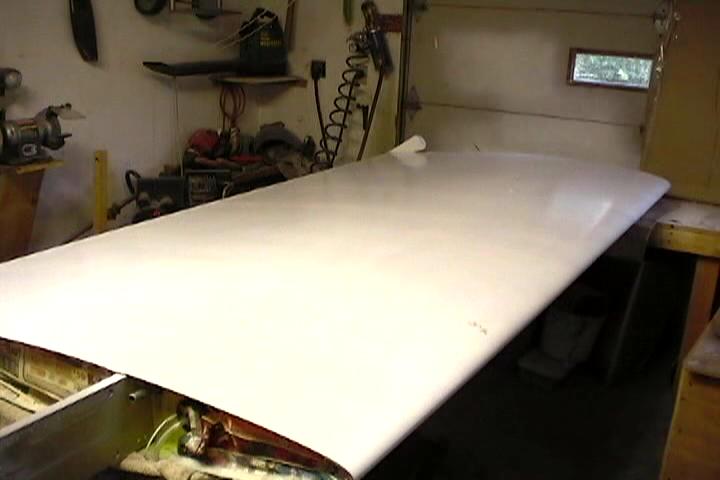
Natural lighting helps to enhance all the imperfections. 
Stab indicator cable and spring afixed to hat section. 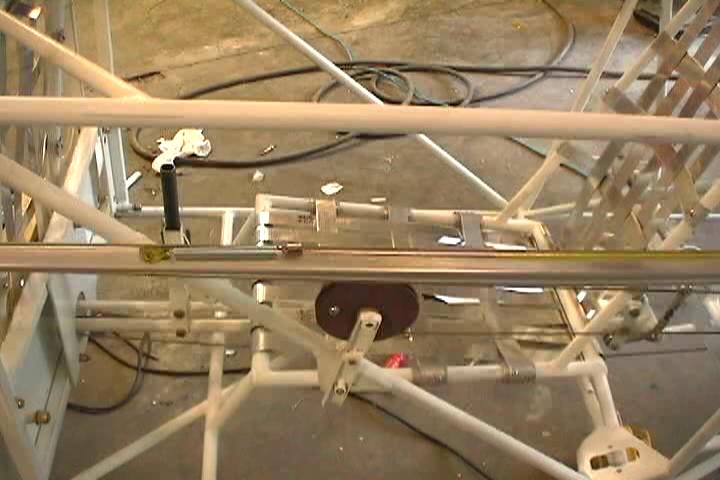
Rotisserie mount on front of fuse. Used scrap wood bolted to engine mount holes and 1" tubing from an old cut up bicycle frame. 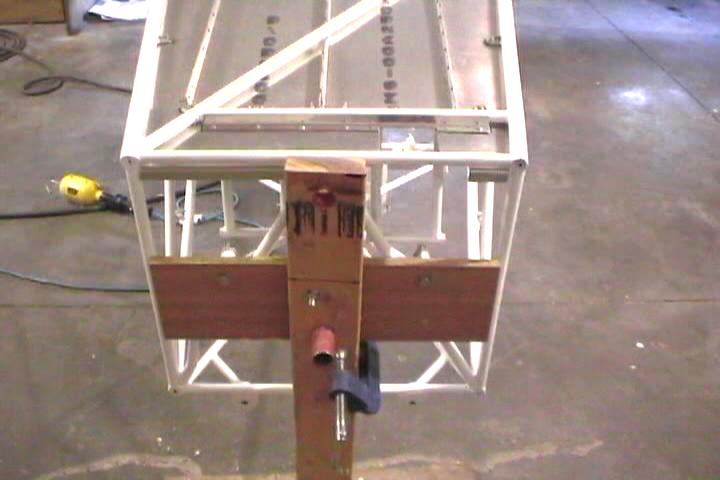
Aluminum floor installed. 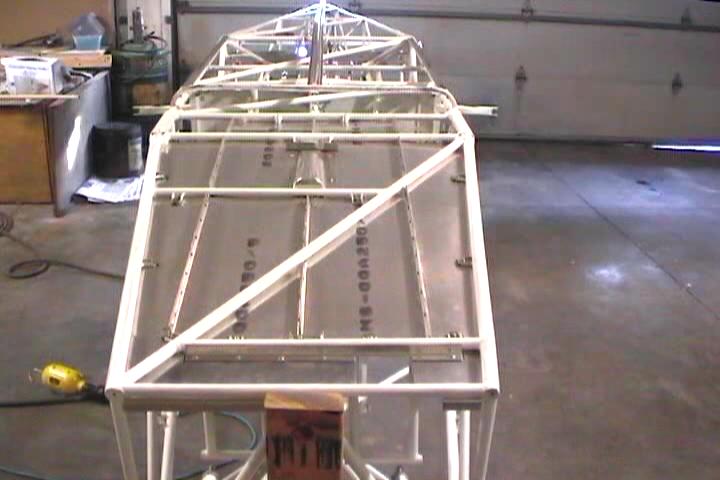
Reinforcement tape applied to any edges. 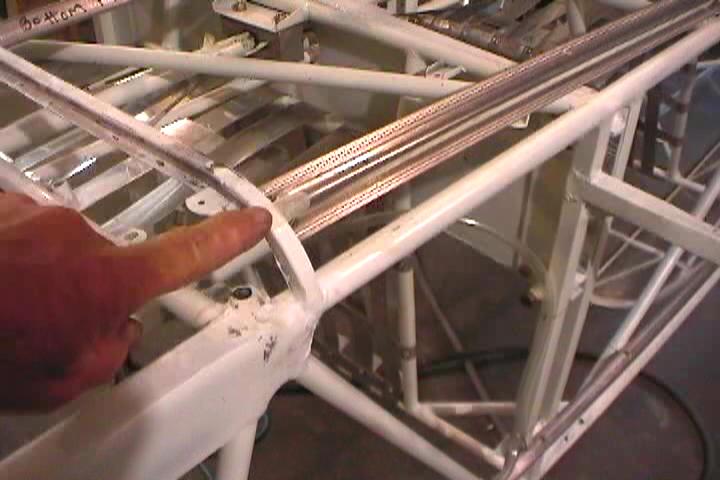
All the ends of the hat section stringers reuired reinforcement tape. 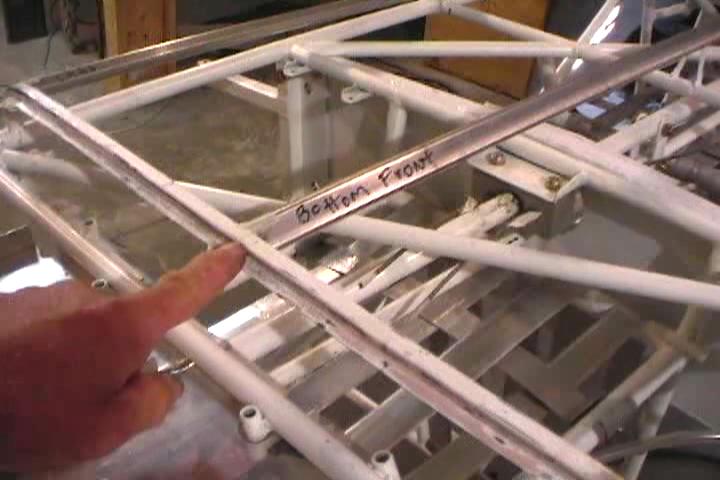
Don't want any edges cutting through the fabric. 
Stab indicator lever again. An upside down view. 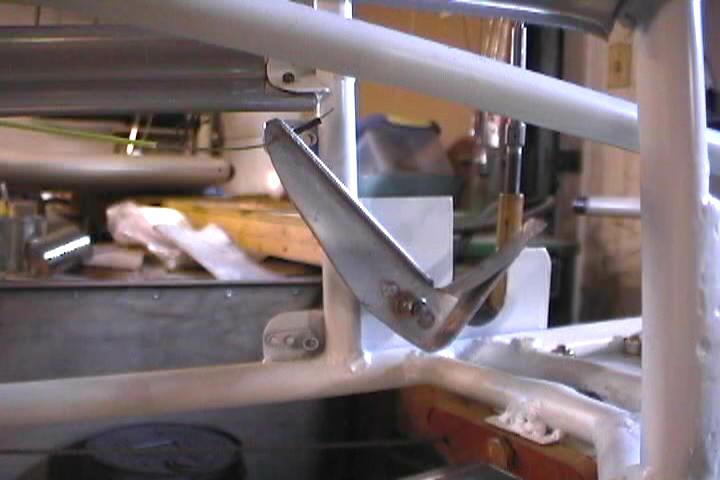
Rear attach point of bottom stringer. Will leave this open to act as a drain. 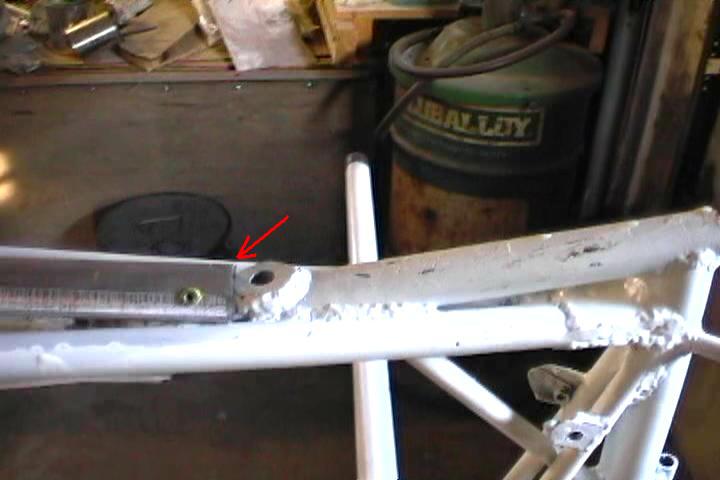
Can see the inward bow on bottom longeron. Could not bend it out cold. Would require heating to bend out. That would more than likely change my tailpost alignment. Left it as is. 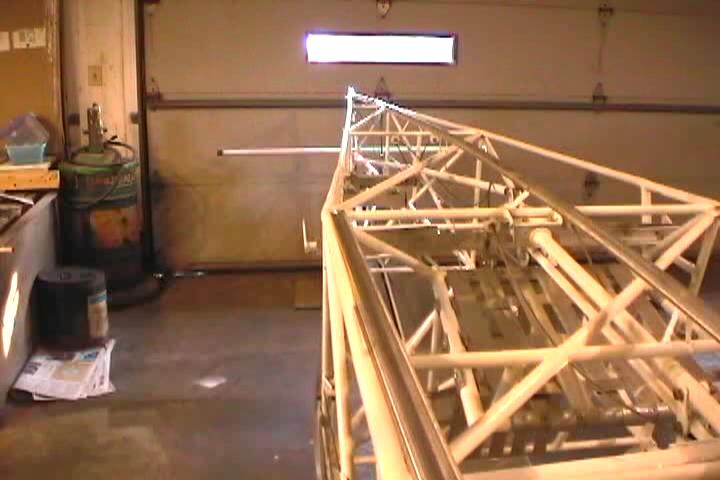
Installed torque tubes. Put Nylaflow Polypenco tubing through the aluminum bearing blocks for the rudder cables to run through. Used heat shrink tubing to hold the guides in place. 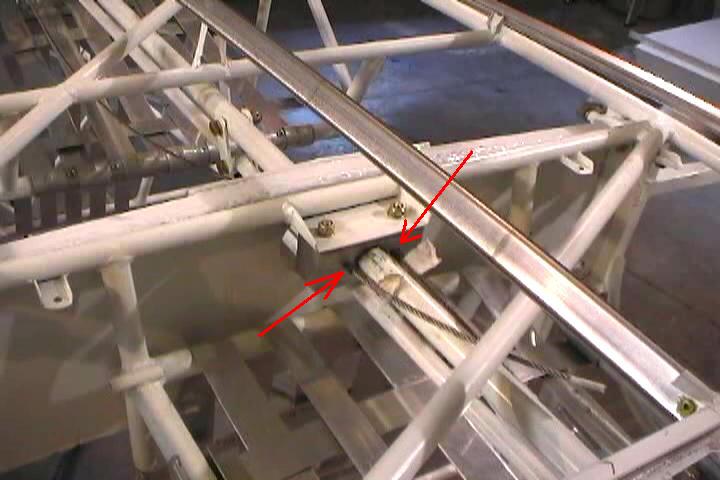
Front bearing block installed. 
Starting on the bottom. Applied Superflites light green fabric adhesive to bottom longerons. Followed Superflites application instructions from there How-to manual. 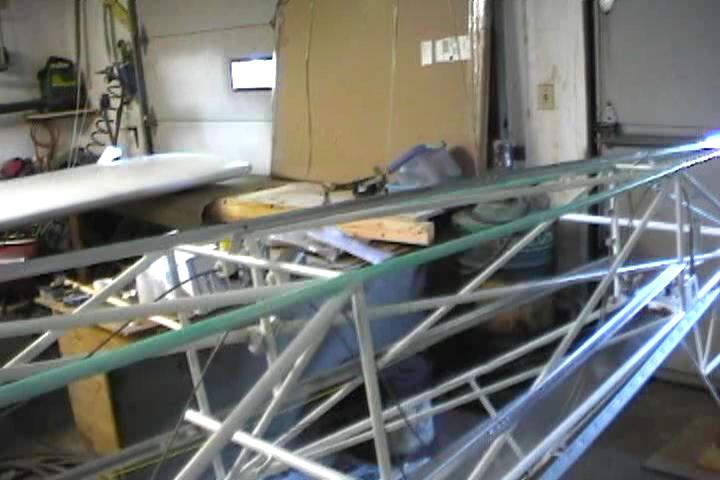
Glue applied to perimeter. Nothing on the stringers. 
Draped covering over bottom. Apply thinned adhesive to one longeron to attach fabric. Allow to dry. 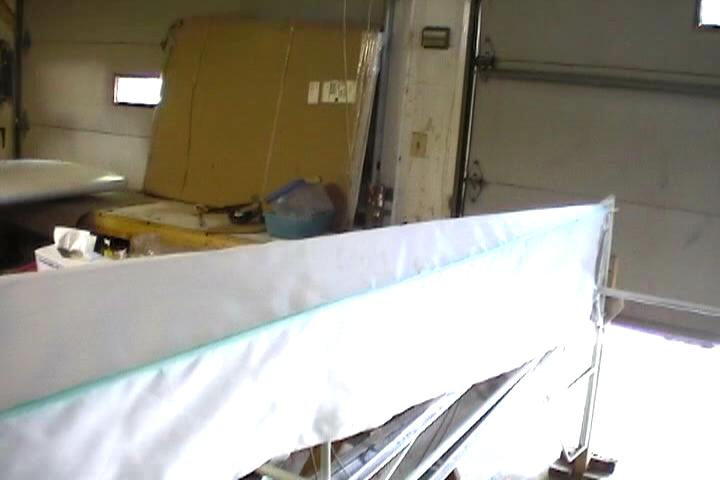
One side tacked down. 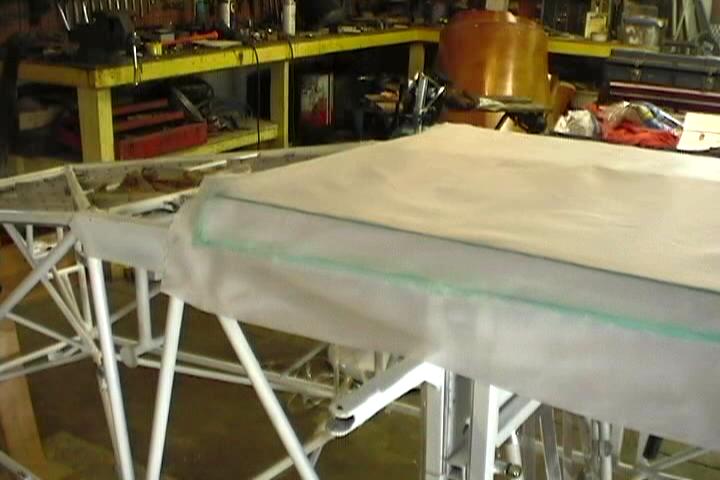
Trimmed fabric. Left enough to wrap around longerons. 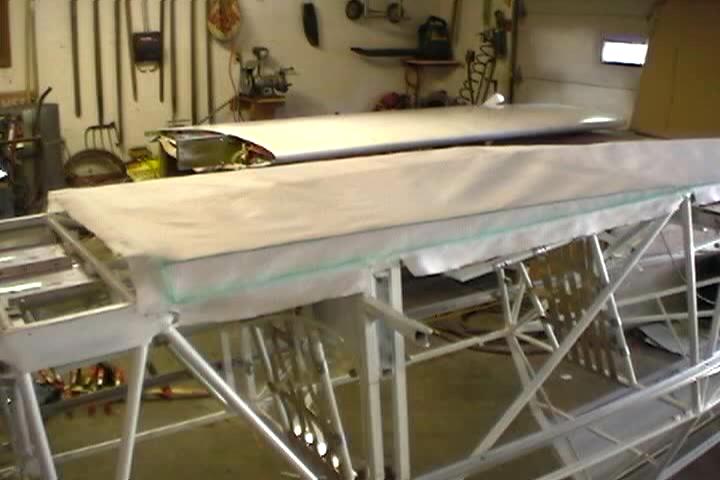
Have to trim around any fuse upright tubing so you can wrap fabric around tubing. 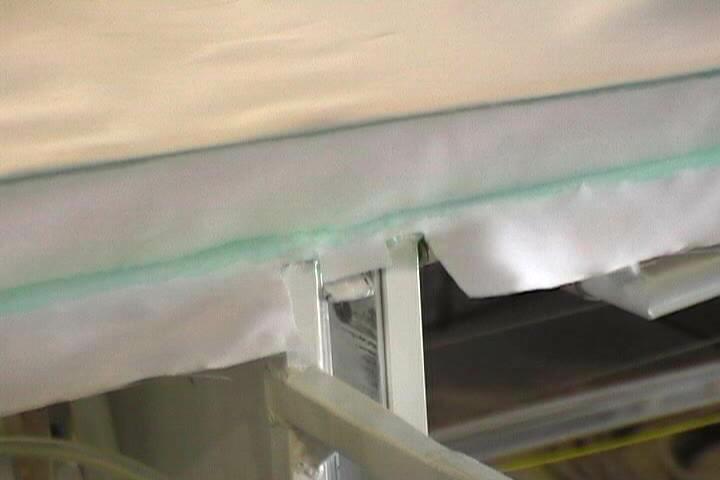
I beleive I actually cut this first piece shorter than I wanted to. But it worked out just right for the side fabric to be installed over the tailwheel tube. 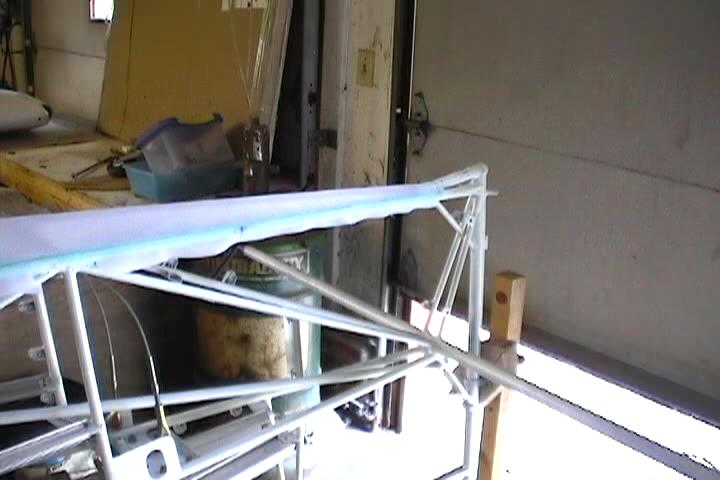
Bottom fabric glued, wrapped around the bottom longerons and heat shrunk with the calibrated iron. Fuse rotated to do the right side. 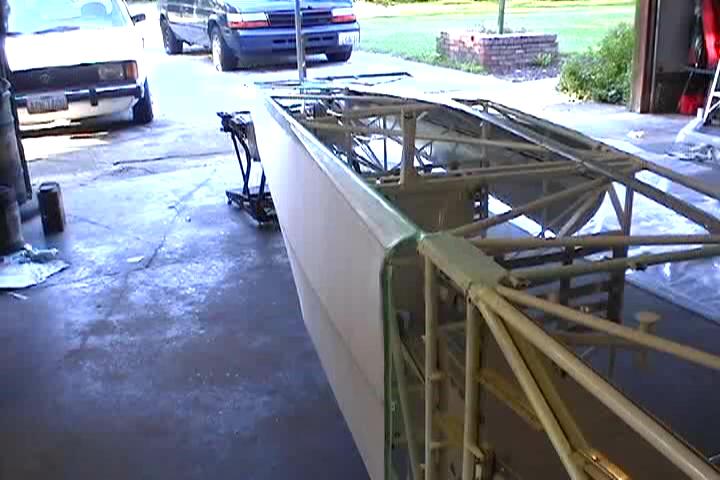
Applied fabric adhesive to the perimeter. Apply additional adhesive where the fabric will overlap the bottom fabric by 2". 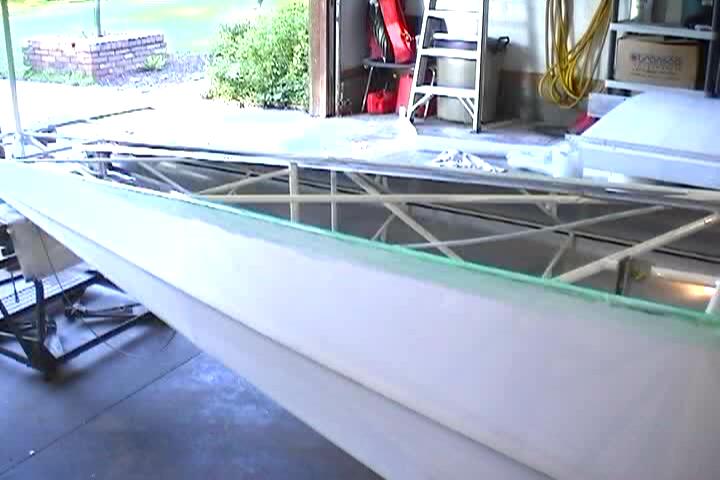
Can't see it here but the turtldeck has the centerline marked and the lines for the fabric overlap. They say to apply adhesive to the entire turtledeck hard surface. This was a real pain to get a nice brush stroke free finish. I used a 2" brush. The glue dries very quickly. Attempts to go back and smooth it out usually results in more lumps. 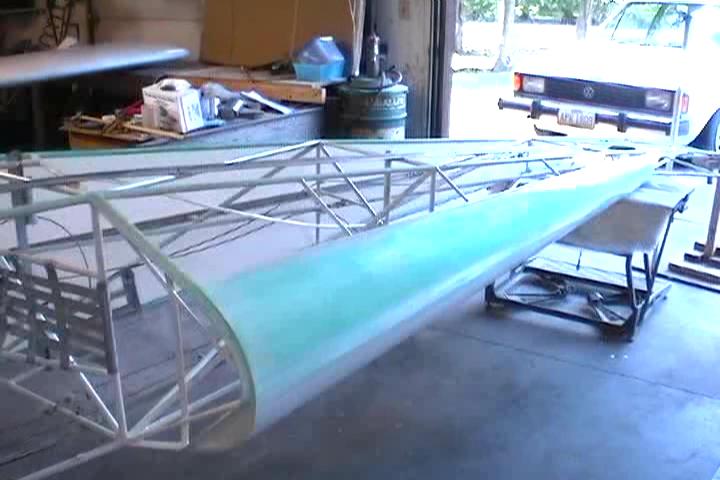
Adhesive applied to top right longeron. Just on the outside edge the fabric will adhere to. 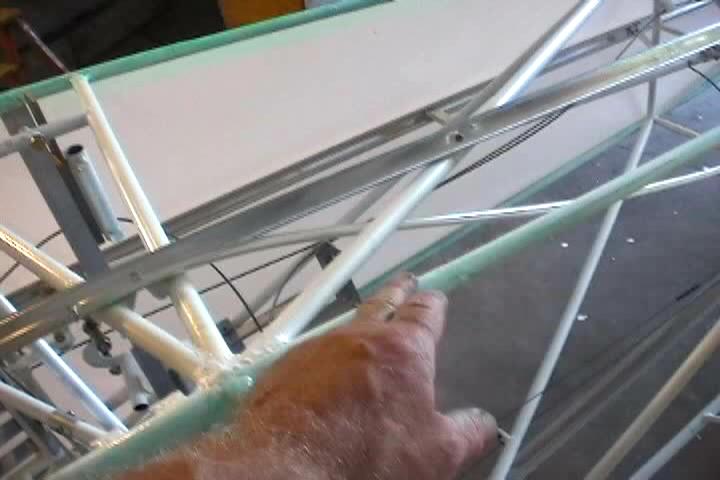
Layout markings in pencil on turtledeck. They will show through the fabric and glue. 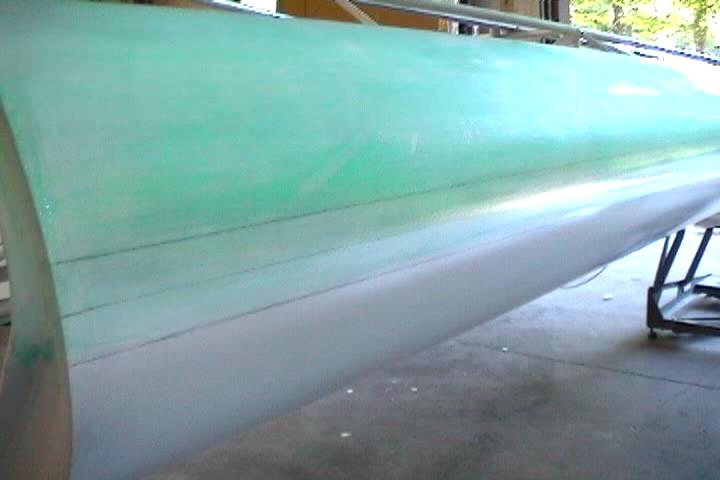
This is one of the difficult areas i had to deal with. The lip I put on the turtledeck bow for the canopy to seal against. Shrinking the fabric would pull the fabric away from the lip. 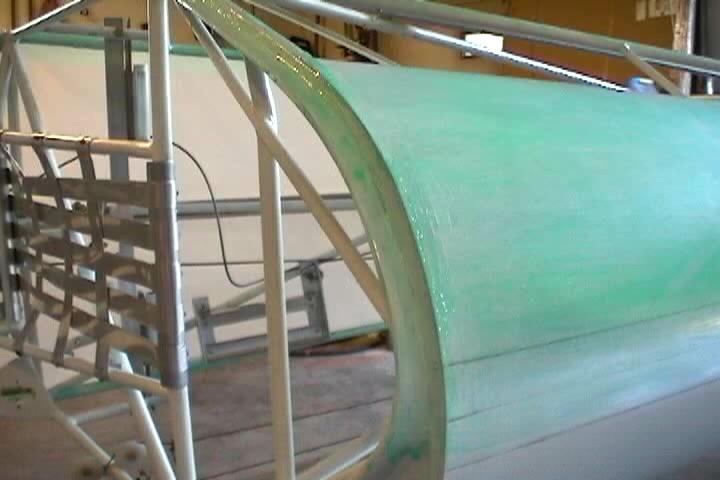
Fabric with rear carry thru and wing pivot tube cutouts draped over right side. 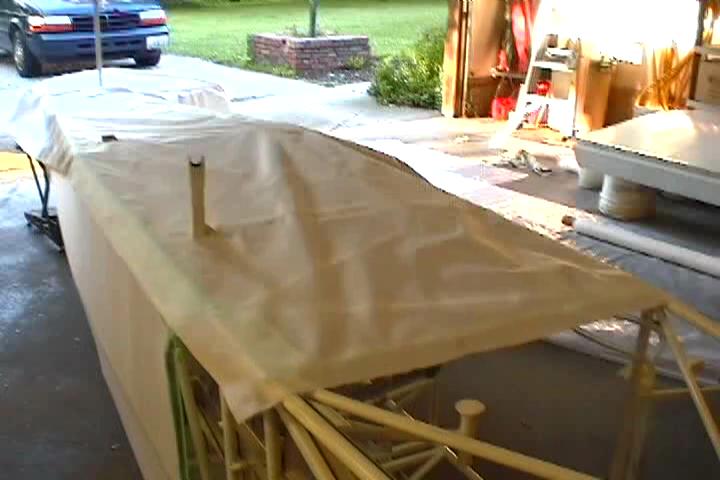
Didn't want to make a big mistake cutting this piece on the floor. Did the finish cutting of the rough cut on the fuse. 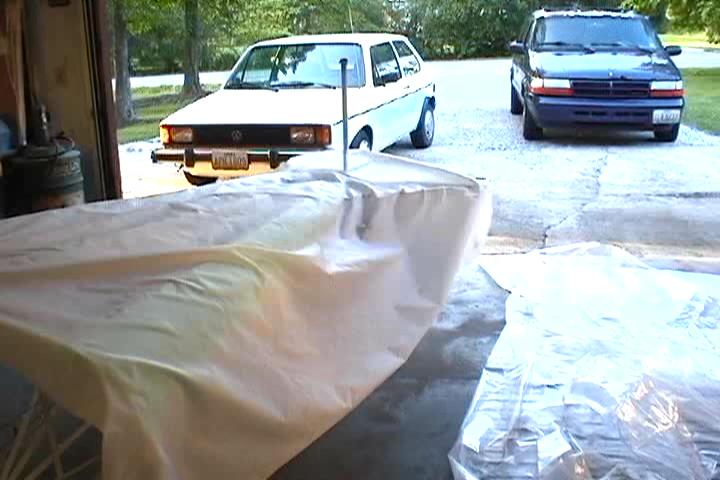
Cut-out for rear carry thru. 
The bottom longeron of the cockpit area is what I used as my reference line to layout the fabric on the side with the 2" overlap. 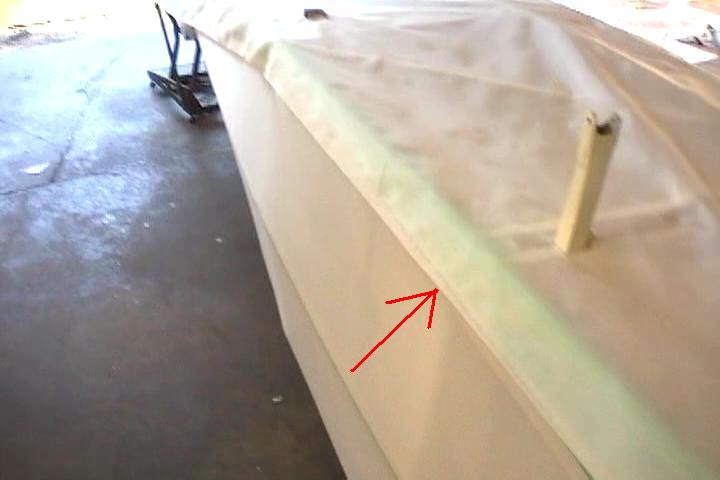
Right side glued down trimmed and shrunk. You can see a couple of bubbles. Those will iron out but still leave a slight blemmish. The bad part which doesn't show is all the brush marks from the glue. 
View from inside. 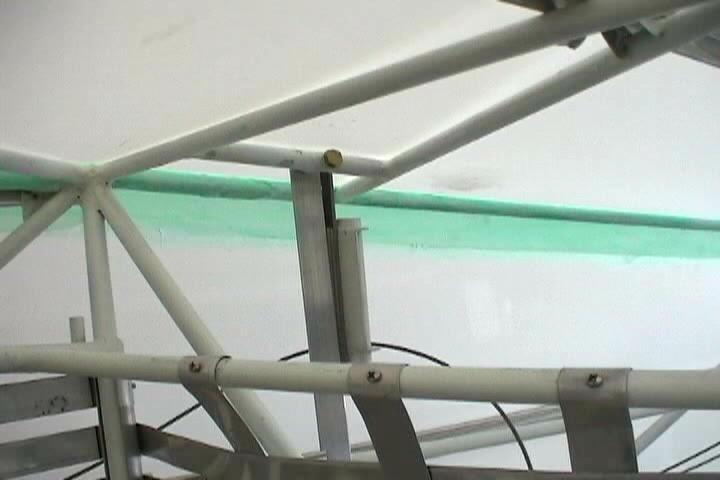
Another inside view. 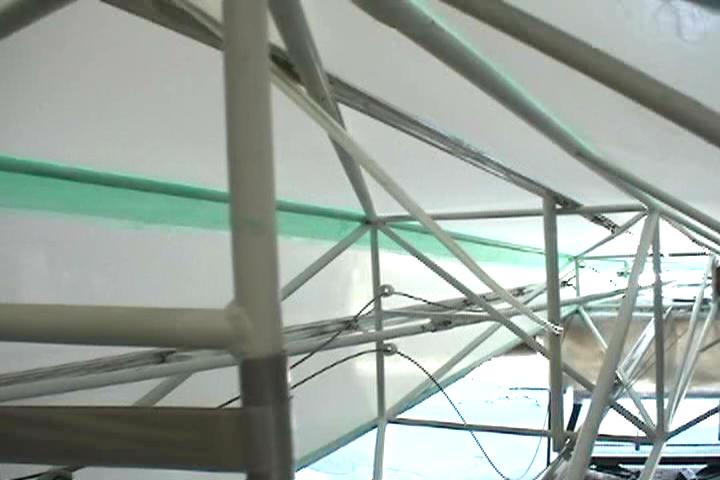
Edges of the bottom fabric that wrap around the bottom longeron needed glued down that I had missed initially. 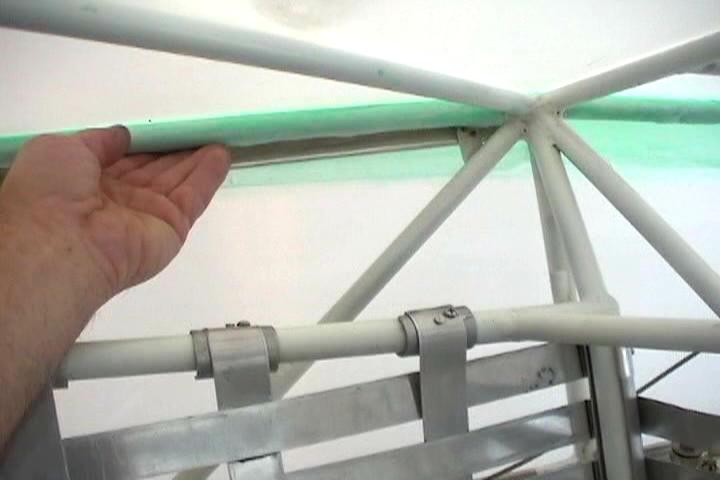
Fabric glued down where vert stab meets turtledeck. Note that adhesive was applied where the fabric touches the tubing and ribs. 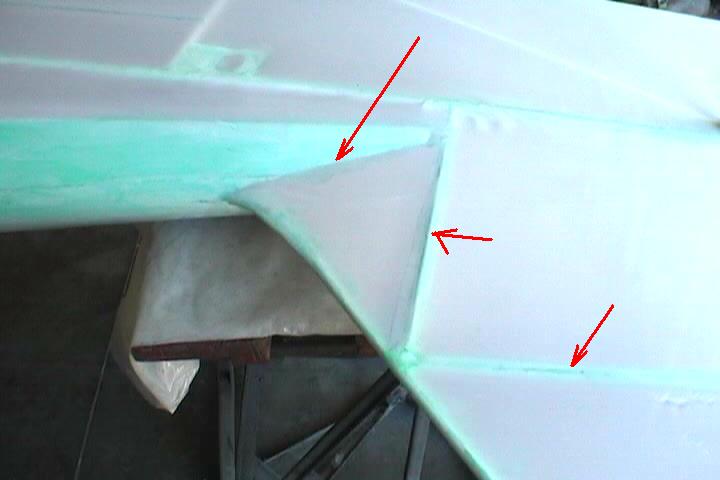
Oops. Got carried away with the glue brush. This area doesn't get fabric. Have to wash off the glue with MEK. 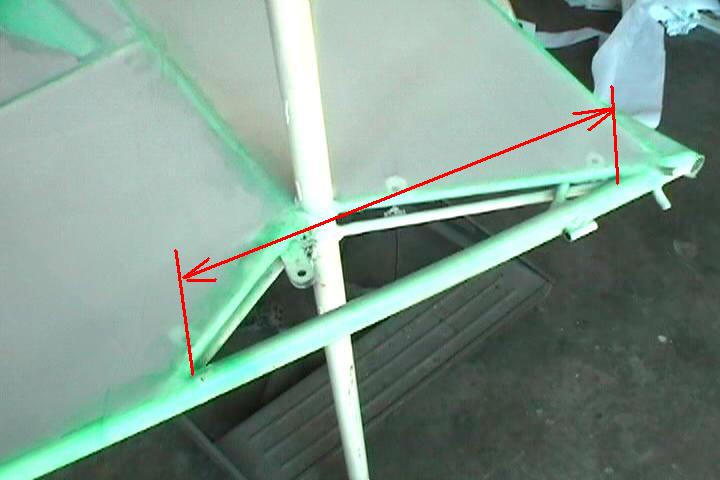
The tailwheel spring tube getting covered with the side fabric. 
Left side getting the same treatment as the right. 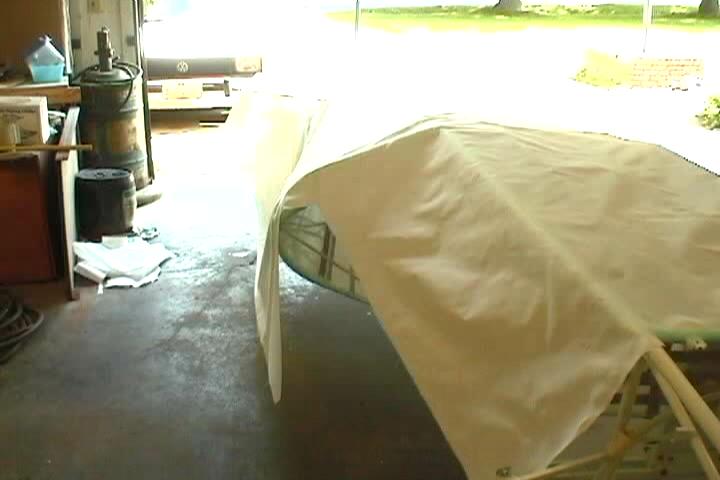
Tacked fabric along bottom and front. Pulled fabric taut and tack along the top. 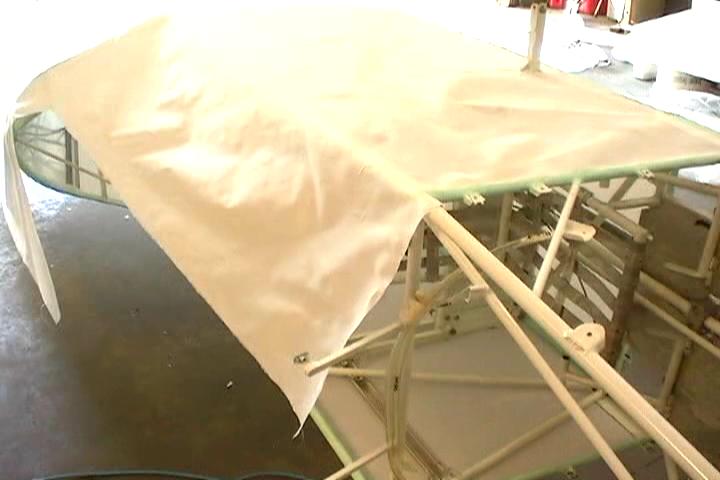
Fabric trimmed and wrapped around front upright. 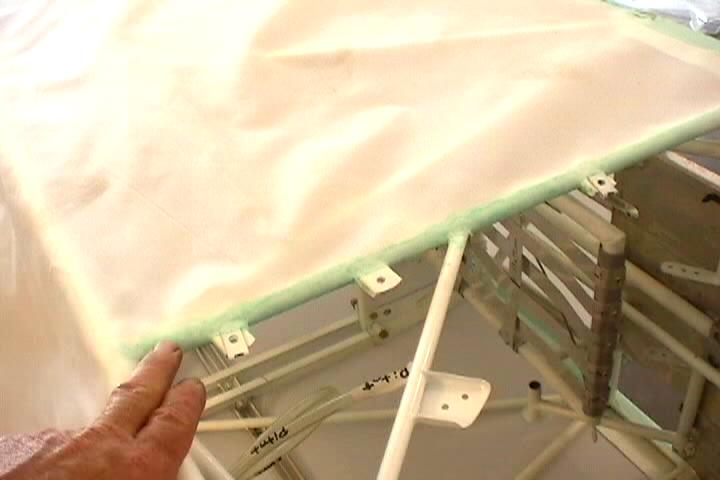
2" overlap of fabric. 
Need to trim the bottom edge for 2" overlap before gluing it down. 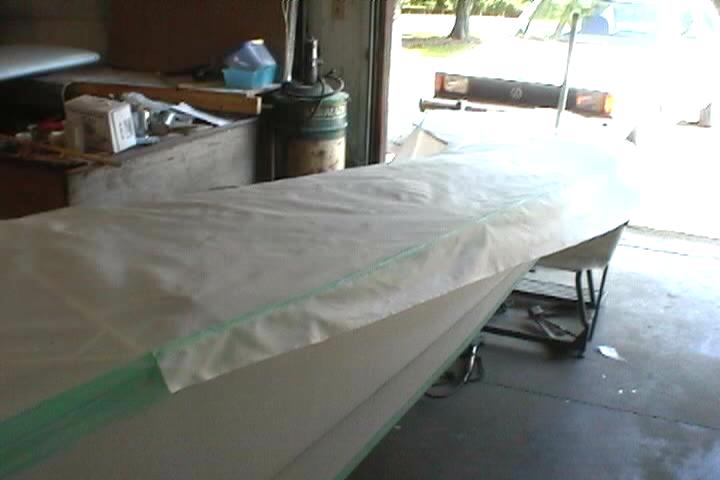
Pivot tube cut-out. 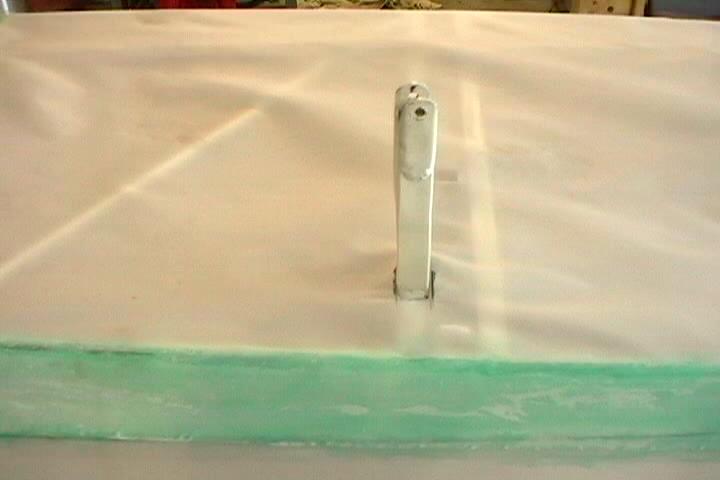
Marking fabric for 2" overlap. 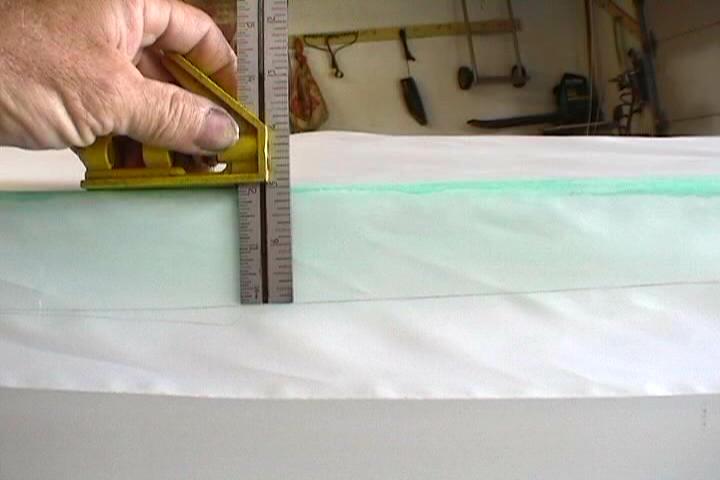
Fabric trimmed and ready to be glued down. The wrinkles disappear. 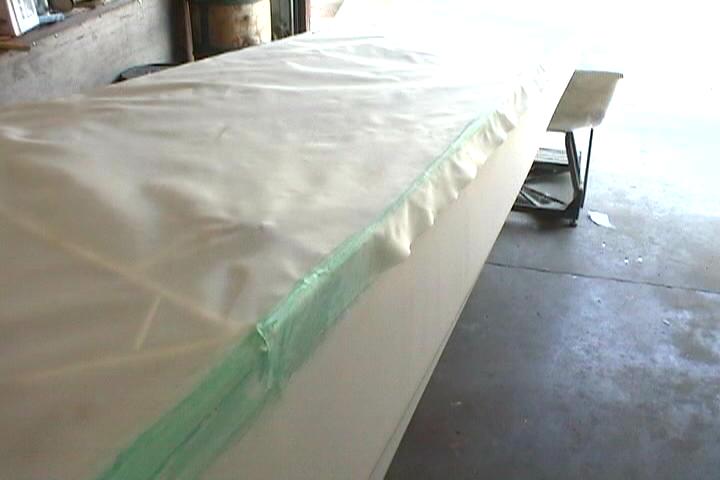
Fabric pulled taut, trimmed and wrapped around top longeron in cockpit area. 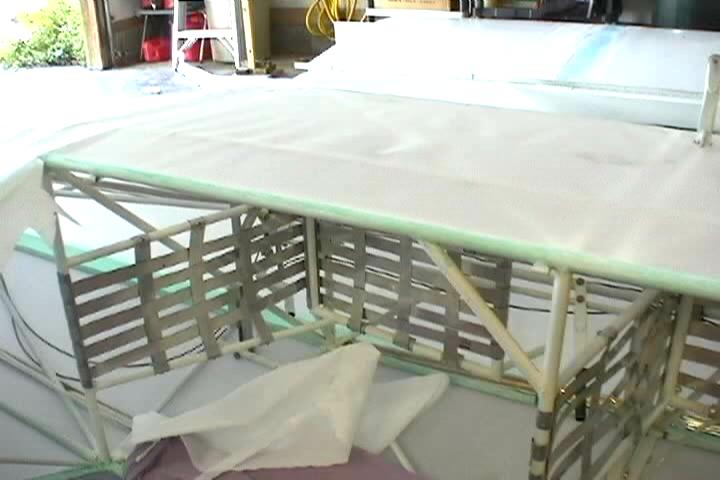
Put rags down on inside of fuse to catch any dripping glue. Glue drops on the inside of the fabric will show up in the final finish. I'll have you know that with the rags in place I didn't spill one drop. 
Cutting it close. Not a lot of excess fabric here. 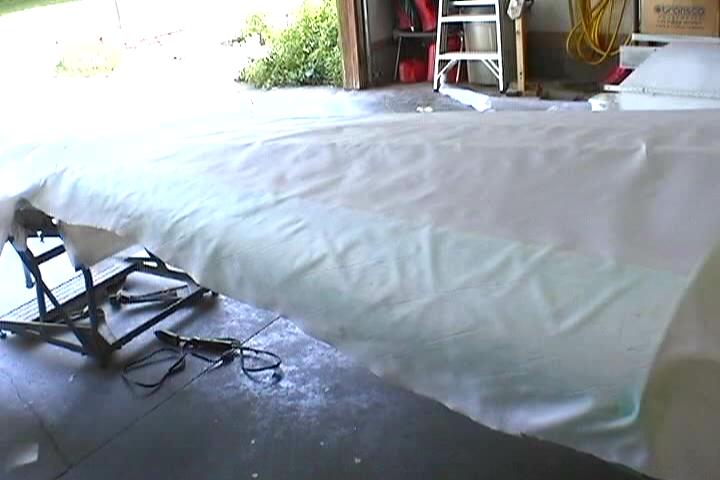
Used a soldering gun for the cut-outs. Works but does leave a sloppy edge. 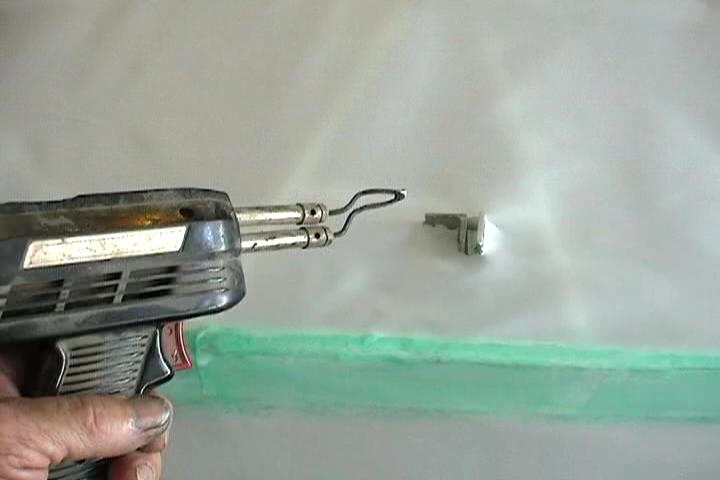
Fabric pulled taut and glued to top longeron. Allow to dry. 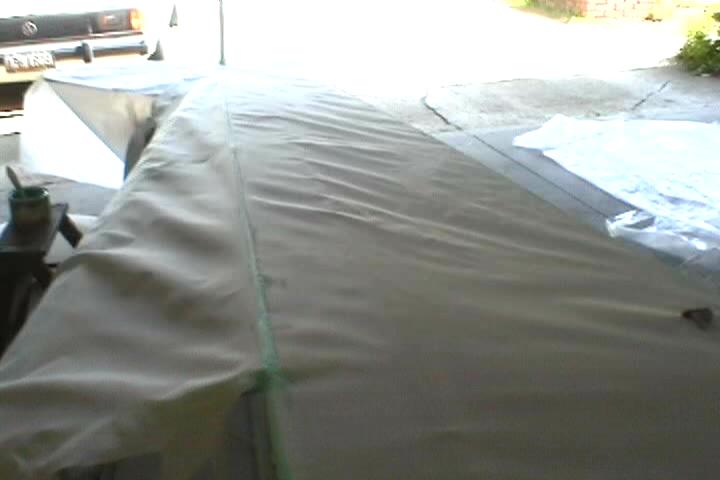
Used step ladder as portable table working around fuse. 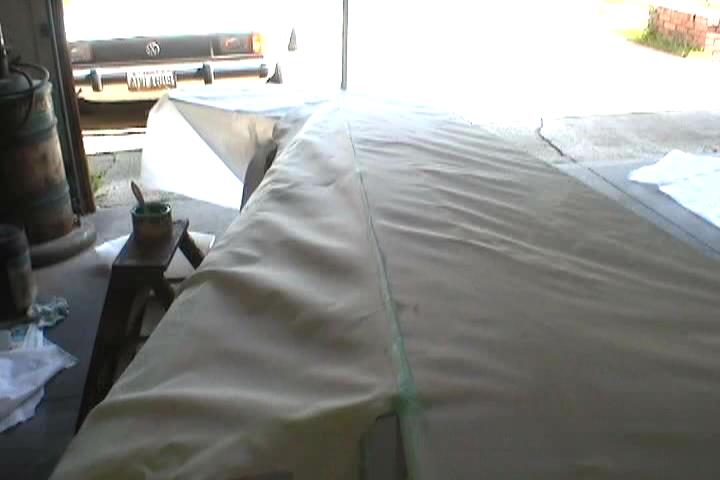
The fabric is pulled taut. Those wrinkes will iron out when the fabric is heat shrunk. 
Glueing down front of turtledeck bow. 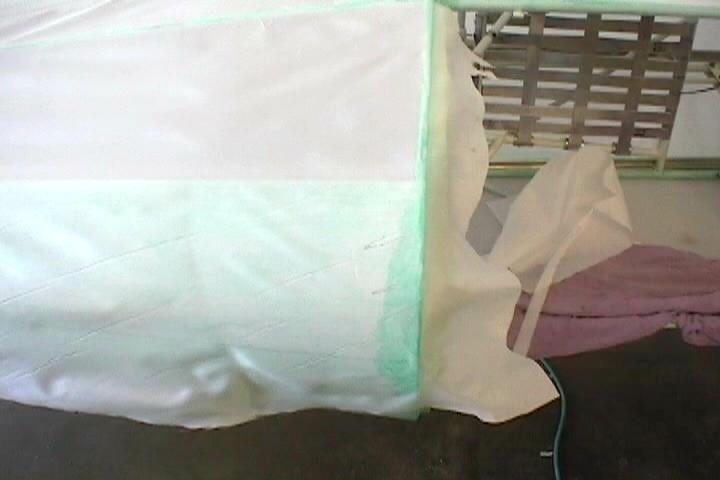
Try to get it properly aligned so that the top edge of fabric can be trimmed for the 2" overlap. 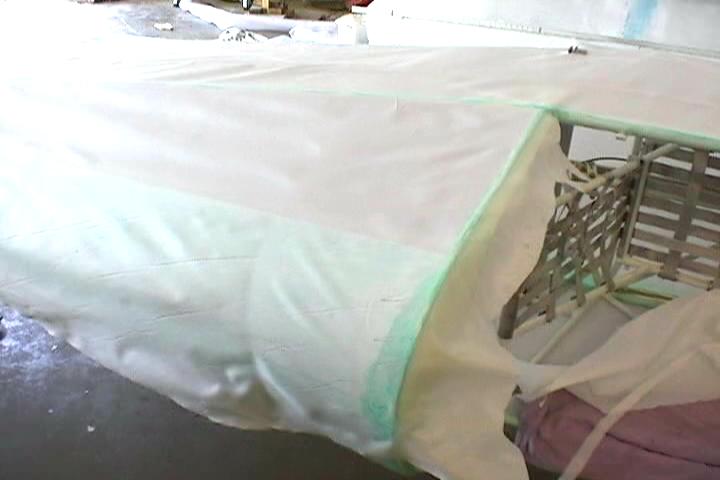
Put a piece of 2" fabric tape on inside of fabric and turtledeck where the vertical tail and turtledeck meet. 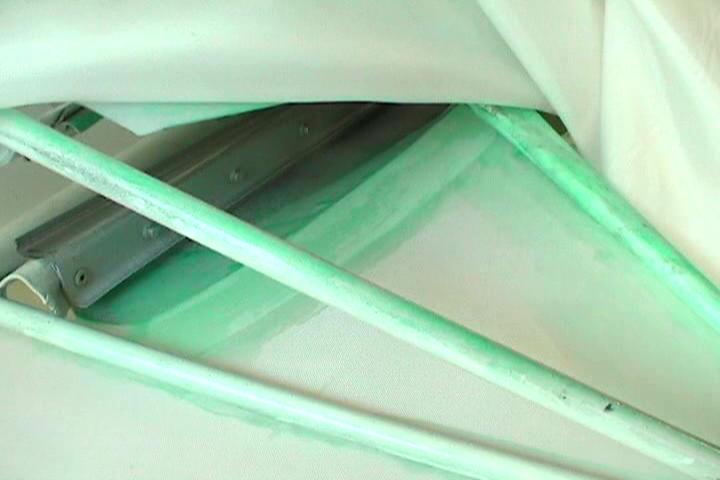
Another view. 
Working out the big wrinkles and tacking it down. 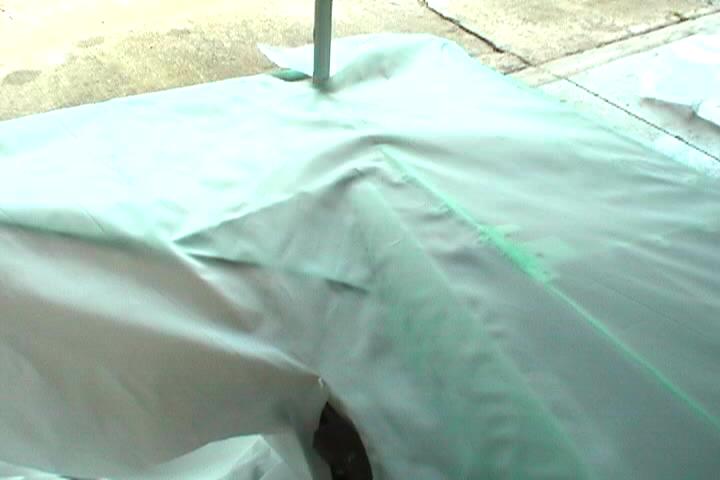
Don't cut-out the access panel opening until everything is glued down. 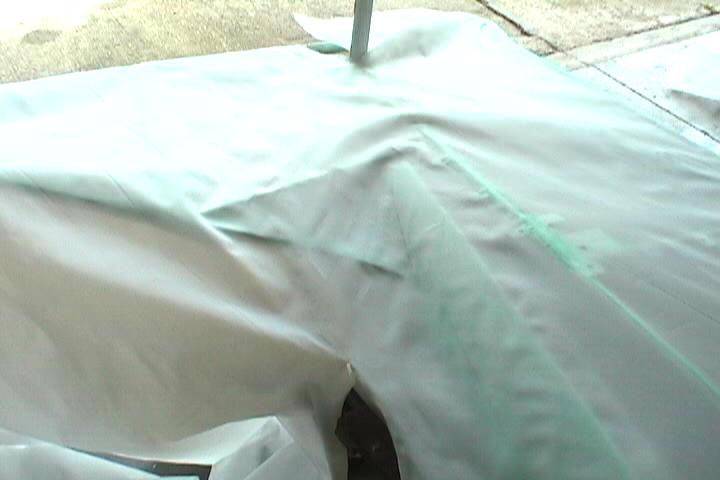
Trimming the fabric to wrap around vertical tail. 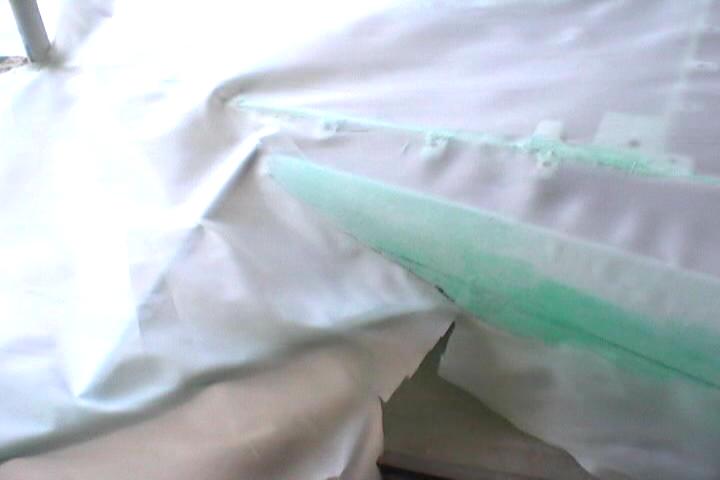
Fabric trimmed to overlap right side fabric. 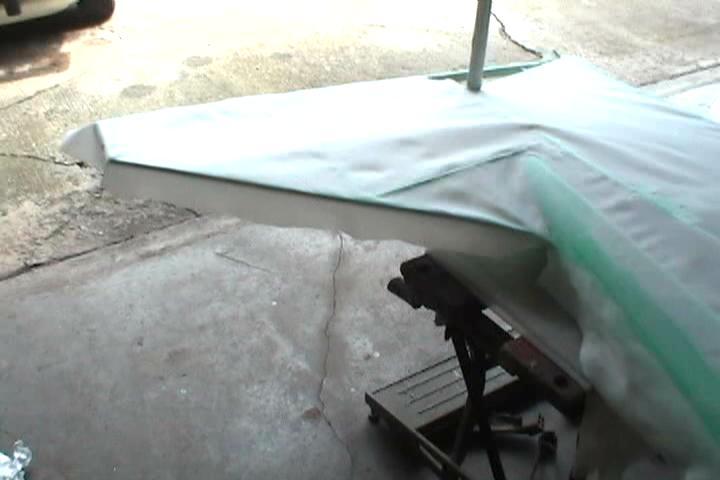
Doing the access panel cut-out. Leave enough to wrap around tubing. 
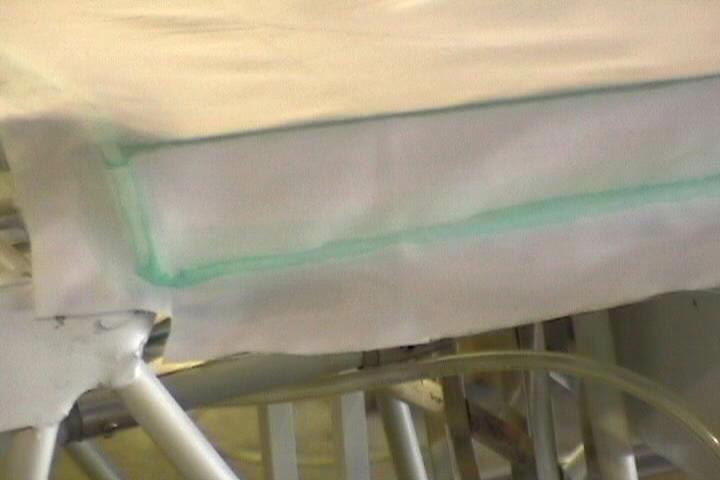
Trimming the fabric for 2" overlap. You can still see the layout lines on the turtledeck. 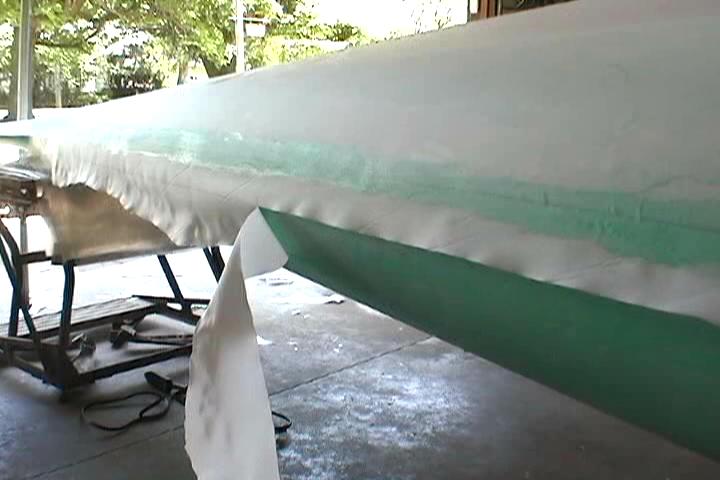
Here's the layout line. Leave the edge loose so it can be trimmed with scissors. 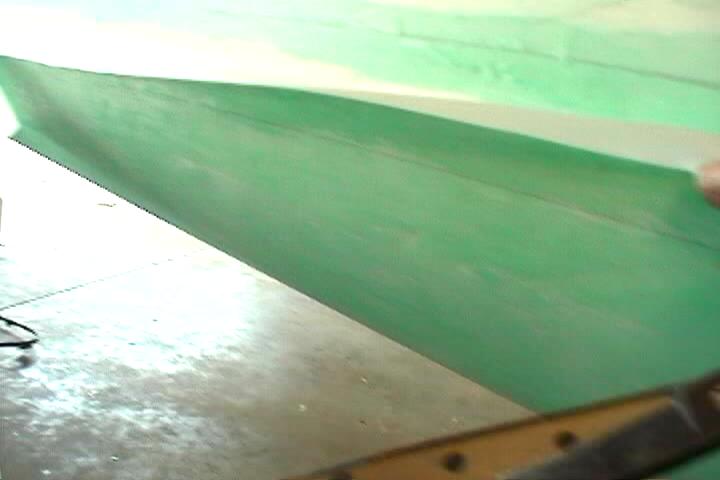
Another view. 
Laced down the fabric where vertical tail meets turtledeck. 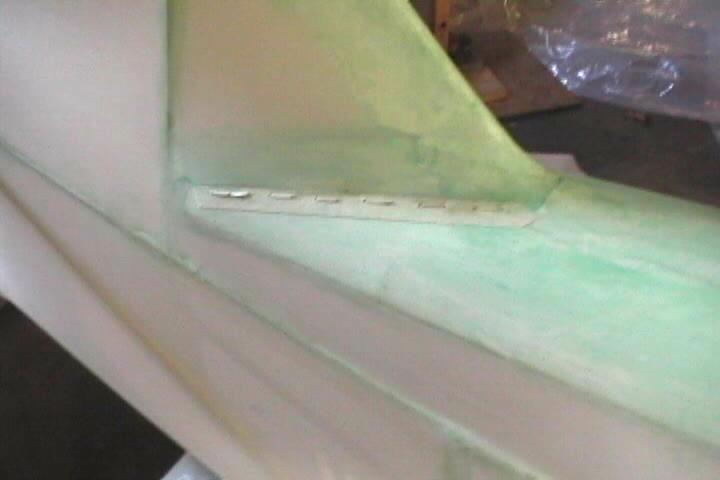
Don't know if lifting in this area would be a problem. I do know it can be a problem when covering R/C models. 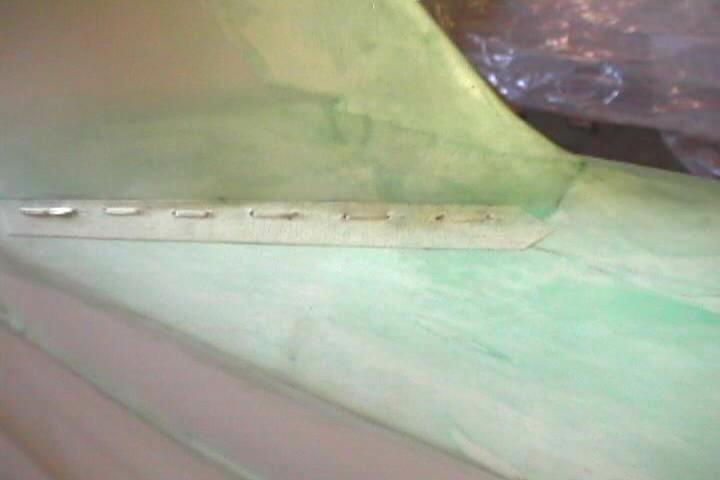
Drilled 1/16" holes through reinforcement tape, fabric and aluminum turtledeck to run laces through. 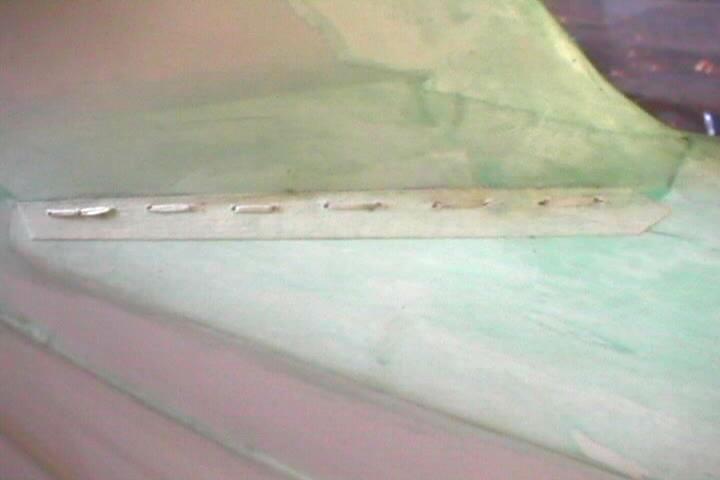
Doubled back the last stitch so the tie off knot would be on inside. 
This is the other side. Same treatment. Got to reach inside to do the tie offs. 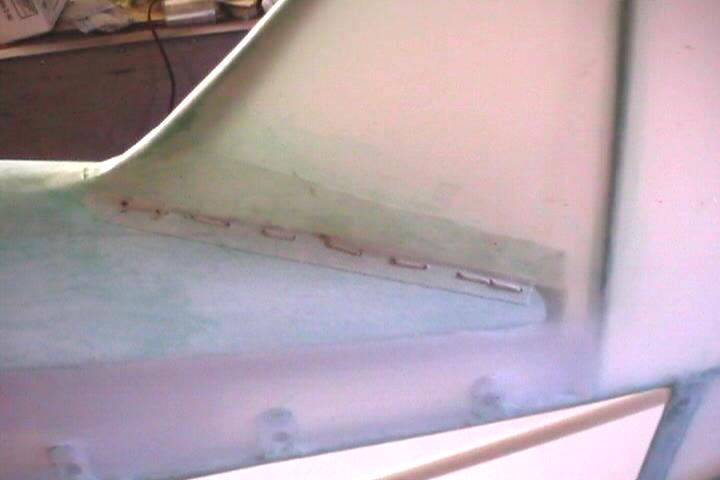
View from inside. Tight area to work in. 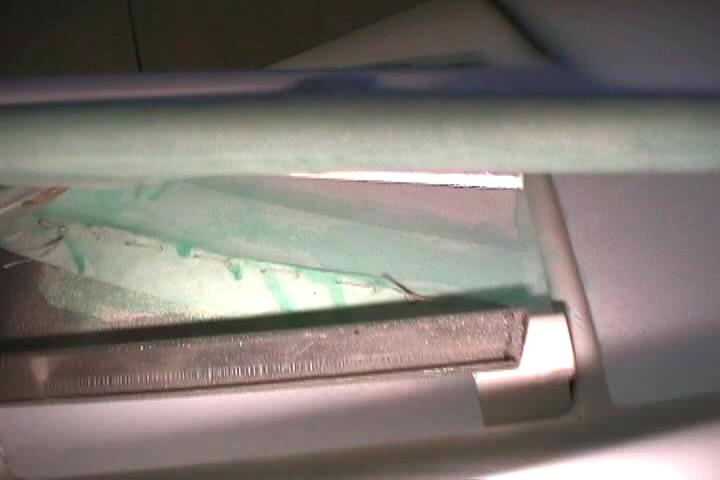
Knot on the inside. 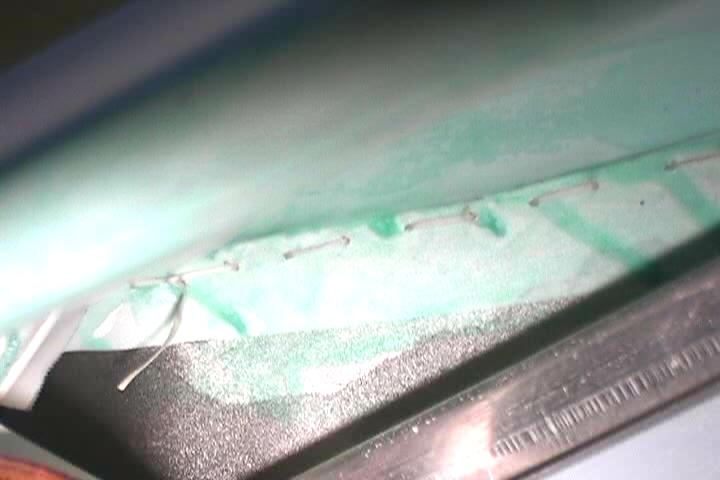
Another view. 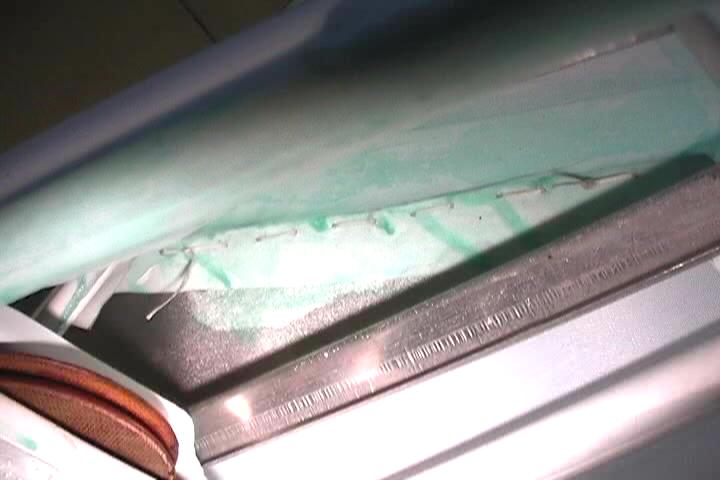
Taping up the seams. This requires a lot of glueing. 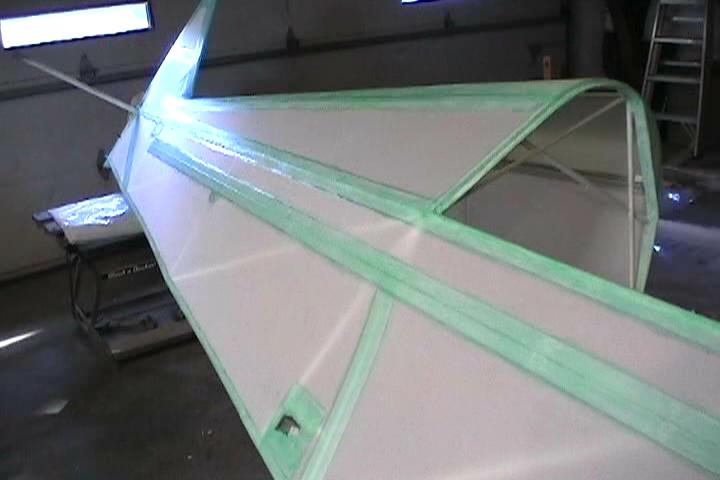
Taped around the main carry-thru. 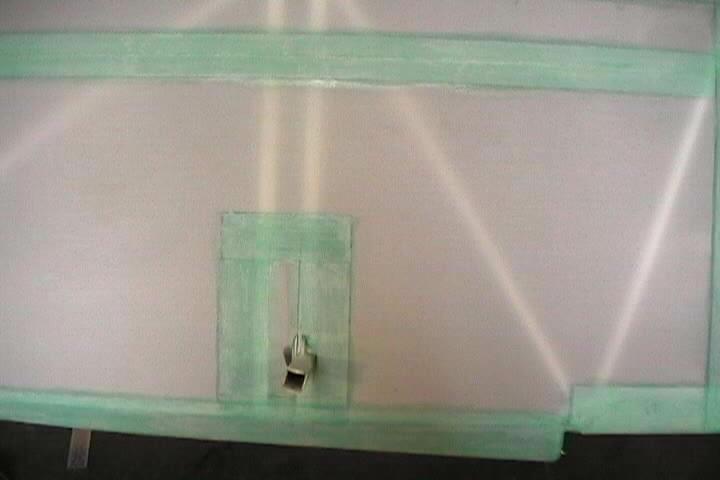
Taped around rear carry-thru. Taped up along the diagonal where the fabric is touching diagonal. 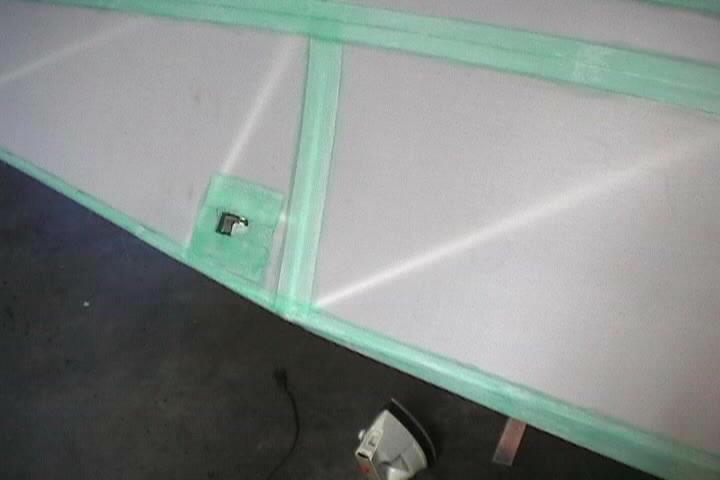
Everywhere the fabric touches the fuse requires tape. 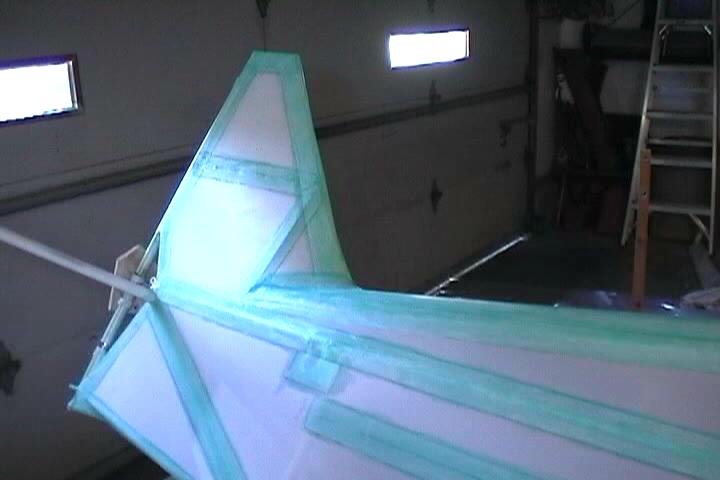
Tape over rib lacing. 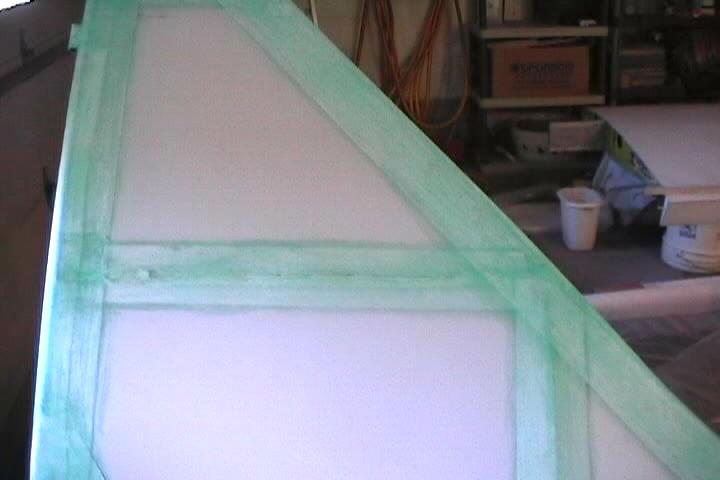
Tape along the stringers and the edge of the turtledeck aluminum. 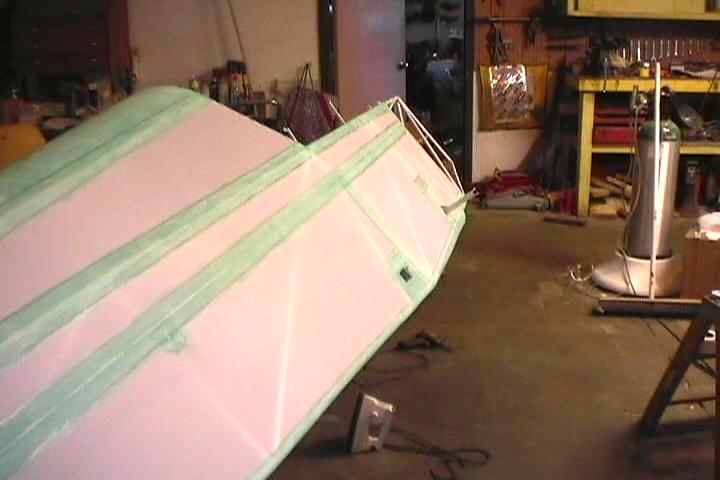
Don't know if this is necessary, but I put tape in the area where the wing filet will ride up against fuse. 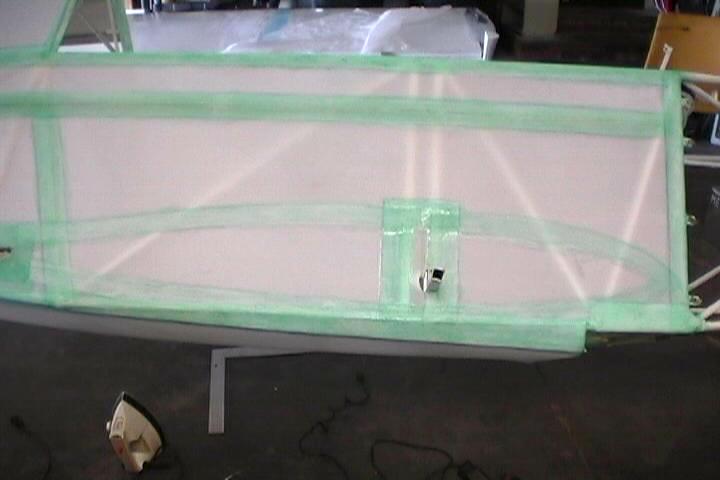
Made up a mylar ring and taped it in position where the pitot tube passes through. 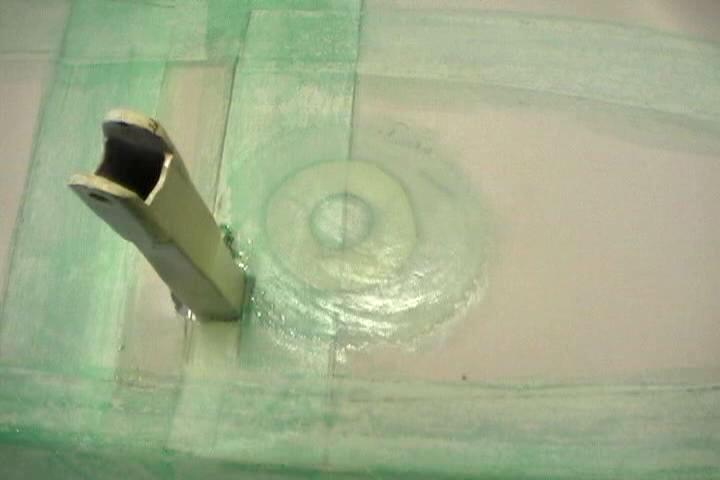
Marked off the areas for the glue for the tape. Also numbered the sequence for applying the tapes so that the free edge is downstream of the airflow to help prevent the tape edges from lifting. 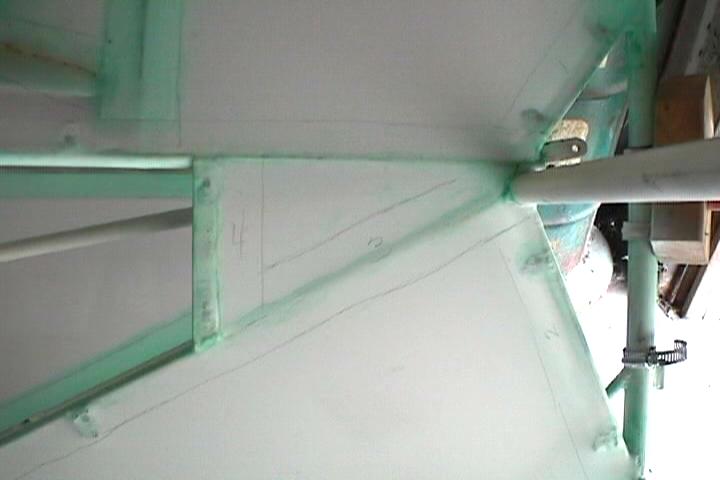
Covering the horizontal stab. 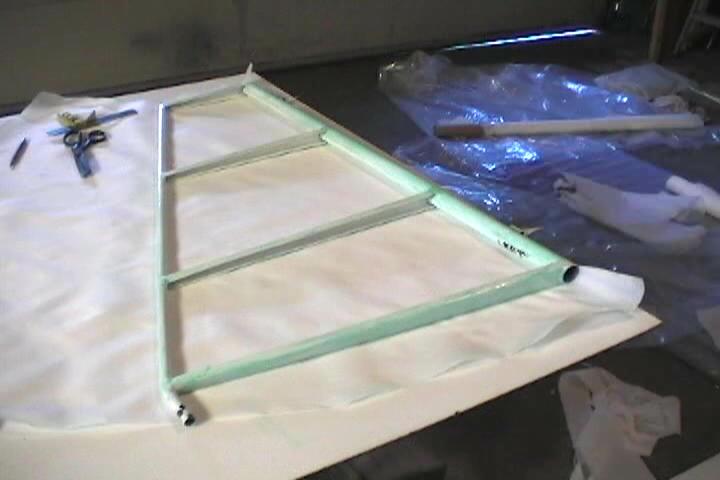
Wrap the fabric 3/4 around the trailing edge of stab. 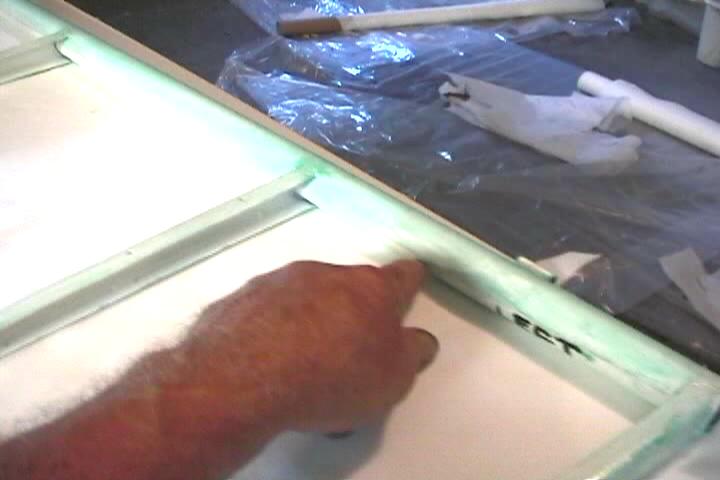
Wrap the fabric around the leading edge. 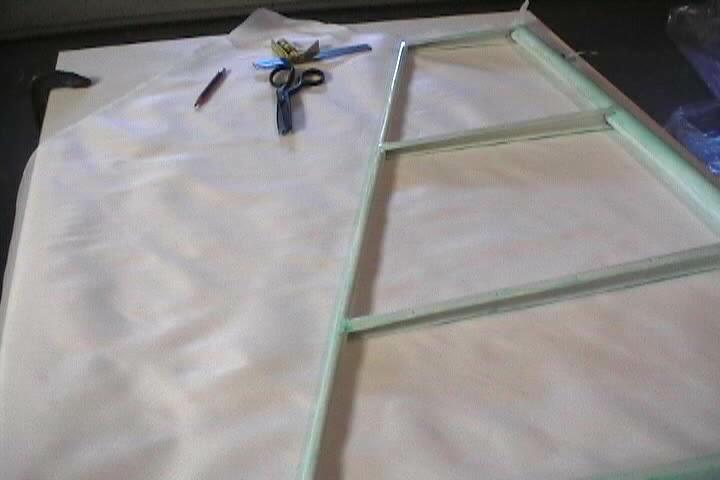
Rudder covered. Still needs rib lacing and taped wherever the fabric touches the structure.