Cold weather was cause to bring the fiberglass work into the heated workshop. Trouble is the workshop isn't big enough to get the fuselage completely inside. Took out one of the doors and stuck the nose of the fuselage inside and closed in around the fuselage.
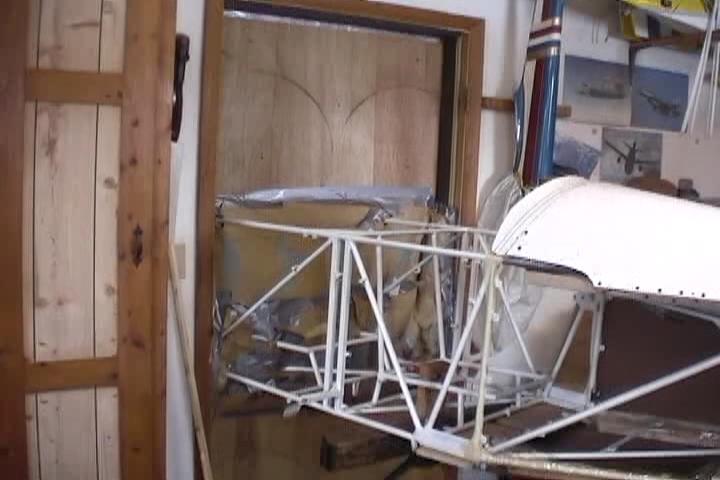
Just used some cheap plywood with thermax rigid insulation sandwiched in between to close in most of the doorway. Then filled in the area around the tubing with regular fiberglass insulation and duct tape. 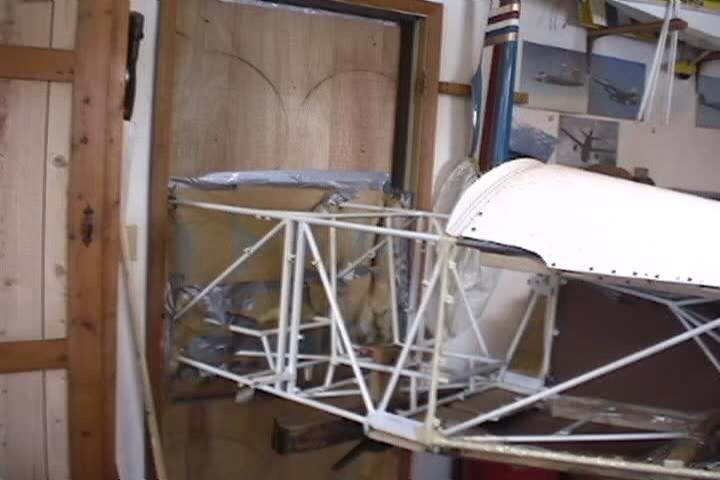
Made up a dummy engine out of foam board. A sturdy structure of particle board makes up the firewall shape and holds the shape of the spinner at the appropiate distance. I beleive it was 20-1/4" from the front of the station 1 tubing to the front of the cowl 
Using 1/8" thick white finished hardboard type panelling to make up the shape of the flat and slightly curved surfaces of the cowl. 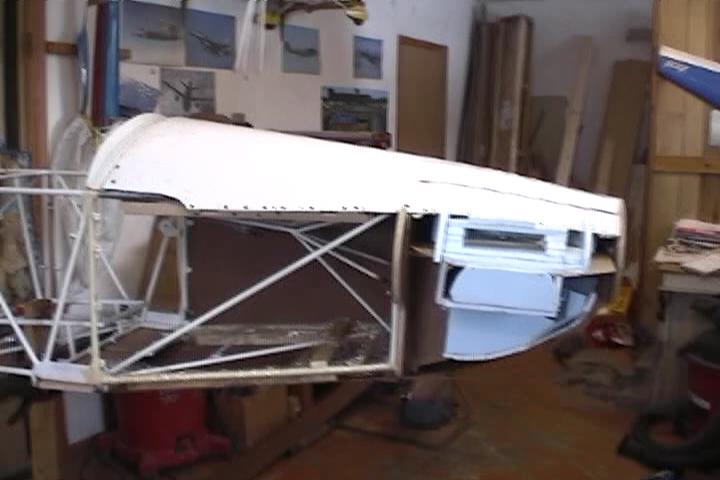
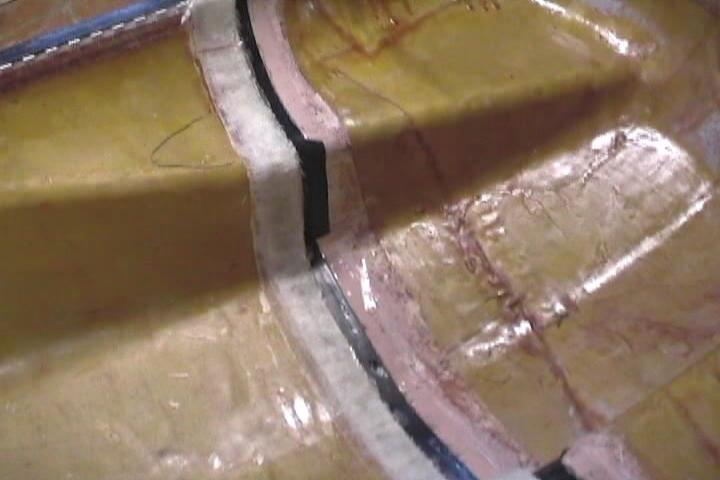
This is the lip where the conopy will seal. It's a bit more pronounced than the stock cowl. 
This is where the canopy front bow comes down. 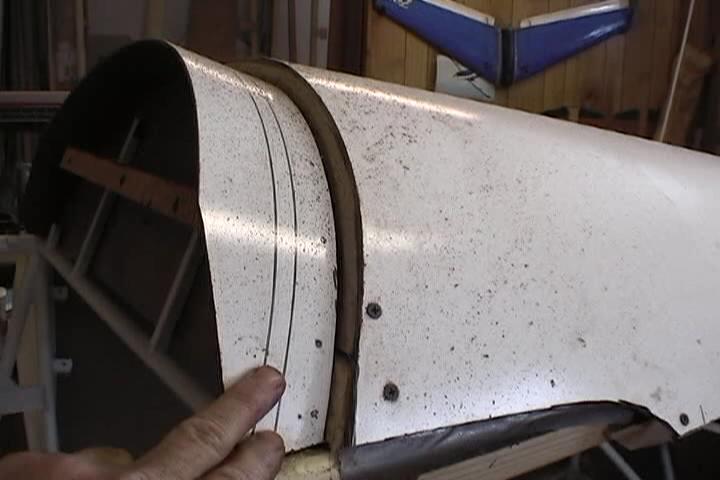
Had to make up 2 formers out of scrap particle board to make the step in the cowl. 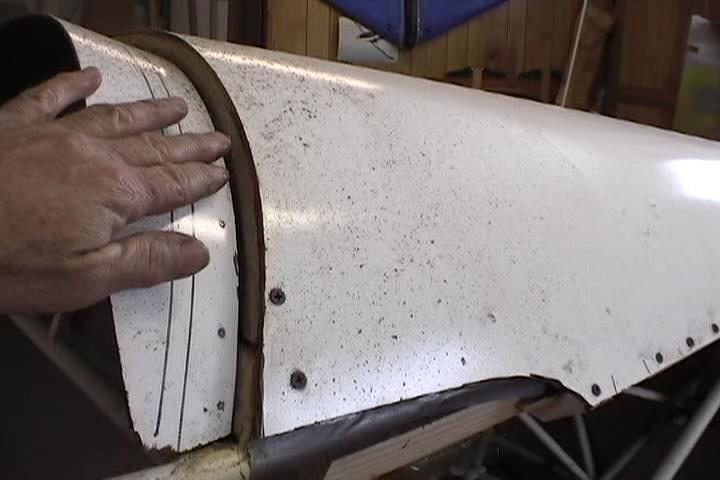
Put in bondo in this area to radius the step in the cowl. 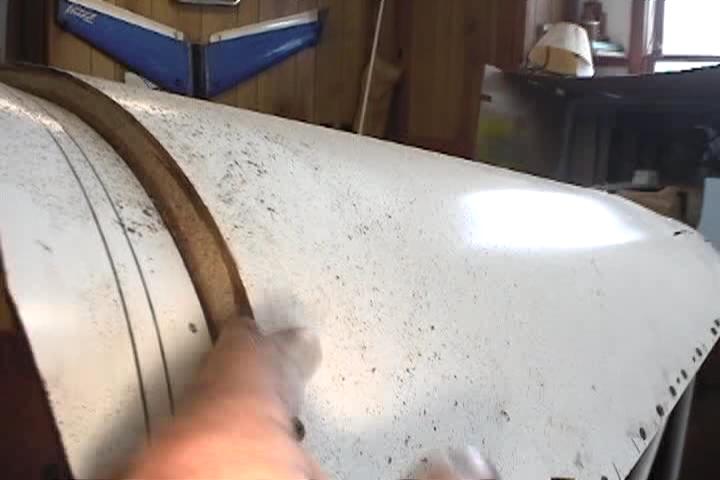
Used Duct tape and saran wrap to keep from glueing the male plug to the fuselage. Used 2x2's under the tubing and screwed the hardboard down to it to clamp it down to the longerons. 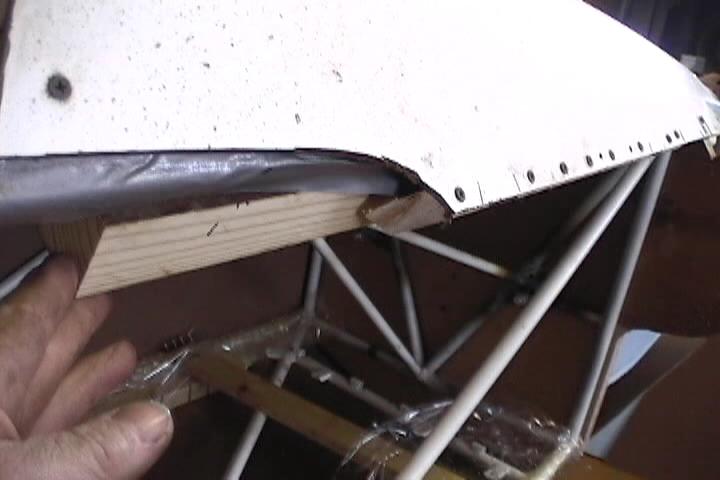
Insrument panel area former clamped to the instrument panel mounting uprights. 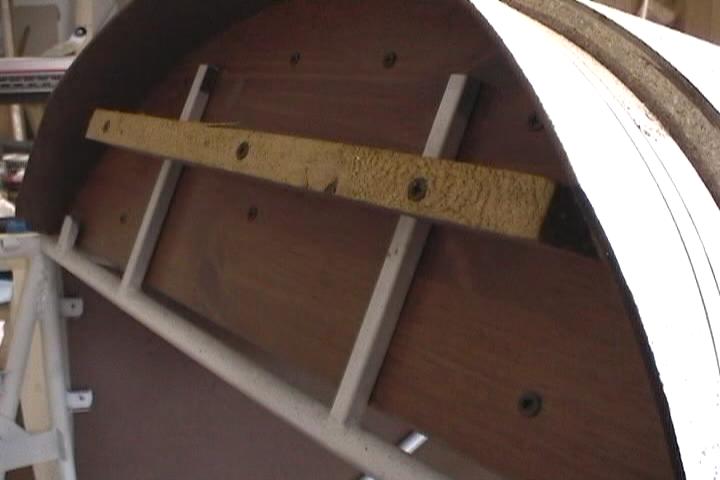
A better view. 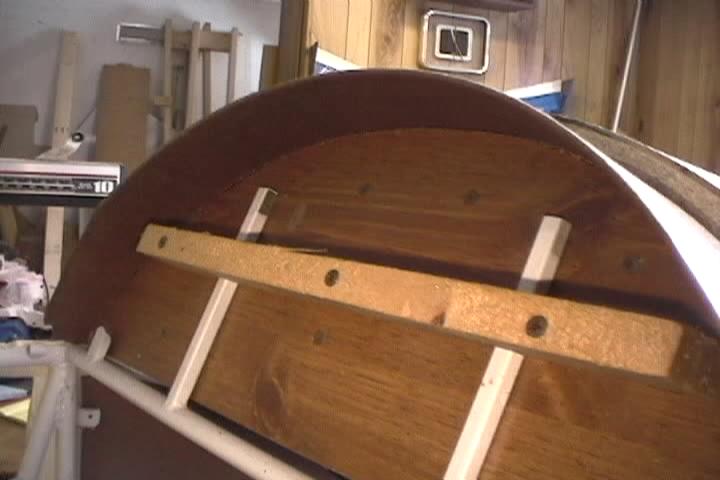
3/4" particle board firewall. 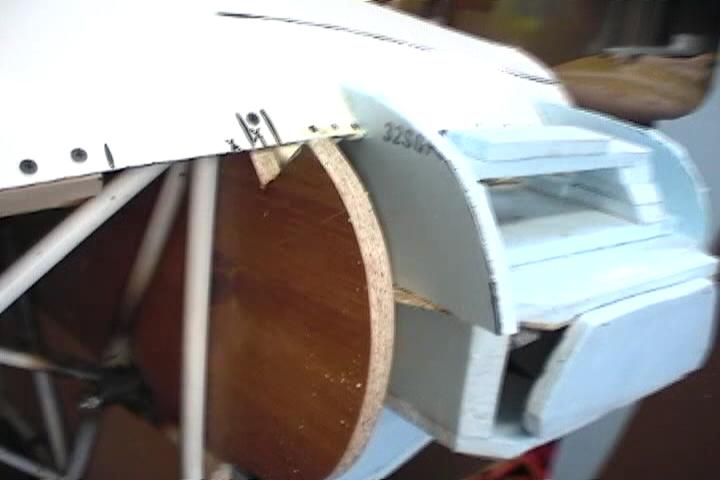
Foamboard dummy engine. 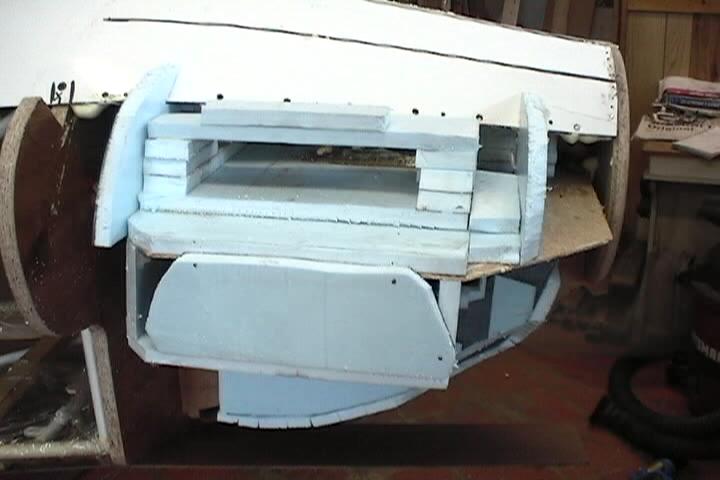
3/4" particle board spinner shape. 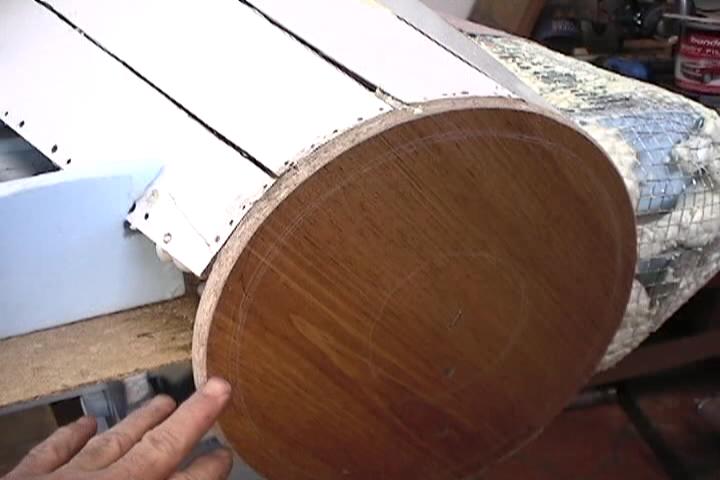
The hardboard on the bottom of the cowl screwed to firewall and clamped to bottom longerons. 
Put 1/2" square hardware fabric on to get the general shape of the cowl cheeks. Sprayed in insulating foam to help fill in the gaps and it also made the hardware fabric more stout to work on. Bondo and window screen on top of that to start making up the cheeks. 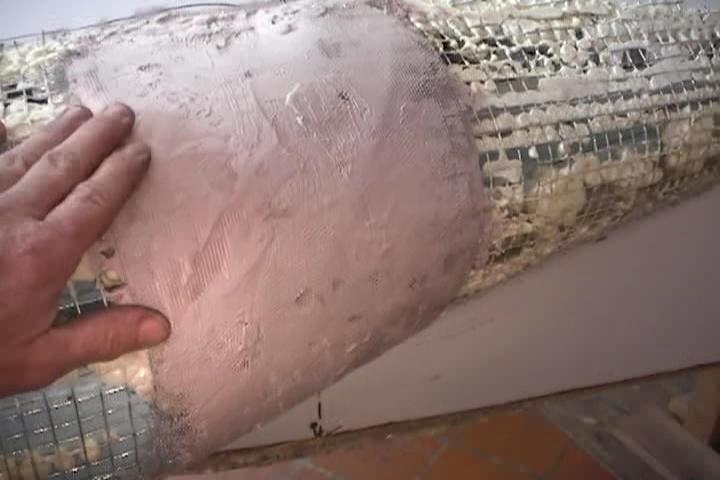
Hardboard side and bottom in position. hardware fabric and foam insulation making up the radius along the bottom. 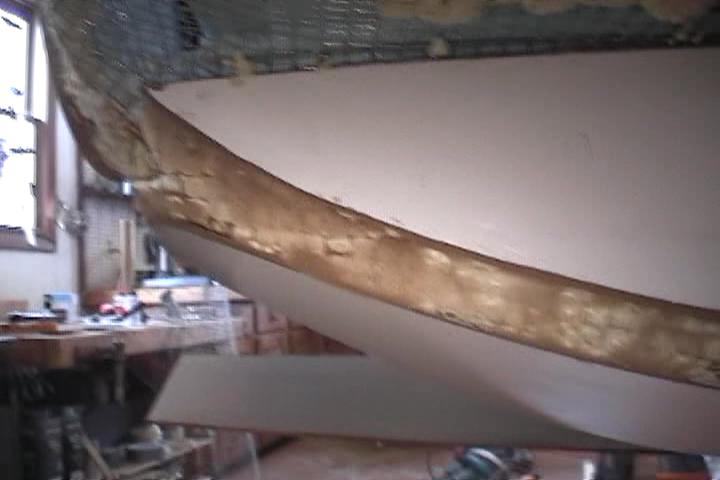
Another view of the bottom radius. You might notice that I'm extending the cowl under the landing gear to the bow aft of the landing gear where the covering fabric comes to. 
Another view of the treatments of the different radiuses. 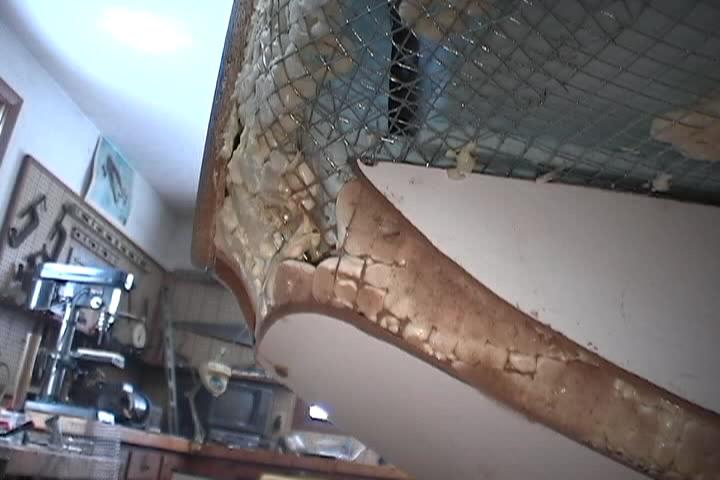
Used a piece of 5/8" particle board as a landing gear spacer. 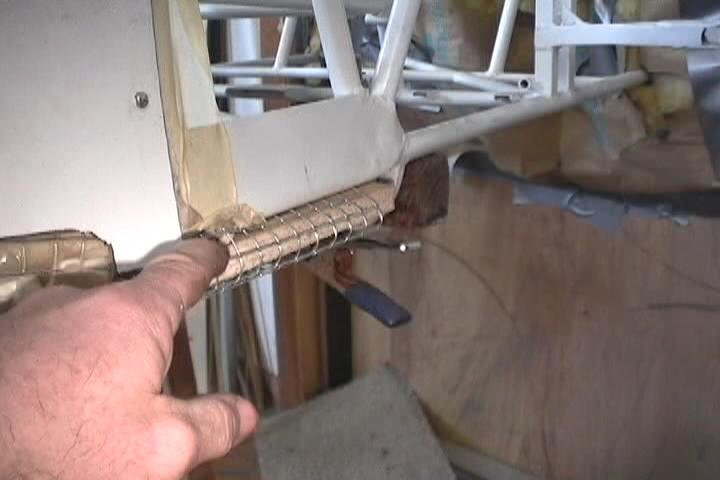
Making up the shape under the landing gear. 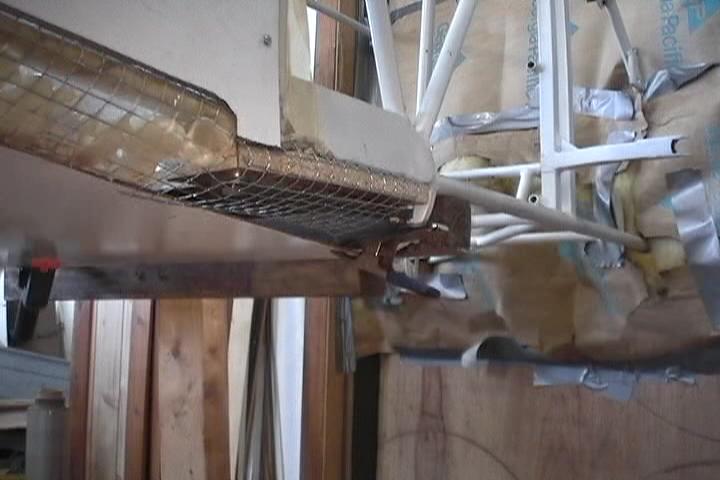
Side hardboard screwed to dummy firewall. 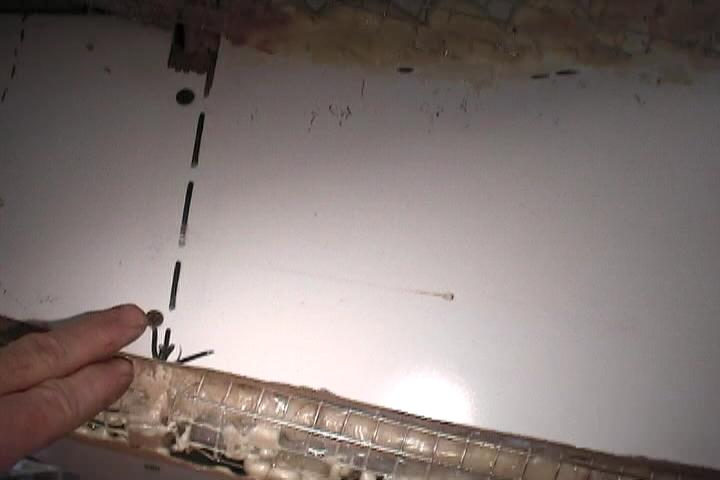
View of the fuselage sticking out into the unheated garage. 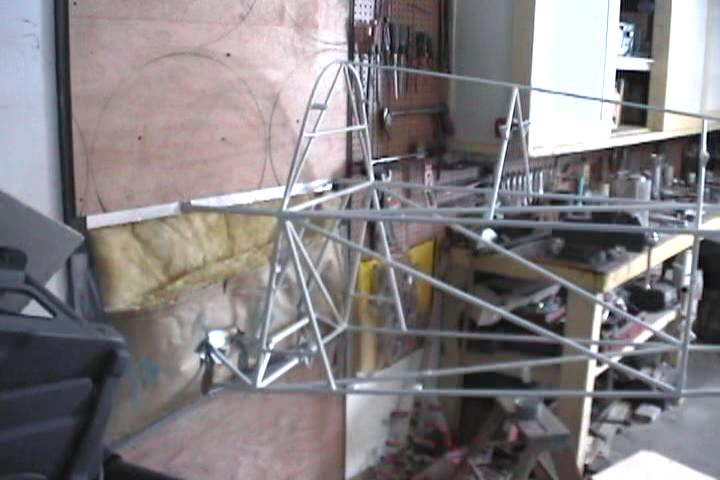
Another view of fuselage stuck in the wall. 
Hardware fabric and foam making up the cheek. 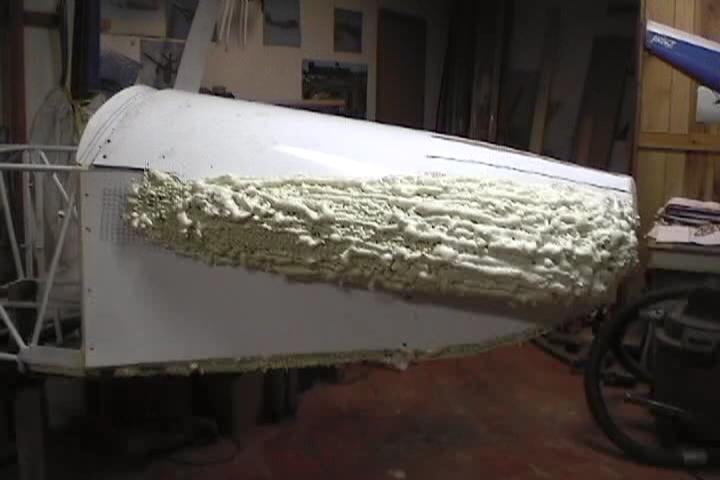
Bondo on window screen, balsa wood in some spots to act as a filler. 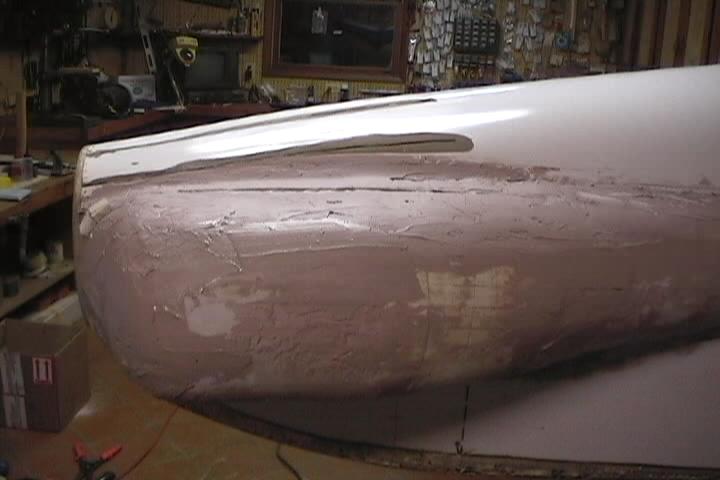
Used a lot of bondo. About 3 gallons overall. 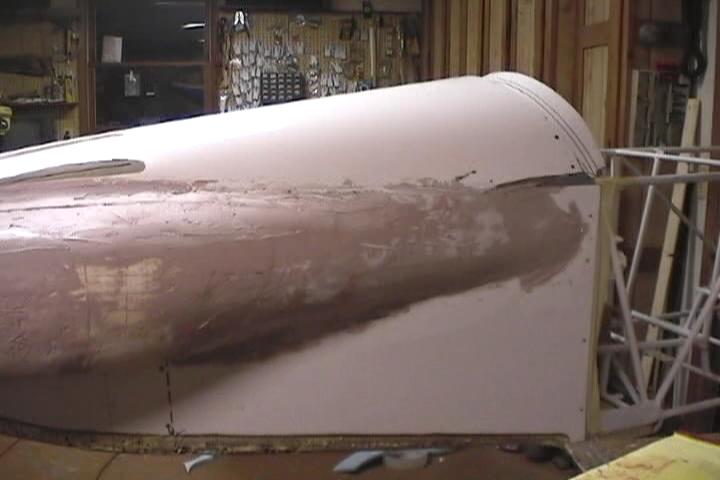
Had to cut slots in the top hardboard to get the top contour of the cowl from the firewall to the spinner. I beleive the stock cowl may be a straight line. 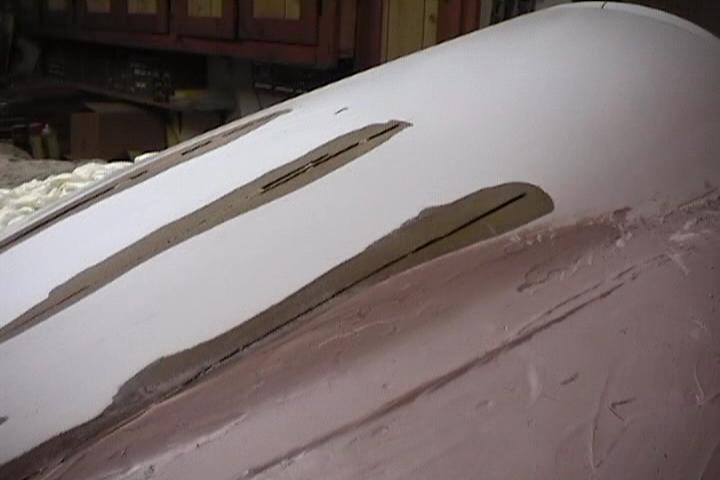
Another view of the top of the cowl area. 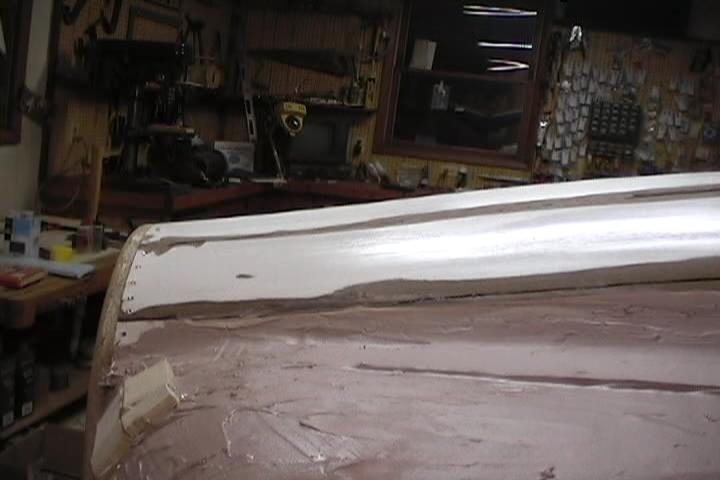
The excess foam is carved away with a knife and the screen and bondo goes on. This second cheek went easier. 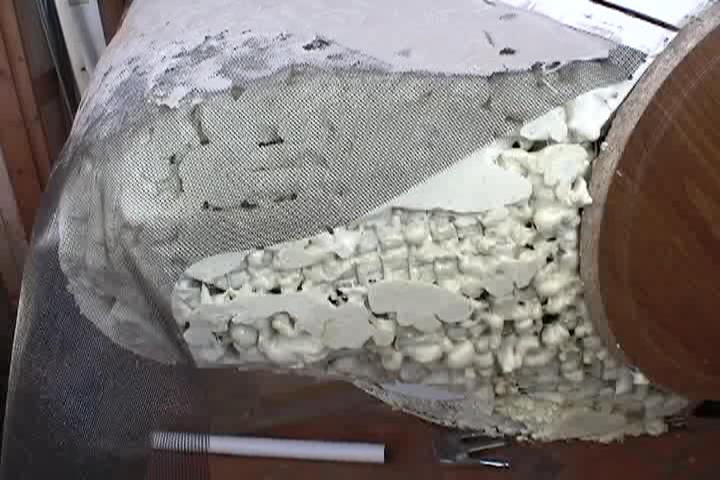
Foam carved and ready for bondo. 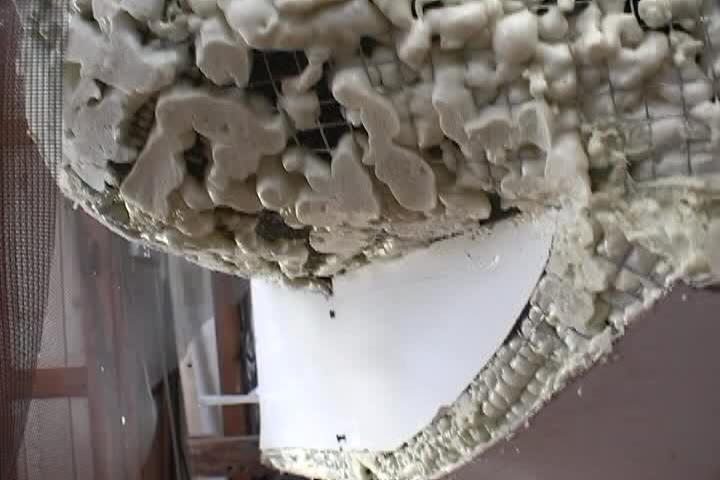
This is my first attempt at taking on a fiberglass project this big. Just kept at it to get the shape I wanted. 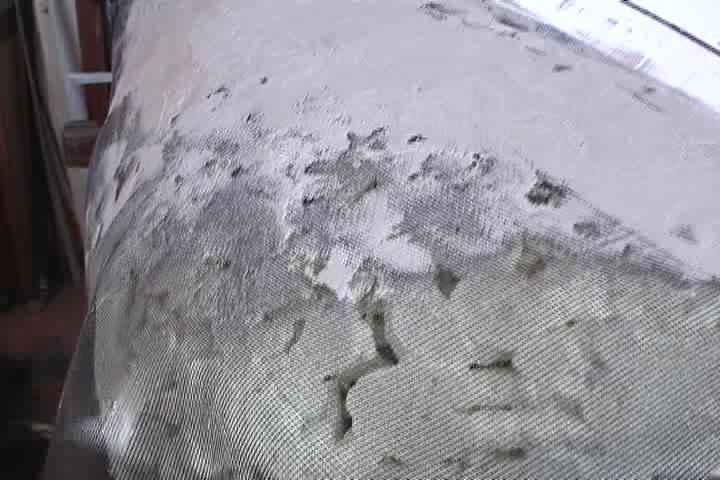
Finnaly getting the mess underneath covered up. Still a long way to go and this is just the male dummy plug. 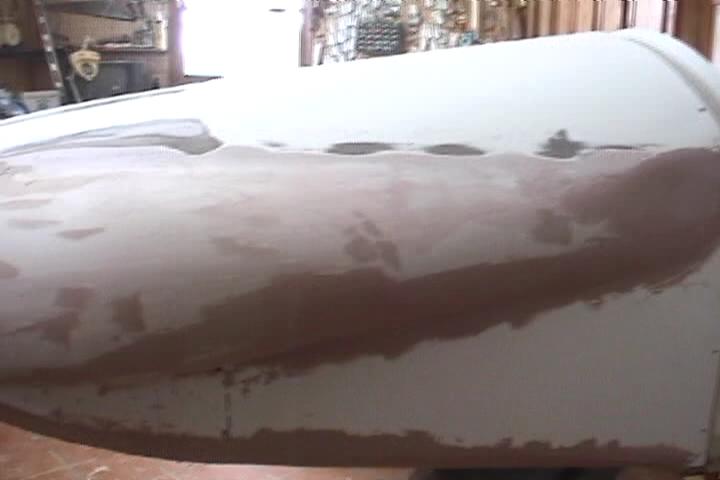
The bottom radius filled with bondo. 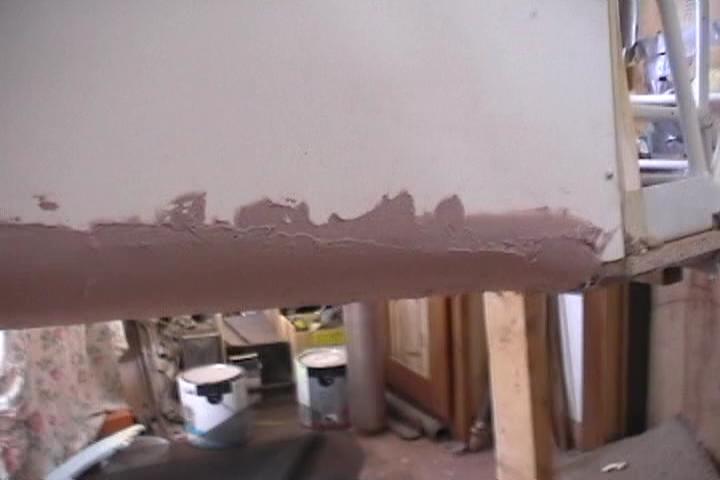
Sand and fill. Sand and fill. Sand and fill. 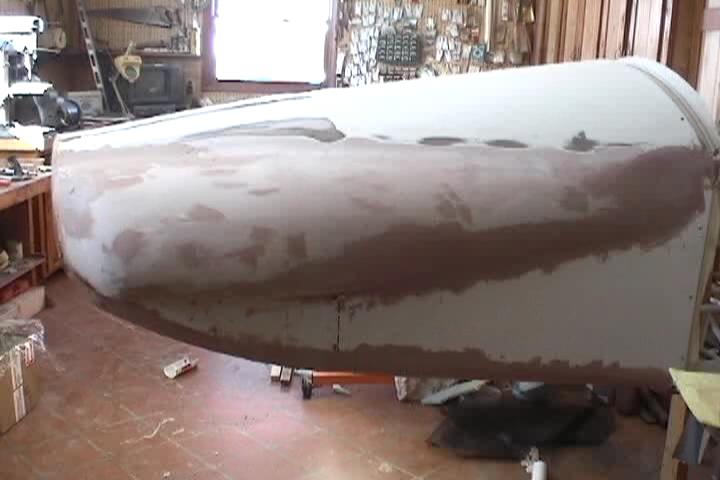
Almost looks like a cowl. 
Initial primer coat to find imperfections. They weren't too hard to locate. 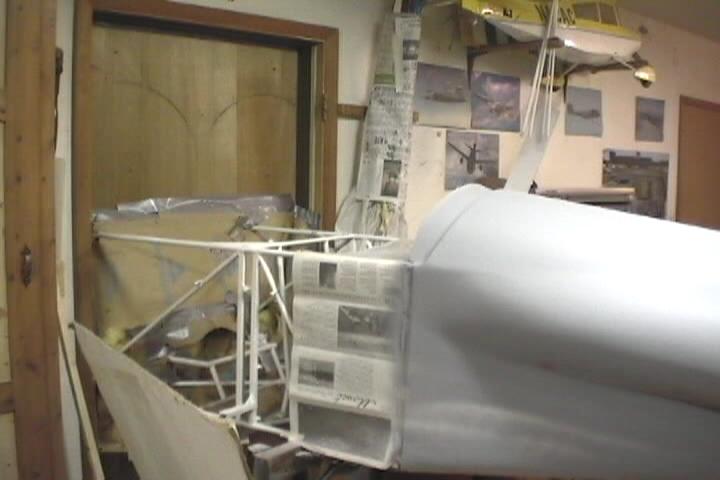
View of other side. 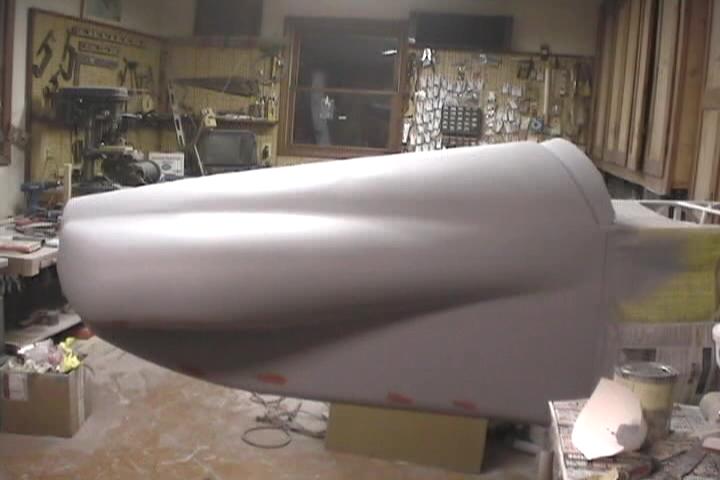
Got as much done on the top as I could and flipped it over to do the bottom. This looks like the plug is almost ready for the making up of the fiberglass female mold. 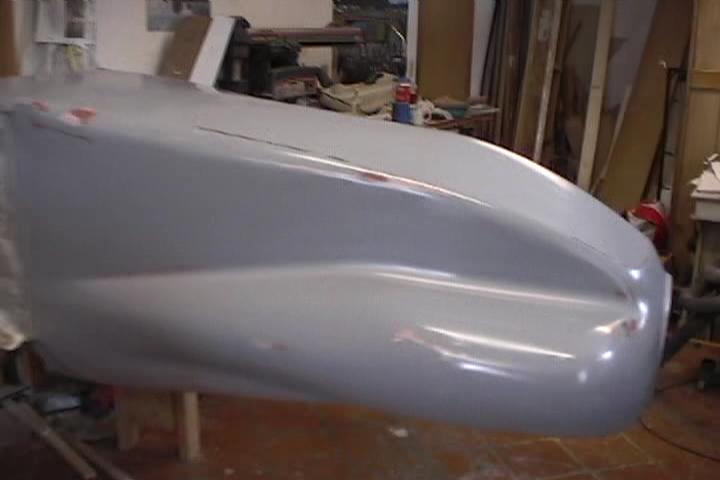
Looks like I have the wax on the plug now. 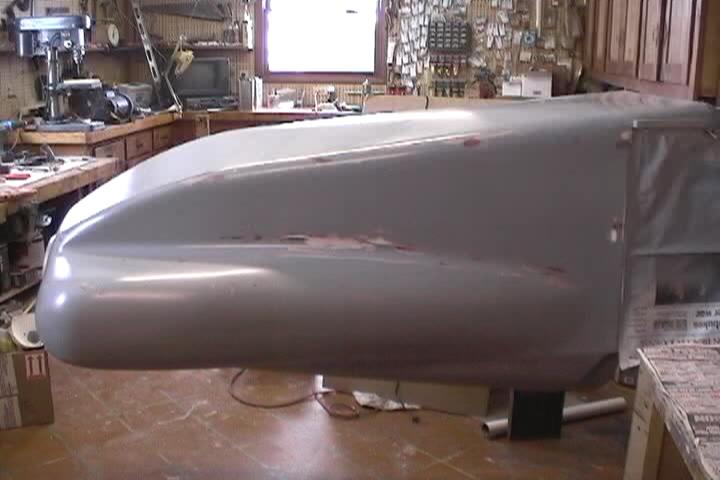
Parting boards in place. Decided to make the mold up in 3 pieces. Split the bottom in half and one top piece. 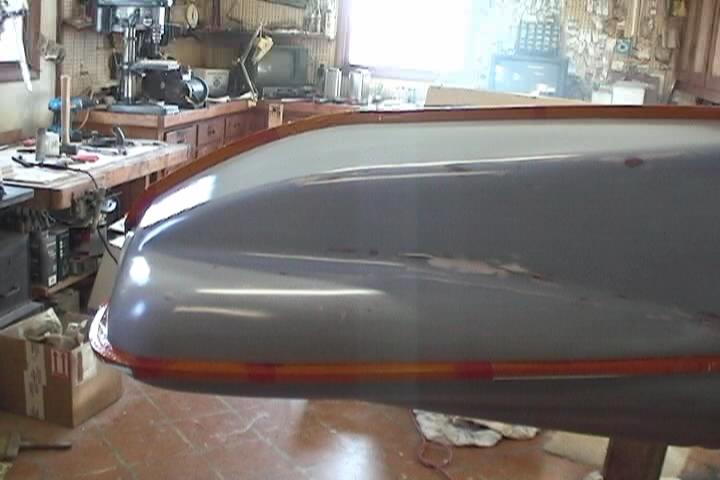
Parting board treatment at the front of the cowl. 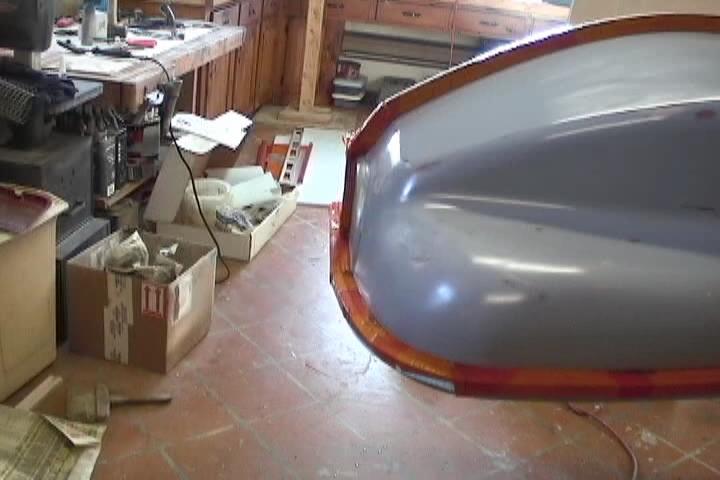
Parting board treatment at rear of cowl. That is a piece of .020" mylar at the bow aft of the landing gear. 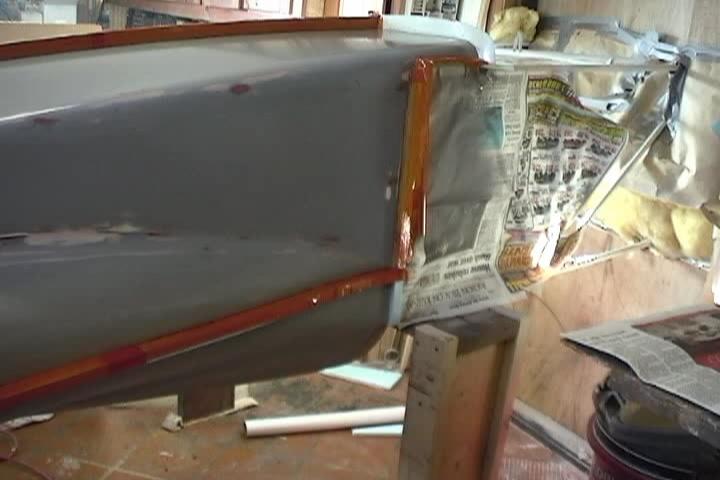
Put a piece of electrical tape down at the parting line. Tacky glued 1/2" foam board to it in 2 layers to conform to the shape of the cowl. Then I ironed on a mylar film to that. The mylar film is from model plane building called "Monokote". 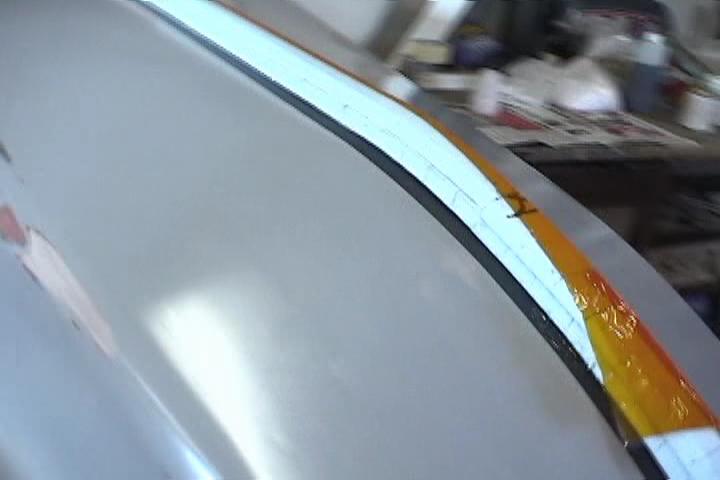
View of how foam board was cut to mold to the shape of the cowl. 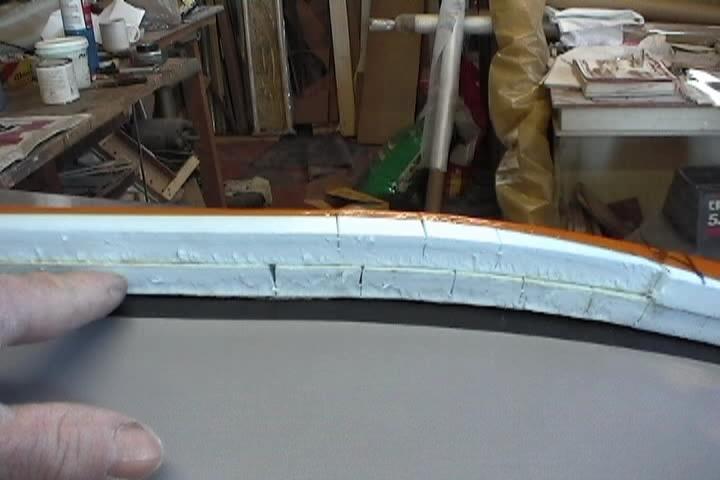
After many coats of wax and a coat of "Part-All" parting agent my gel coat concoction went on. Epoxy, graphite and flox are in this coat to make a rather thick layer to stick to the cowl on the vertical surfaces. 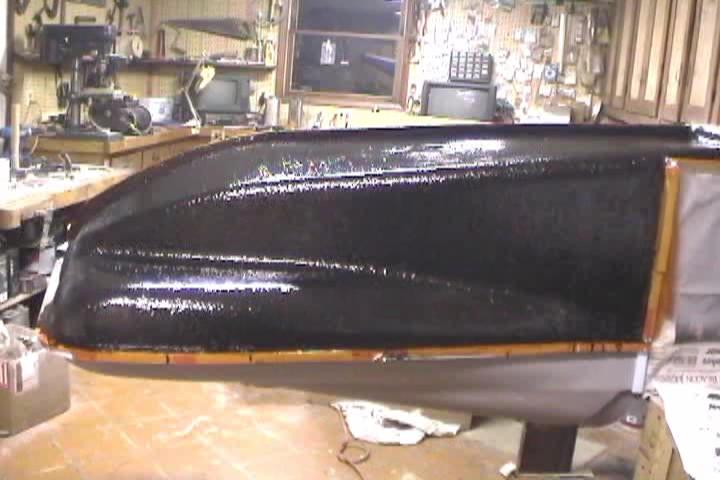
Jumped a couple steps here. Gel coat, layer of 5.6oz. e-glass, balsa wood, bondo to fill some of the gaps in the balsa, and another layer of 5.6oz. glass. 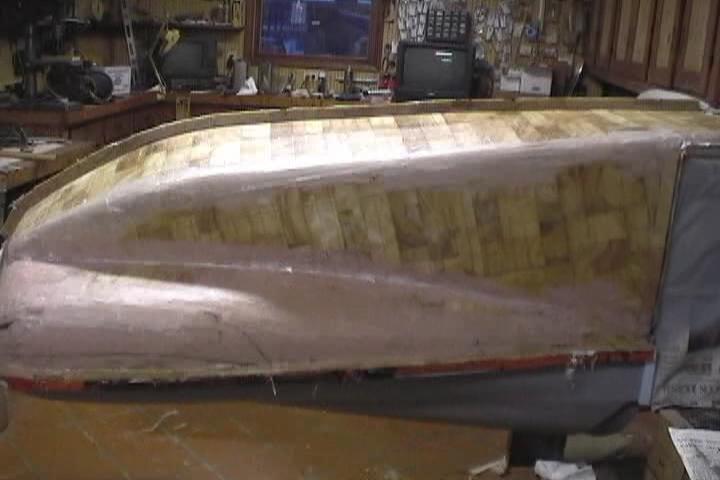
I had these 1/4" 2'x4' balsa sheets that I used laying around. It would be easier to just build it up with a couple more layers of heavier weight fibergass. 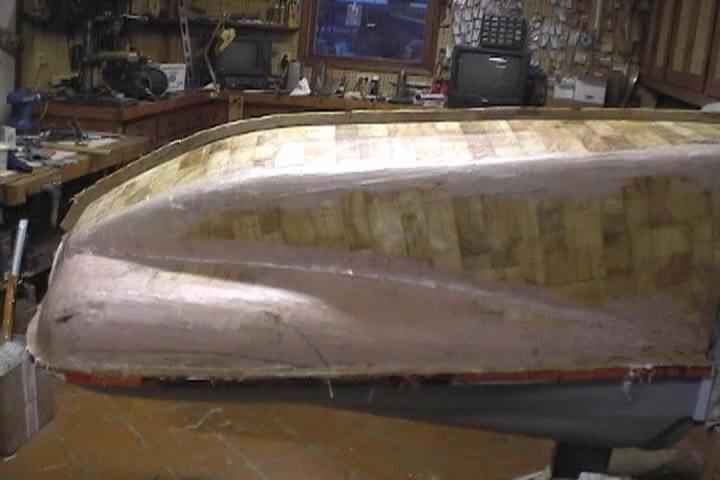
With the center parting board removed the other side receives it's gel coat. 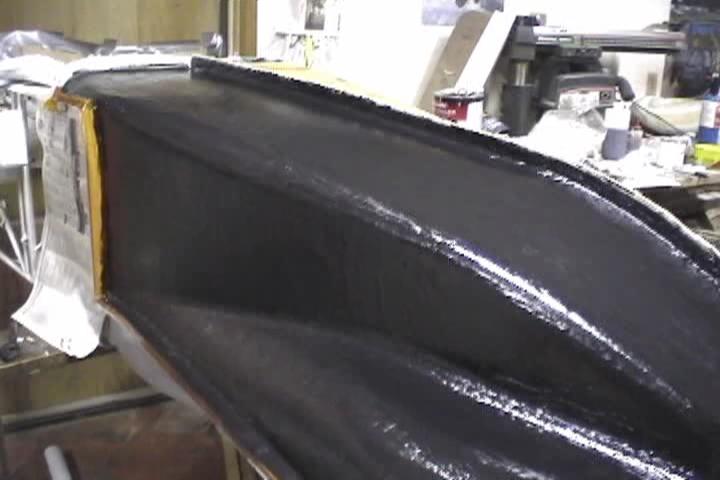
The gel coat is applied to the flange created by the parting board. 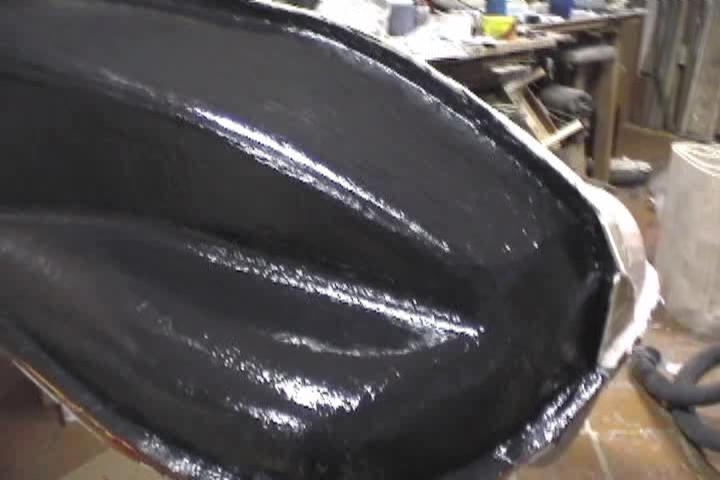
Same treatment on the other side. 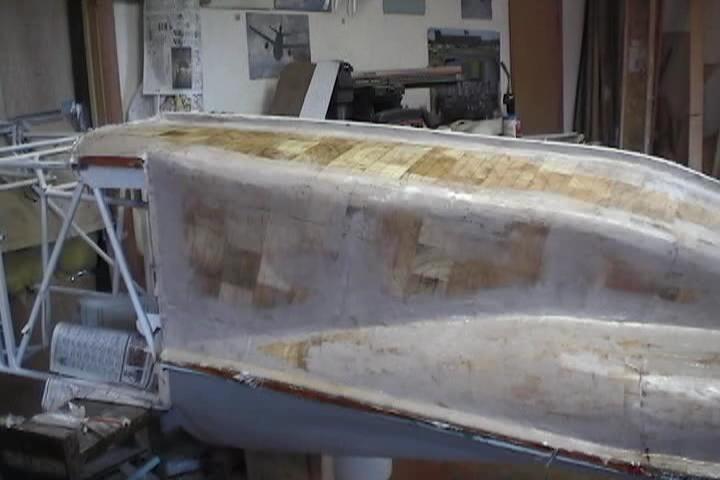
Need to make the flanges pretty beafy also. Holes will be drilled into the flanges for bolts to hold the female mold together. 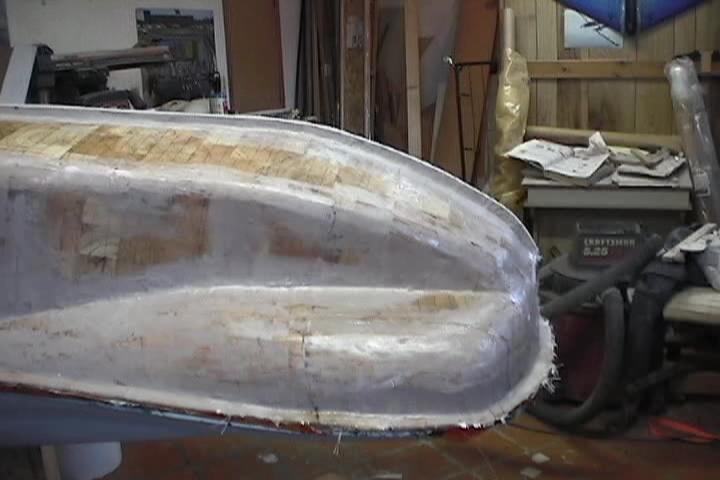
Belt sanded the edges of the flanges to remove excess epoxy and glass where the mold will have to be parted. Not yet though. Still have to make the top half of the cowl mold. Wasn't sure how much damage to the plug their would be when removing the mold. 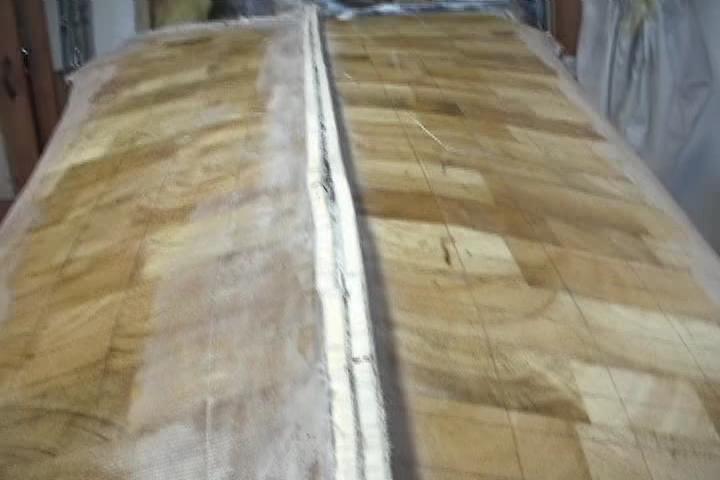
Flipped over fuselage. Resealed up the doorway again. Had to touch up a couple of cracks in the plug from being manhandled. Parting board removed. Everything waxed and coated with "Part-All". 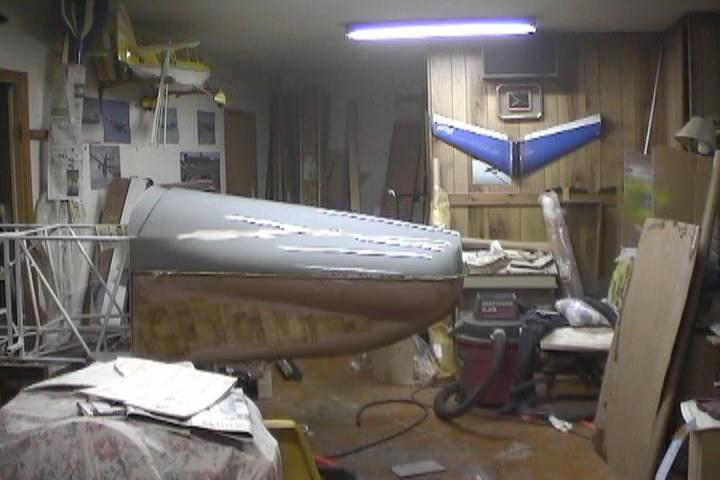
You can see where the plug had cracked and needed patched. 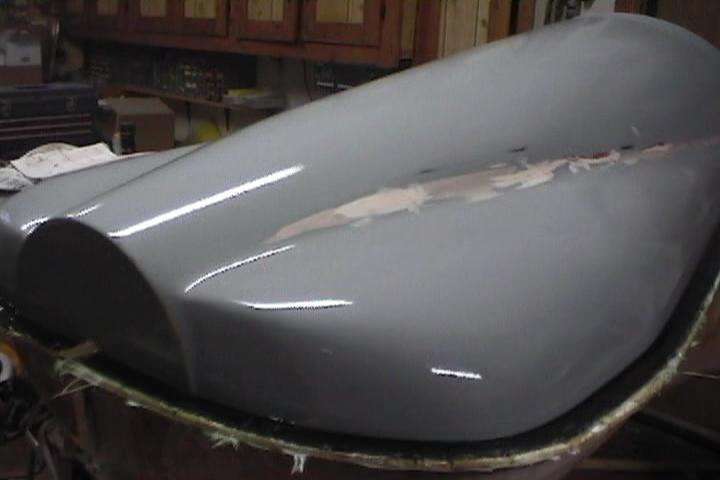
Ready for the gel coat. 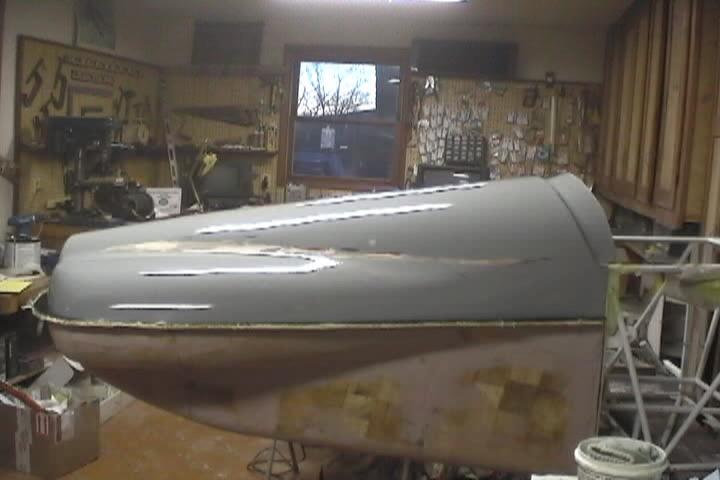
Laying up glass over the gel coat. The gel coat is allowed to set-up fairly firm so that applying the the glass doesn't disturb the gel coat, but you can't allow the gel coat to completely cure but still be slightly tacky. 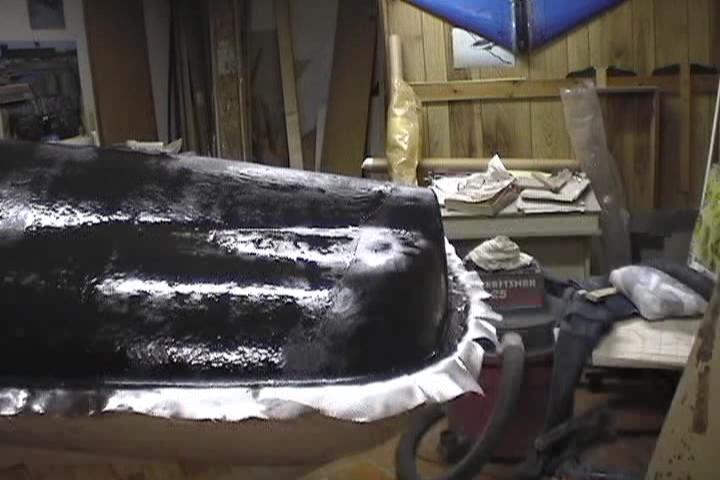
Ran the glass over the edge of the parting flange. It will be cut and sanded away when cured. 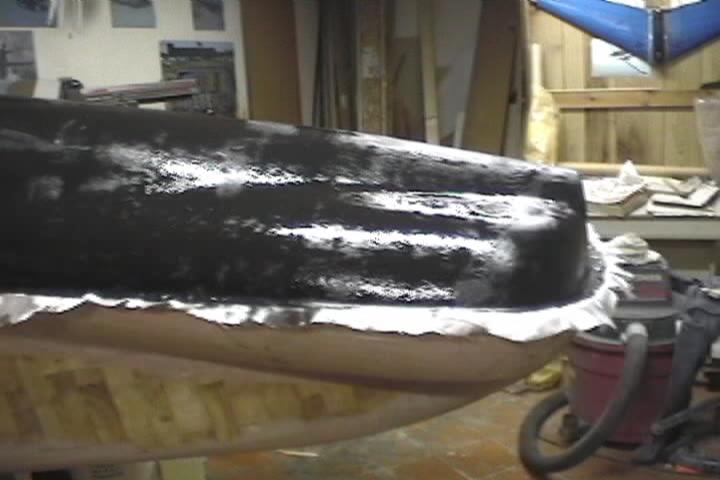
Half of the bottom removed. It took alittle wrestling to get it off but it popped off with very little damage to the plug. No damage to the female mold. Some primer came off the plug onto the female mold but was easily removed. You can barely see the bolt holes in the flange. 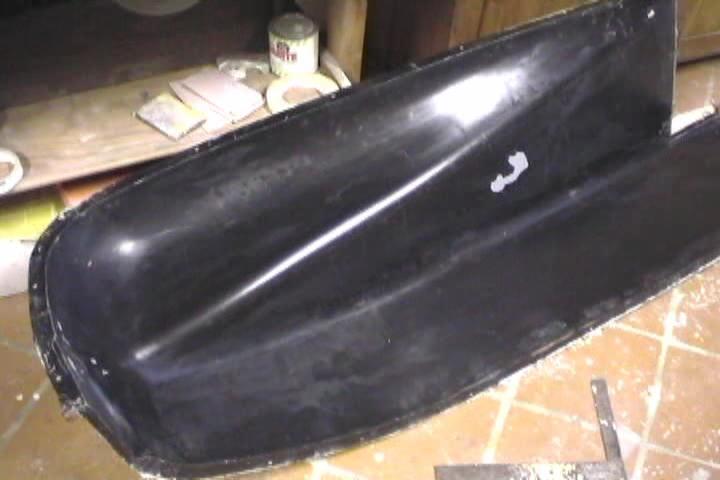
Plug with missing primer. 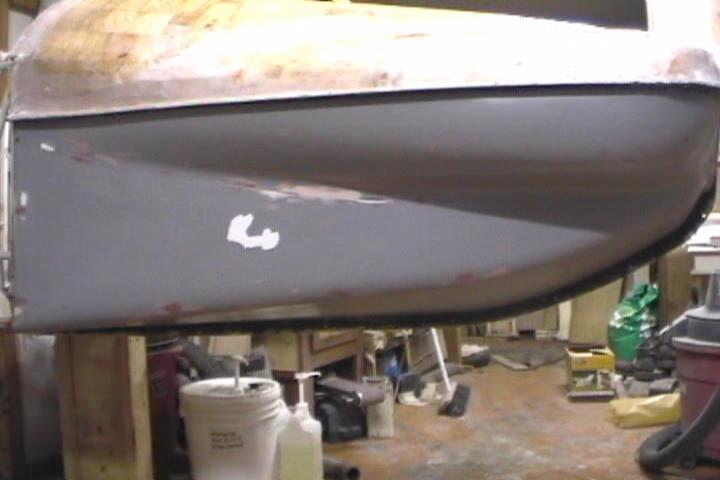
Excess removed from flange with angle grinder with cuttoff wheel. Holes drilled as required in flange. 6 to 8 inches apart. 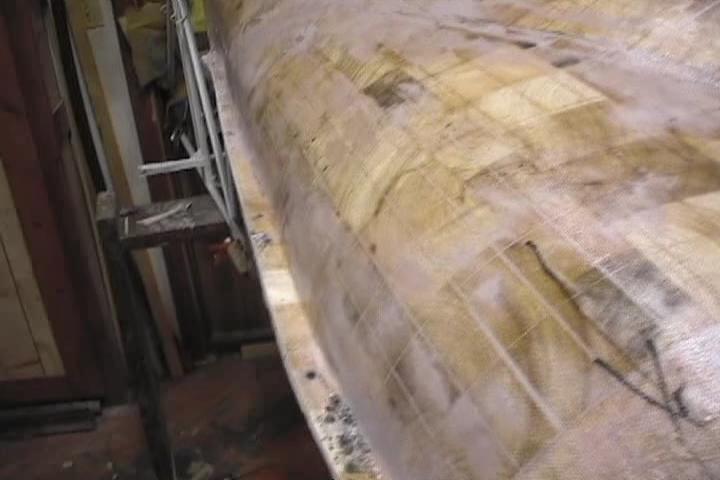
Top female mold removed. 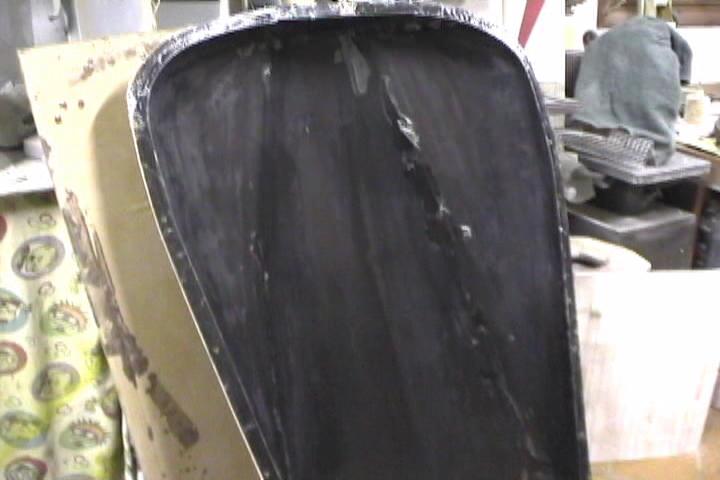
The plug was basicly undamaged. Trouble is I had to destroy all that work to get it off the fuselage. 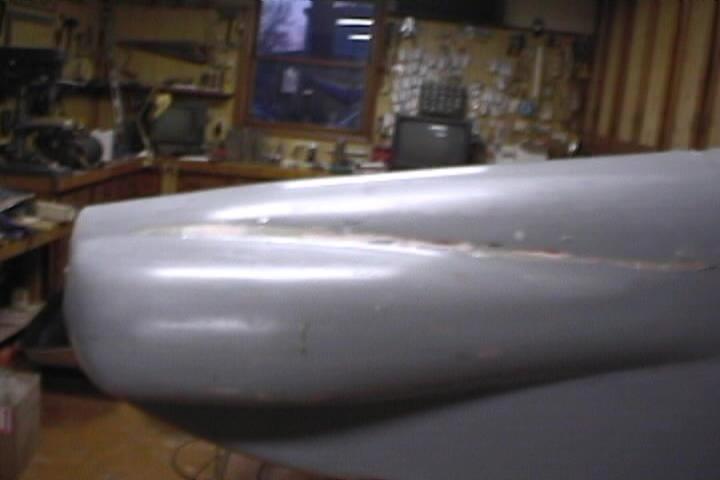
Bottom female mold halves. Might of been able to make the bottom in one piece but it would of been very difficult to get off without damaging the mold. 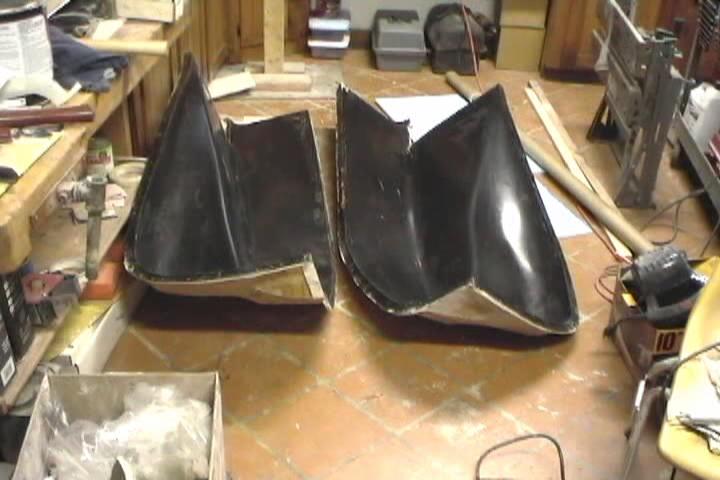
Bottom mold haves bolted together and clamped in my "Mr. Workbench". Mold cleaned up waxed "Part-All" applied and a clear coat of epoxy resin applied. 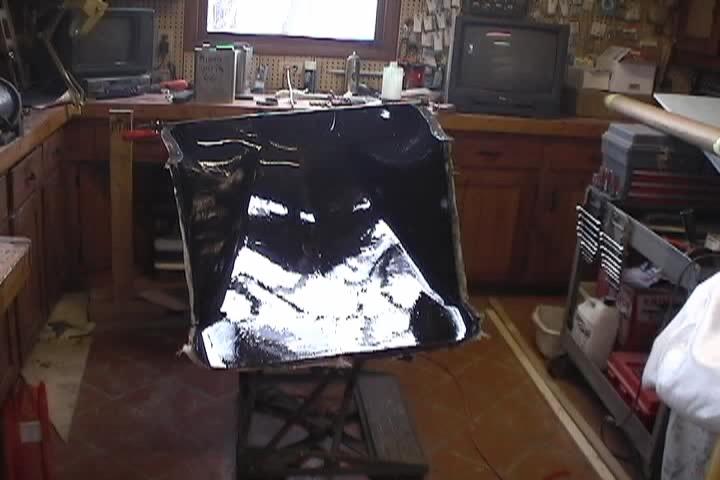
Applied 3.74oz. e-glass first then 5.0oz. Kevlar. 5.0oz. Kevlar was a lot easier to work with. Bar clamp across the top to keep sides from bowing out too much. 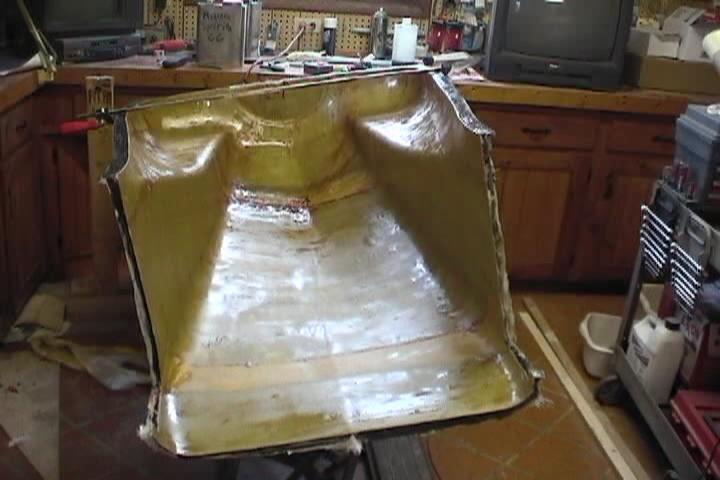
Trimmed excess glass down to the edge of the flange. 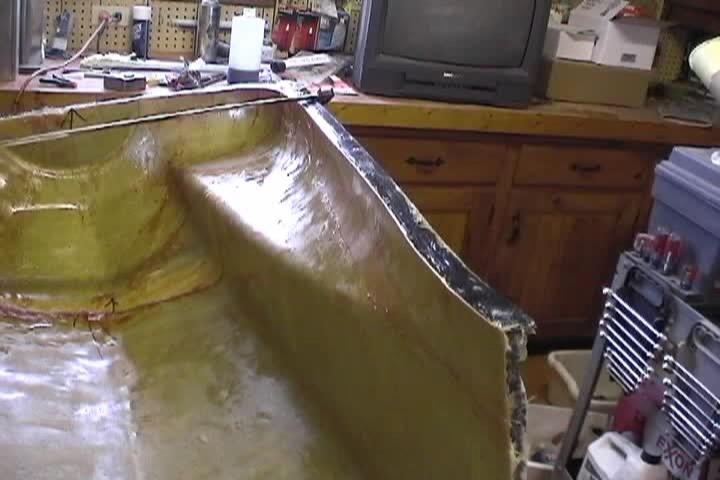
Top mold cleaned up waxed and "Part-All" applied. 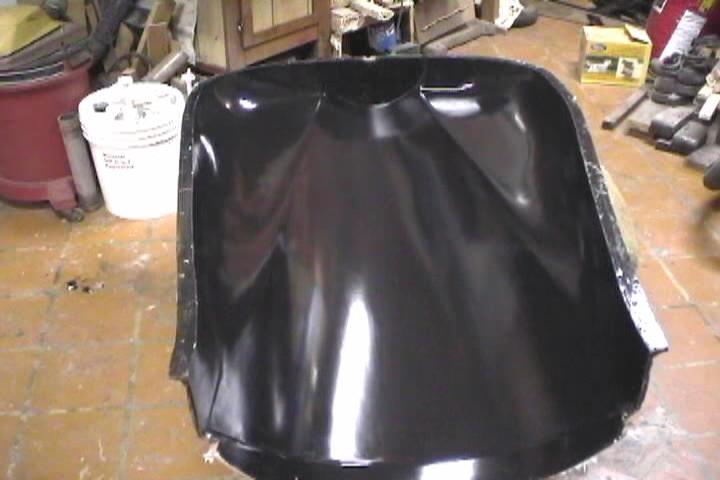
Beefed up some areas like the edge of the cowl and where it mounts to the firewall with some fiberglass mat. 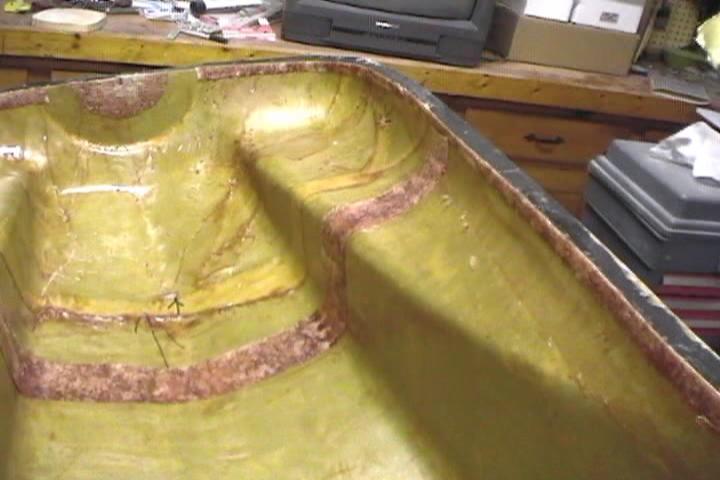
Mat applied around landing gear area. 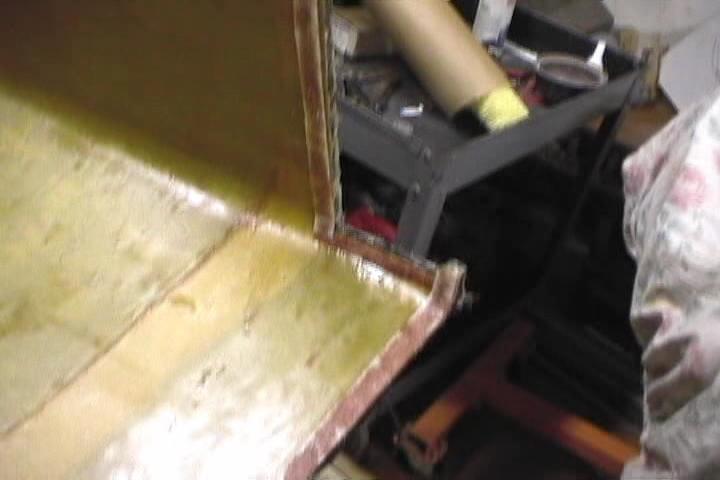
Epoxying in the hinges where the cowl splits. 
Did this with the cowl inside the female mold all bolted together. 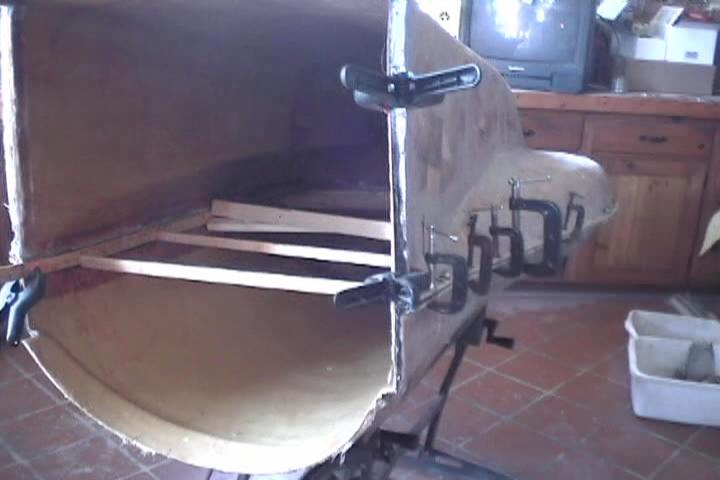
Boards wedged in holding hinge in place. 
Thats a yard stick with mylar film on it to keep it from sticking to the hinges. 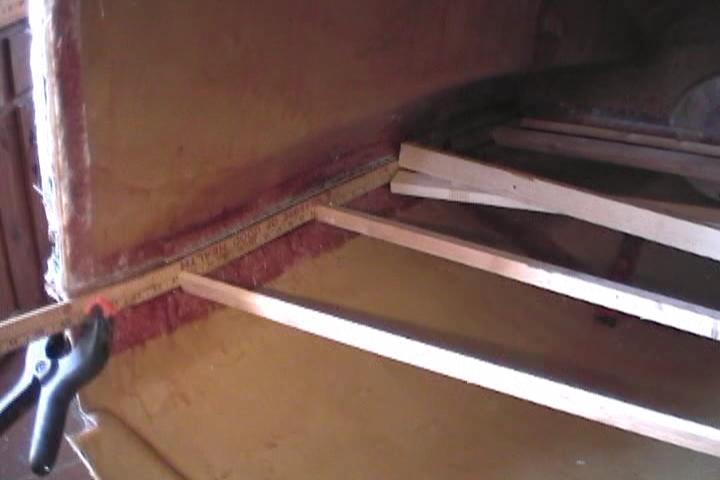
Initial fitting. Front fuel tank strap is holding it up to high at the spinner. Had to cut down the tank strap clamp. 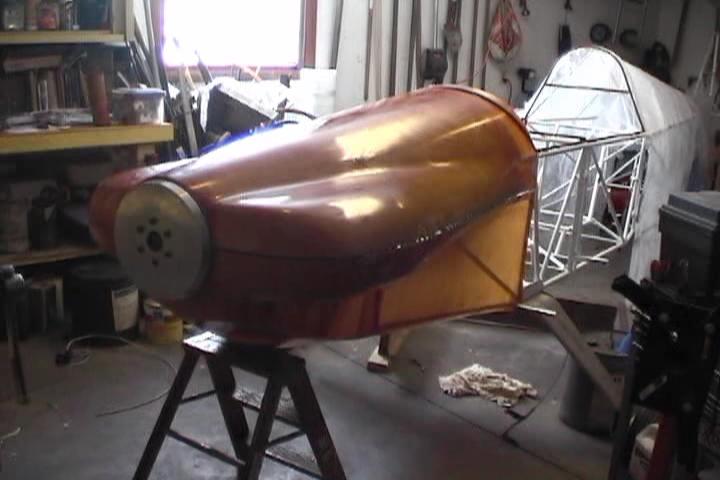
Another view. 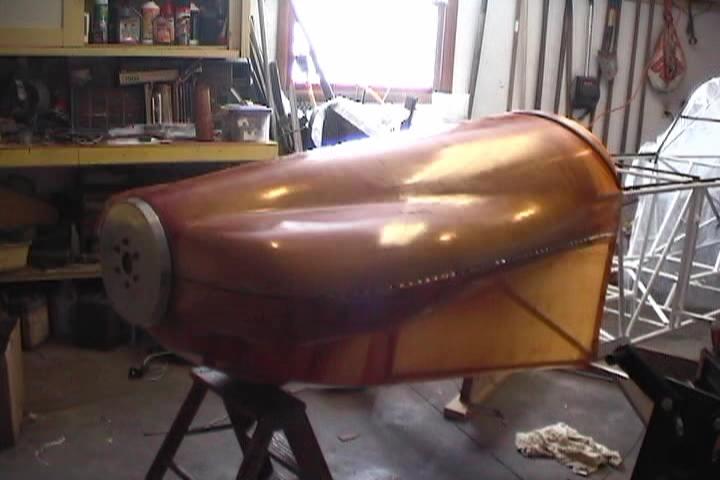
Marking the position af the firewll. Using a laser level to project the line from underneath. The red glow of the laser is faintly visible in this photo. 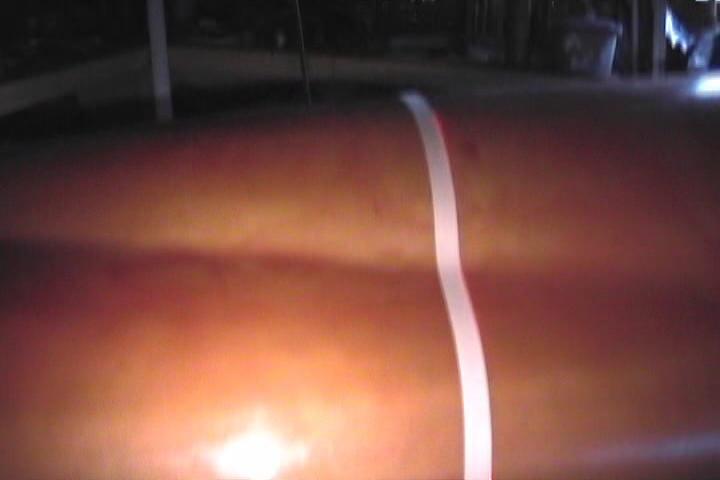
Better picture of how laser level marks the position of firewall. Just aimed it from underneath so that it just ouched the tubing at station #1. 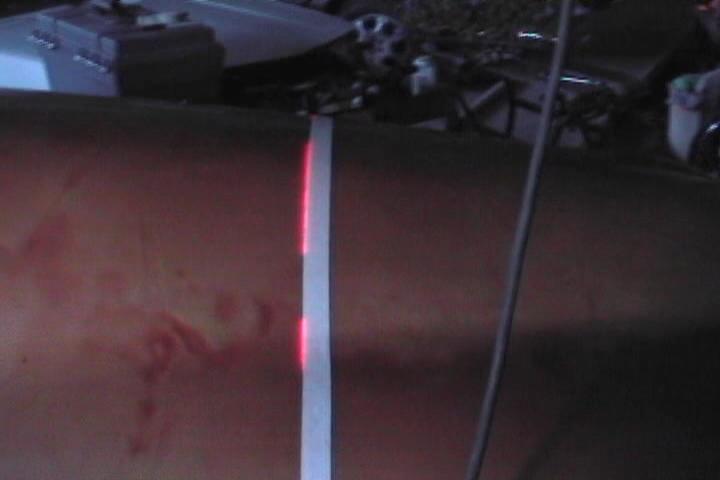
Laser level just touching tubing at Station #1. 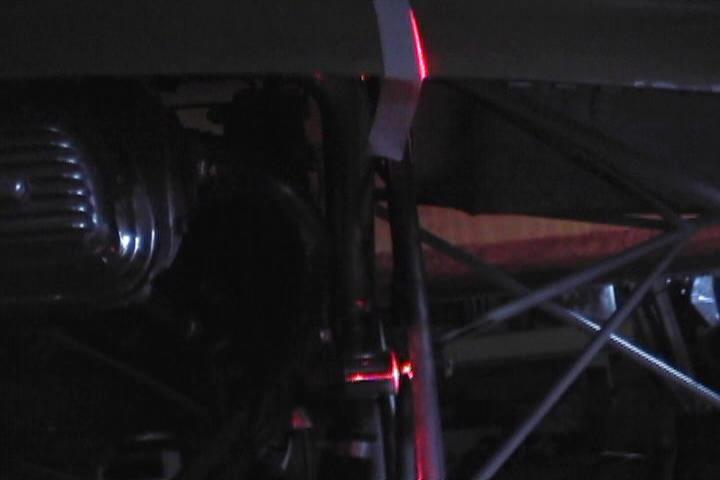
Did this with enginen mounted. 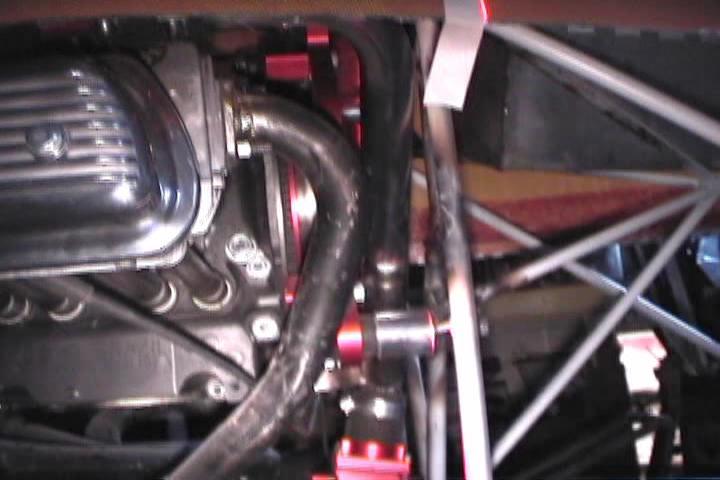
Laser line on cowl from underneath. The laser line shines through the semi transparent cowl. 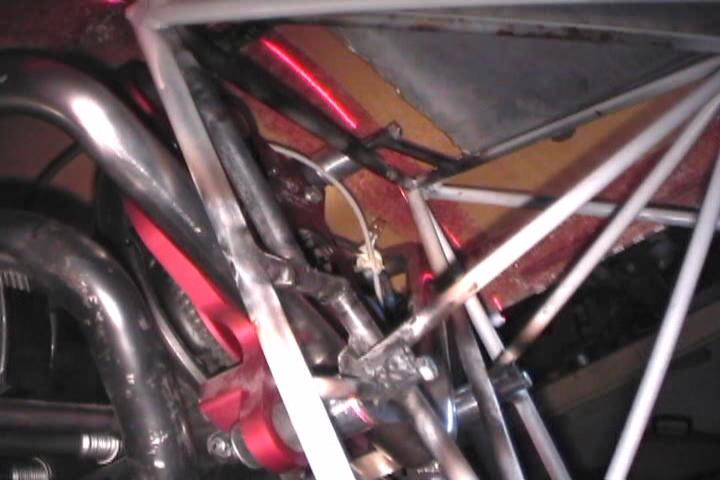
I' m making the cowl up as 3 pieces. A one piece top and a 2 piece bottom split at the firewall. Here in this fuzzy photo I'm making up the lap joint at the bottom split. 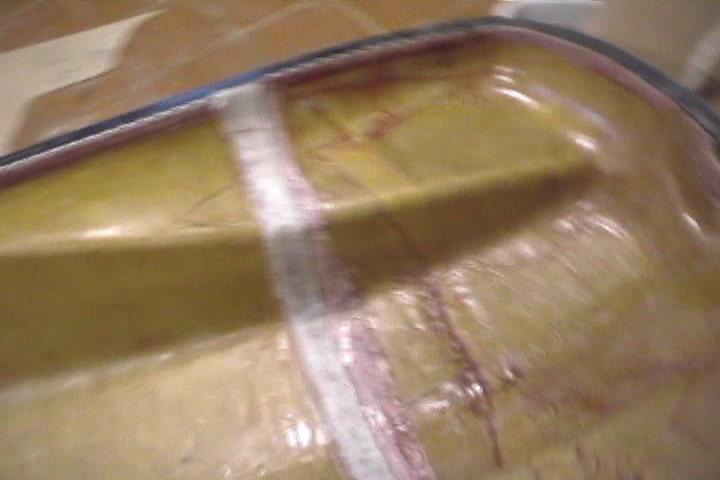
This is how it splits at the lap joint.