First coating of primer. Using the Superflite System VI process.
The primer will fill in the fabric weave but doesn't do much for filling in the other imperfections. 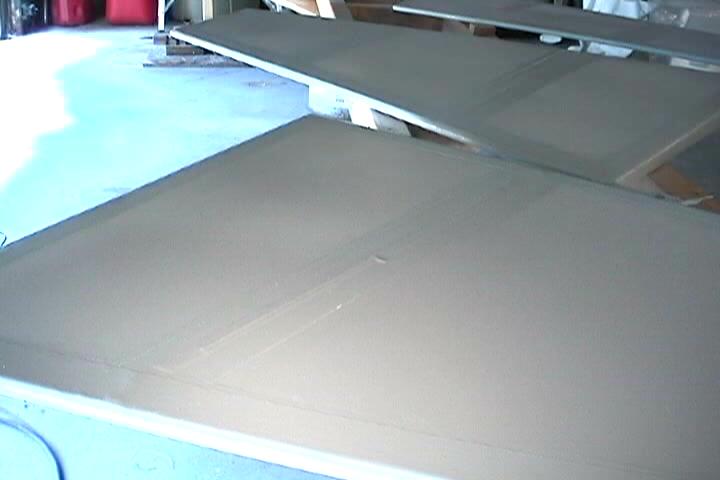
Layed out all the parts so that I could paint as much as I could in the 1 1/2 hour pot life of a mixed batch of paint. 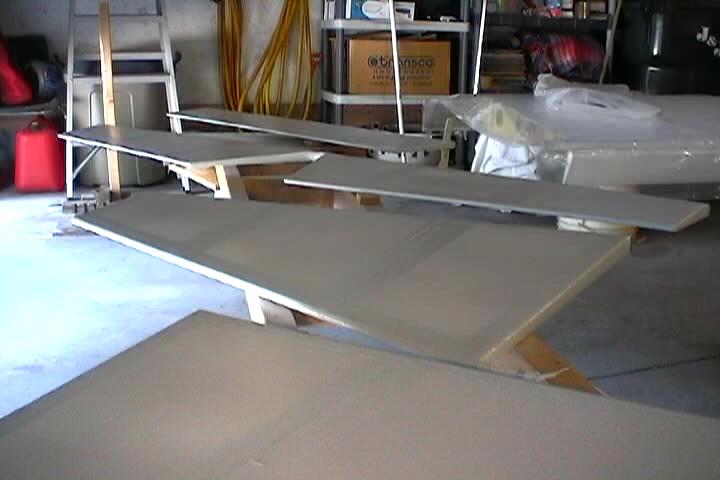
As you can see the primer doesn't cover much. It's going to take several coats and a lot of sanding. 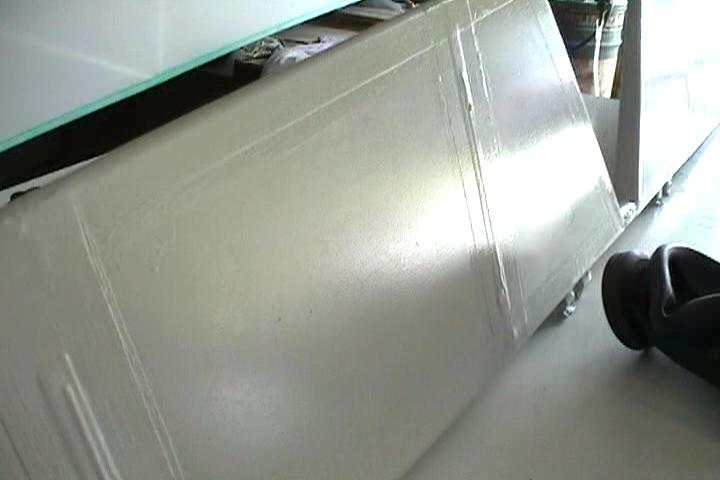
You can see any glue lines. 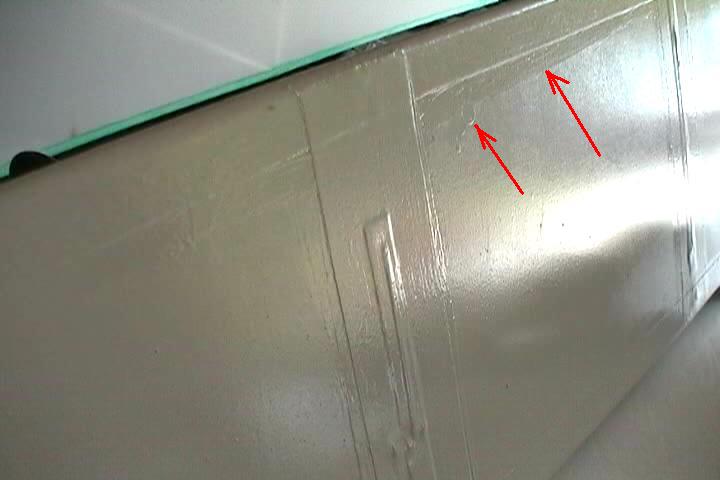
It's going to take a lot of sanding. 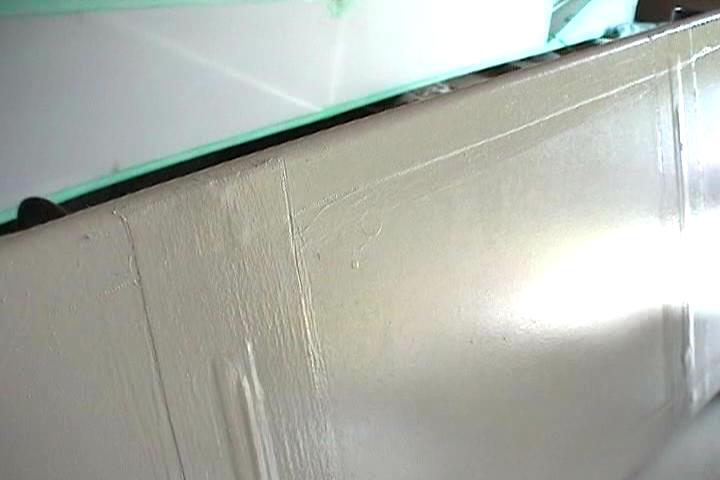
Close up of what you will have to avoid or deal with. I wanted to get the primer coats to fill in the imperfections. I didn't want to sand down the color coats to get rid of the blemishes. It may have been easier to sand the color coats because the color coat fills in better. 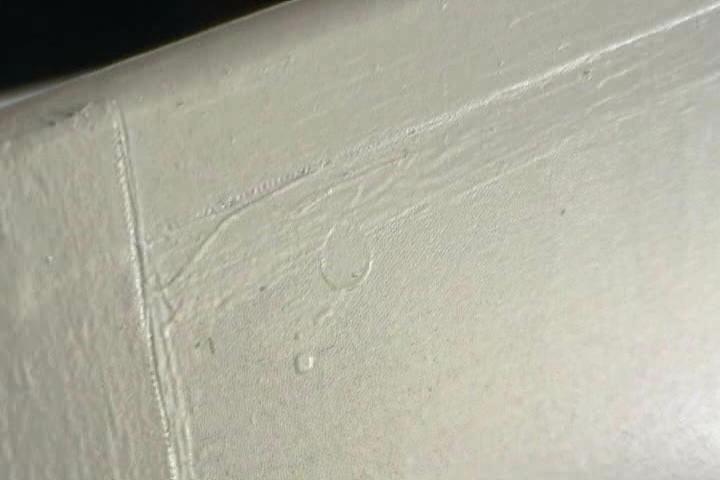
A frayed tape edge. 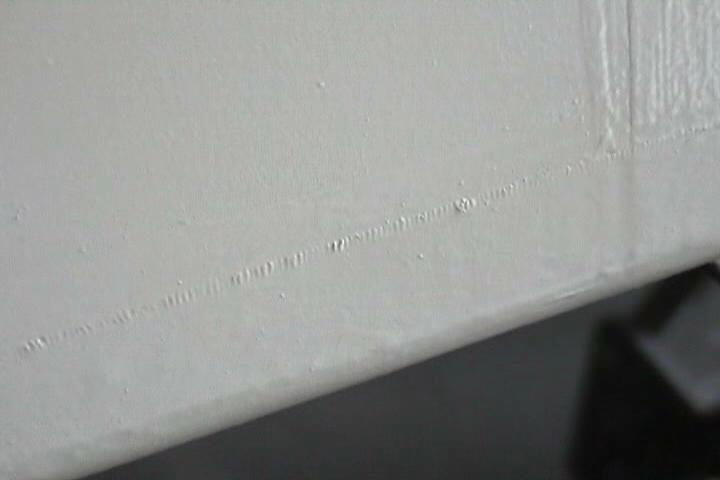
A glue run that was wiped off but still is evident after priming. 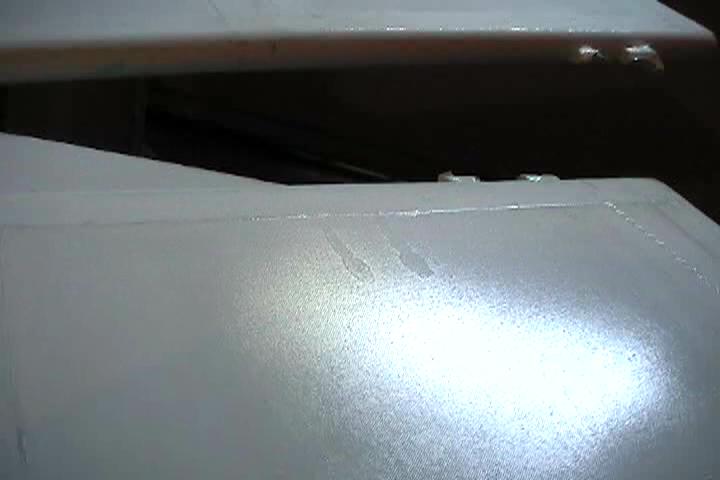
Thats not the fabric weave you see here, it is orange peel. 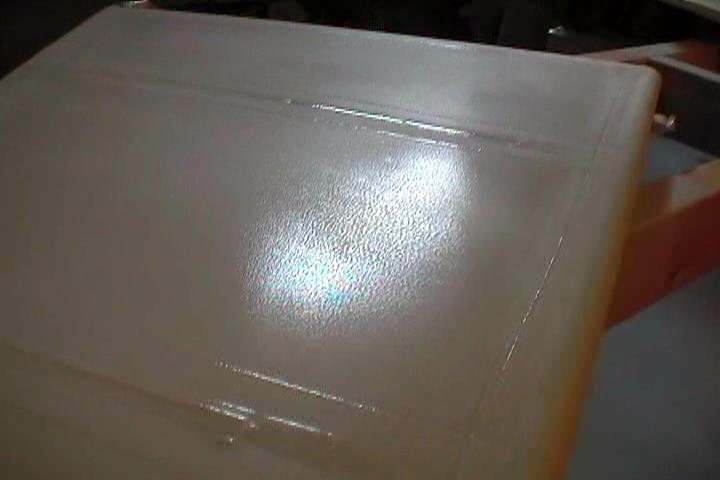
This is the second cross coat. The weave is filled in. The primer dries to a glossy finish. 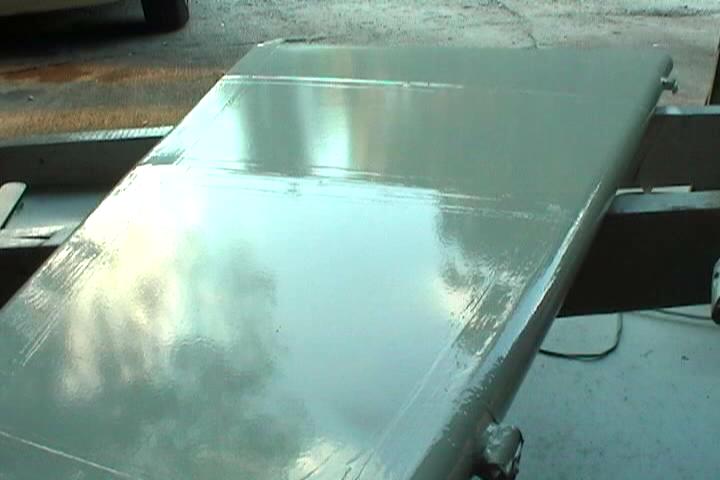
After my experience with the finish on the control surfaces I figured I better try to get a better prep of the fabric on the fuse before applying primer. 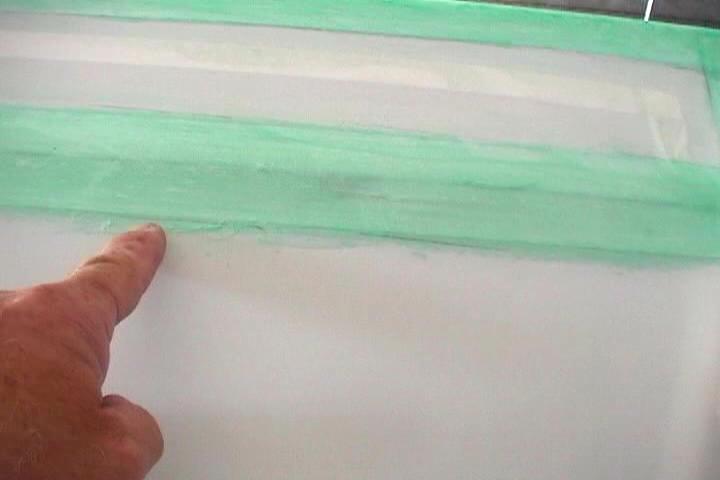
Cut down a 1" glue brush and went over all the tape edges to remove any excess glue using MEK. 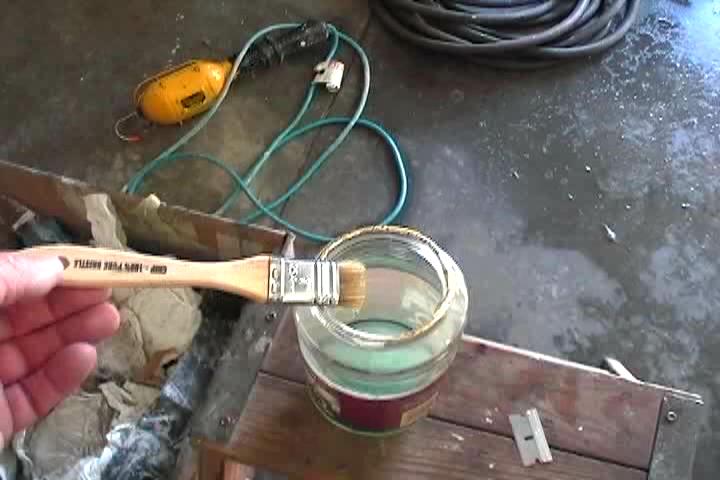
There are a lot of tape edges to go over. I beleive it is worth the extra effort. 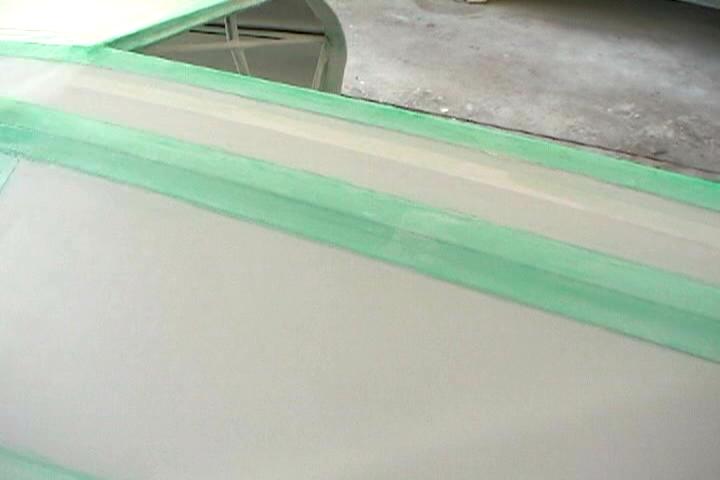
Green the edge is cleaned up. Red is yet to be done. 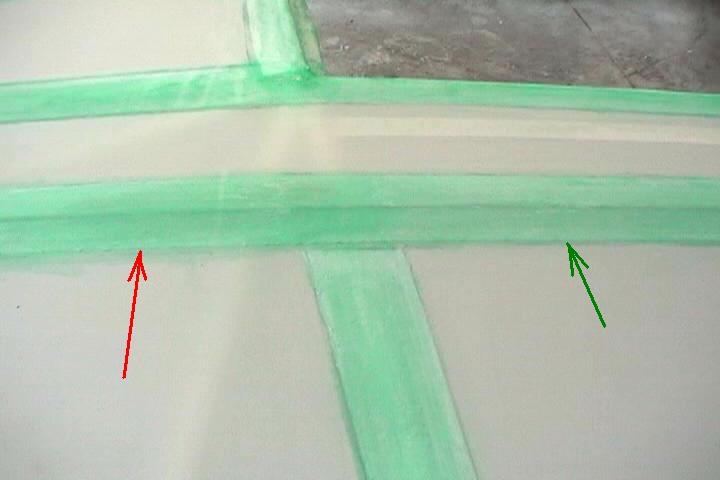
First primer coat on fuse. 
View of what you have to deal with. 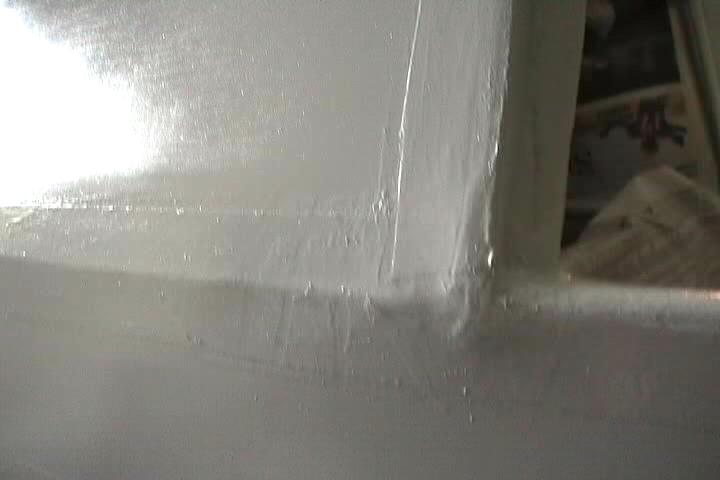
Pointing at a bolt head just under the fabric. It doesn't touch the fabric until you start sanding and the pressure hits it. Only takes one swipe with 220 grit dry sandpaper to almost cut through. 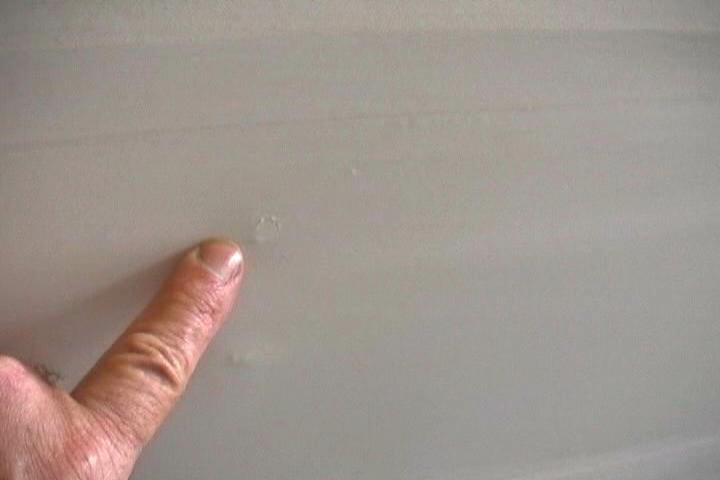
Was able to get to the back side of this and glue in a fabric tape patch. 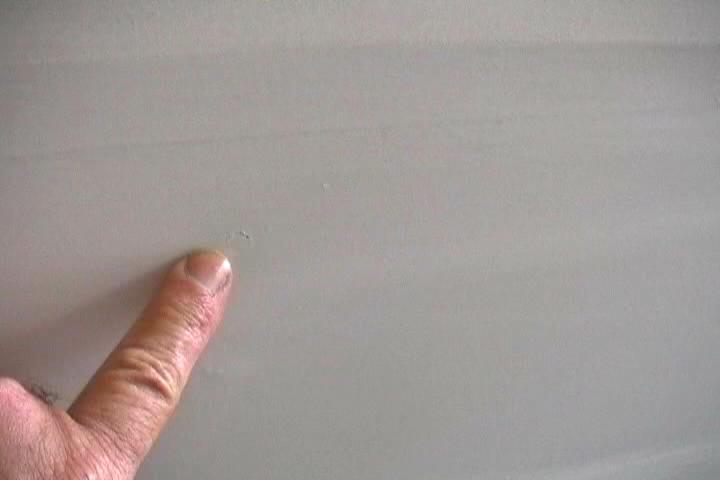
Can't really see it in this photo. Got to watch sanding over the diagonals that are 1/8" underneath the fabric. You'll cut more over any hard surface the fabric contacts while sanding. 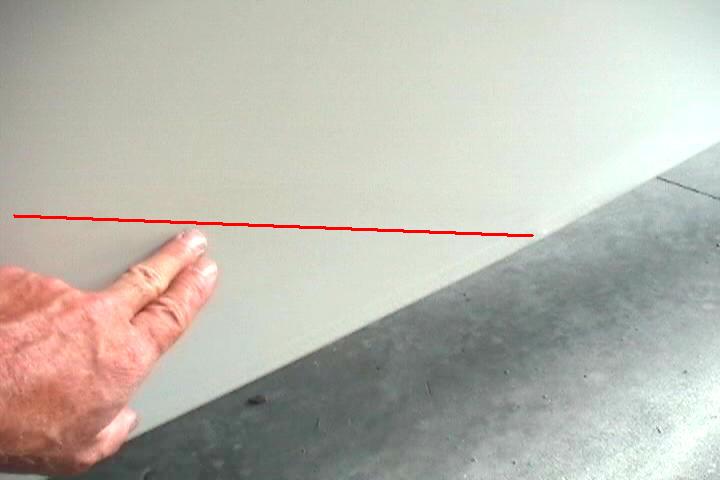
This is sanded down to were the green glue starts to show on the tapes and the orange peel is removed. 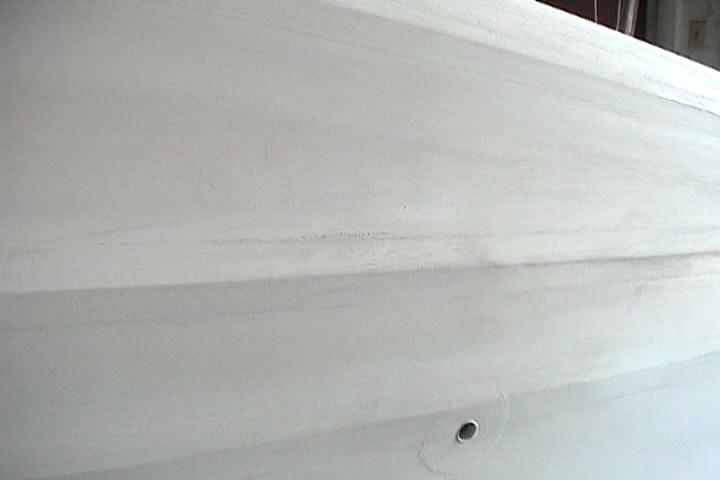
I used 220 grit dry sand paper for most of my sanding. For the most part you can be pretty aggressive with the sanding. But you have to be aware of any hard surfaces under the fabric. I put a piece of masking tape on some of the hidden hardspots that the fabric might push against while sanding as a reminder. 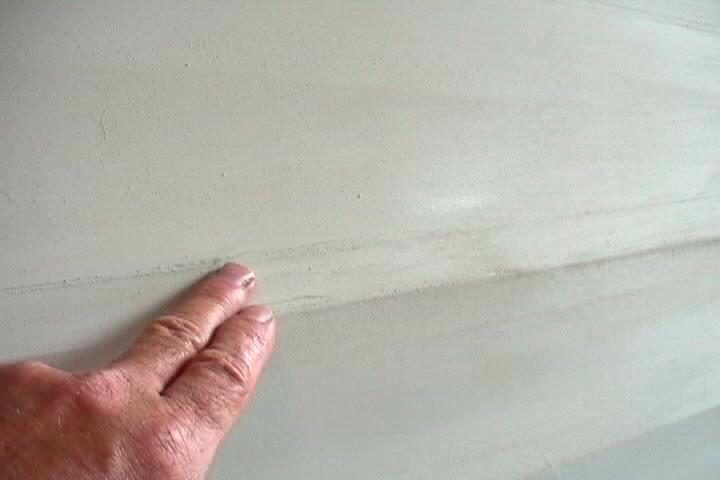
This is the turtledeck. It is very rough with brush strokes and the very aggrevating brush bristle stuck underneath in the glue. I used the cheap disposable glue brushes. Applying the glue tends to pull any loose bristles out. Superflite sells a special glue brush applicator. Don't know if it would give better results. 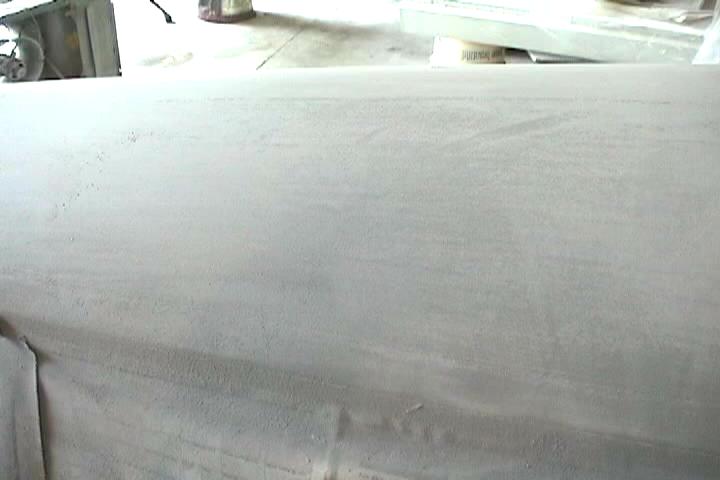
No way was I going to get the finish I wanted using the Superflite primer. It was just too rough. 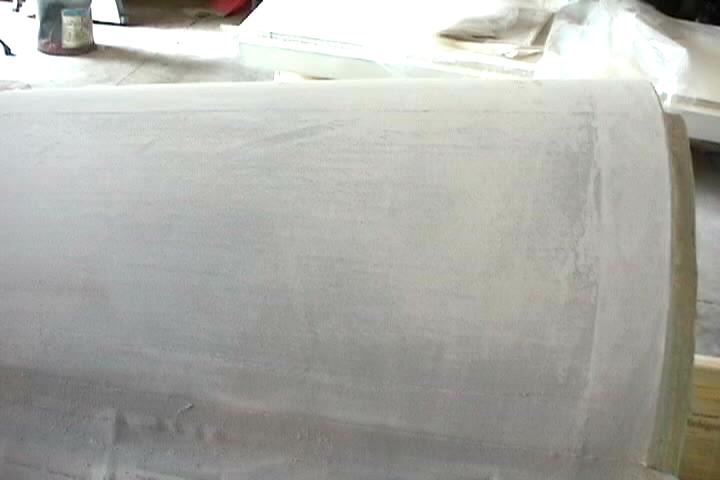
Here's my fresh air supply for painting. This is the exhaust for the kitchen hood. Gives me fresh air from in the house. Smells like hamburgers. Used 2 twenty foot sump pump hoses to feed a modified respirator mask. I real pain to work with but necessary when spraying this paint. 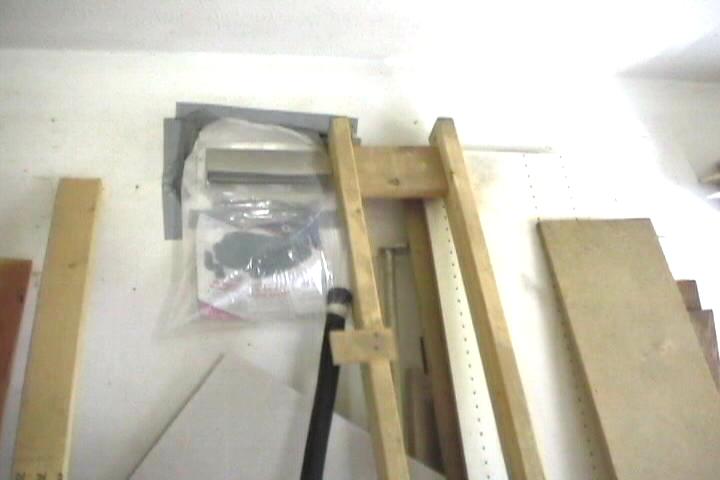
My stab trim pulley is under the fabric in this area. Doesn't show good but those are pieces of masking tape on the spots to avoid while sanding. Put an extra piece of fabric tape underneath. 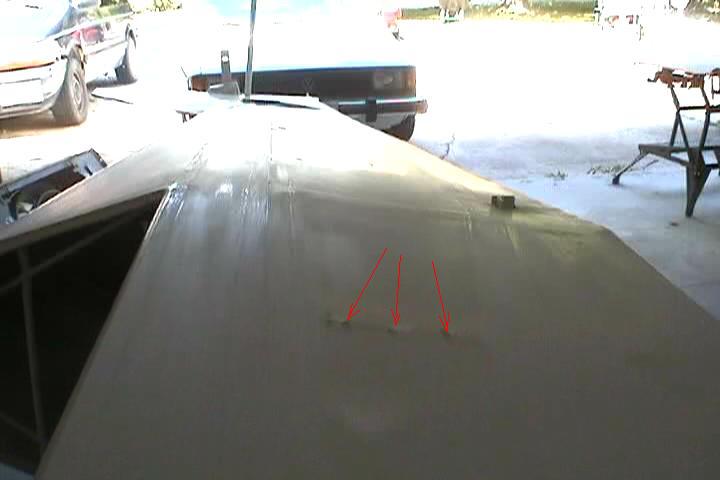
This is the primer sanded flat. Glossy spots are low areas. 
Superflite doesn't recommend using any other paint products. I had to use a high build sandable primer to get the turtledeck smoothed out. It seemed to work great. Gave a real good finish. Hope it doesn't all peel off. 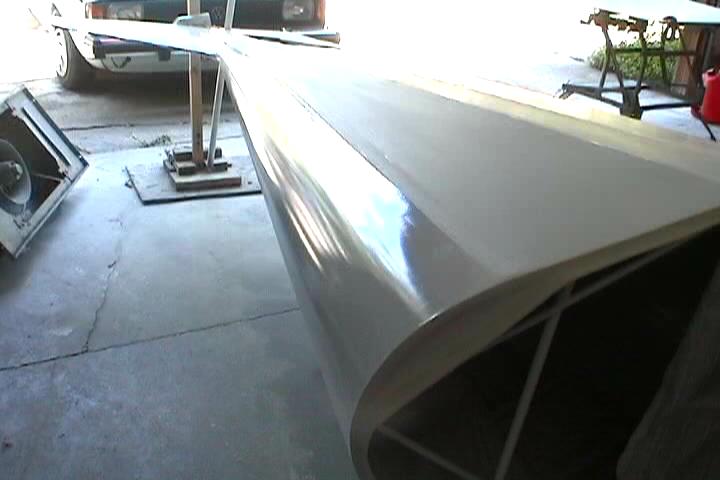
Prepping my homemade glass cowl. I believe the surface changed as it cured because of inconsistant resin thickness causing low spots or high spots. It's been over a year for it to set-up. Hopefully it won't change anymore. 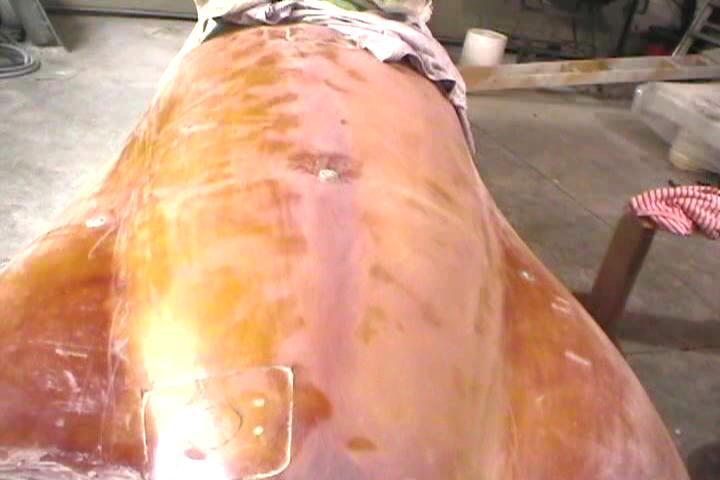
Used body icing filler to fill in the low spots. 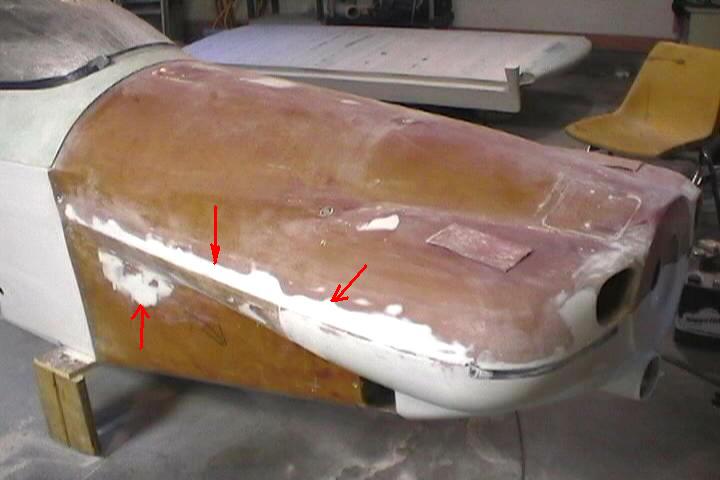
Filled in along the cowl split lines to get a nice edge. 
Cockpit vent opening. Opted to go with one large vent on one side than 2 smaller ones on each side. 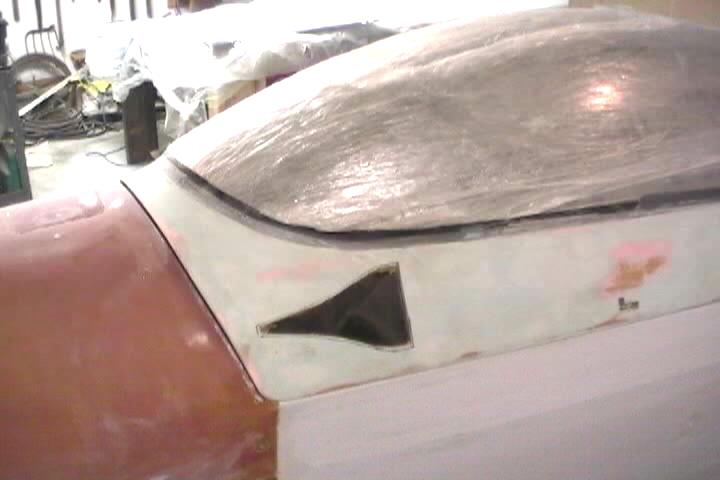
Made up my own NACA vent plug out of a piece of 2x6. 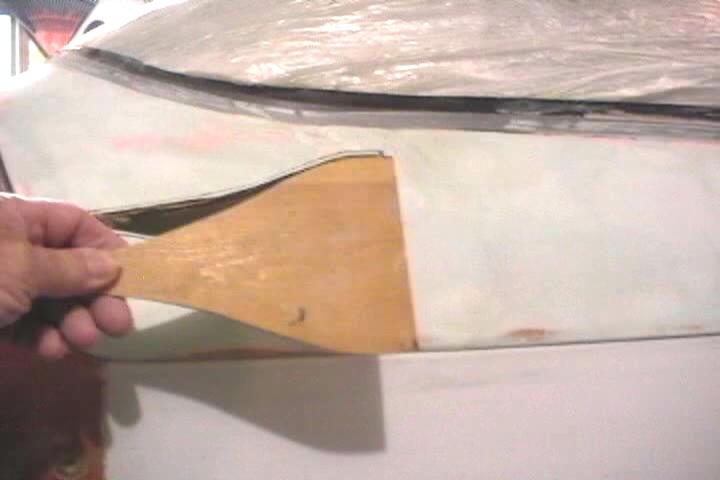
Block sanded to shape. 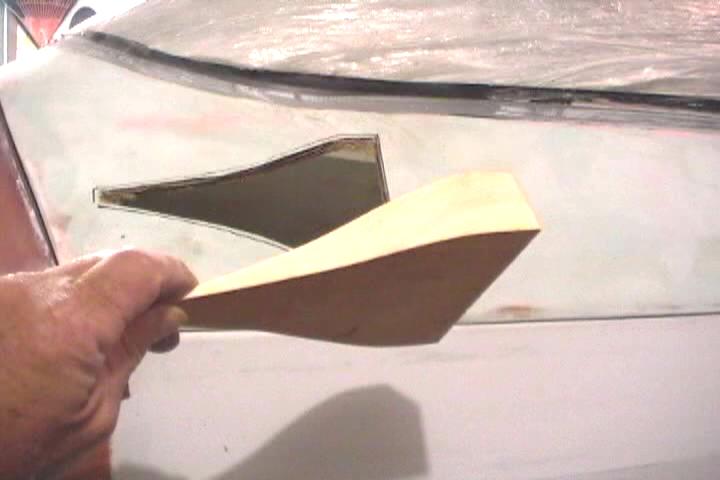
Raw plug. Don't have pictures of the whole process. Prime, sand, wax, mold release, position in cut-out and glass over it. 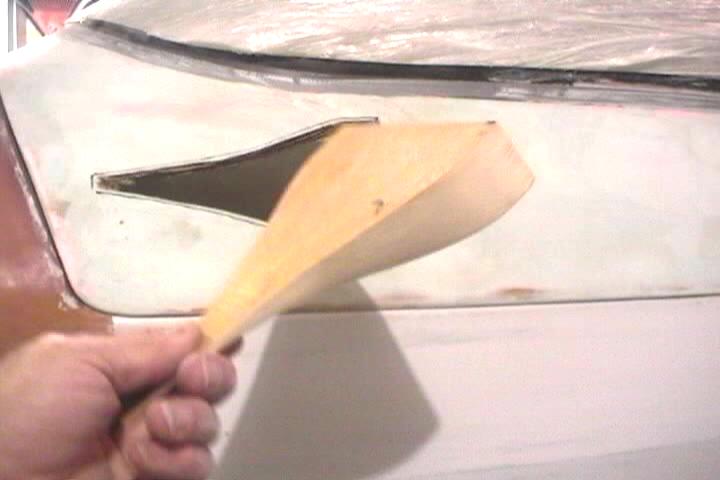
Hole for access to gascolator drain. Seals against bottom of gascolator. 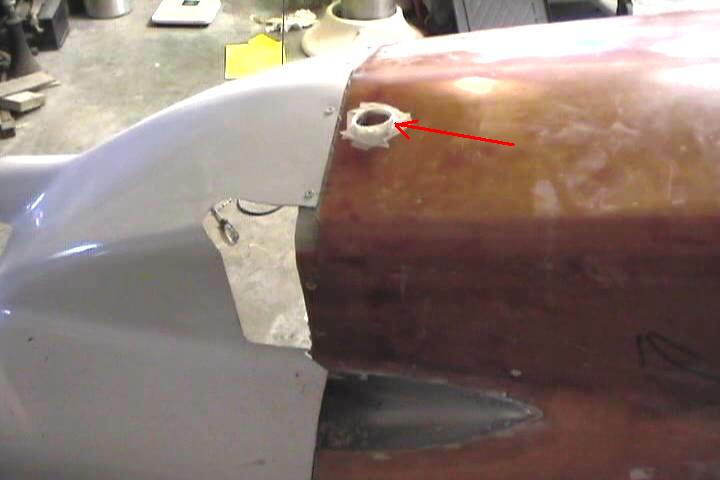
Had to put in a couple bumps to clear the front landing gear bolt heads. 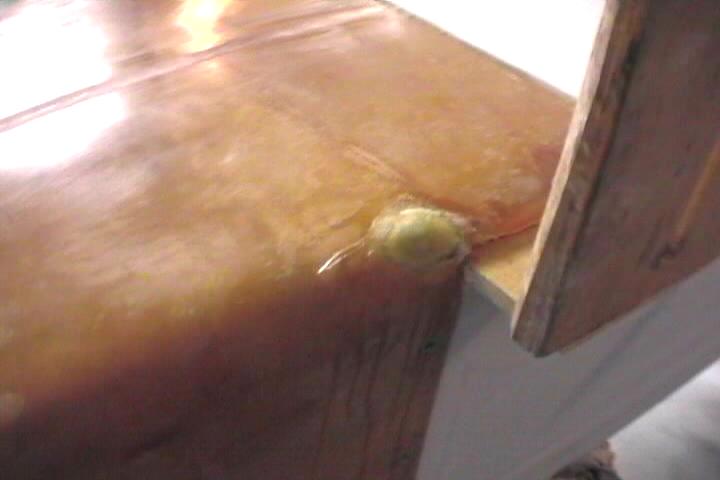
Couldn't use the front rotisserie with the cowl attached. Made up a makeshift landing gear so I could flip around the fuse with the cowl on. 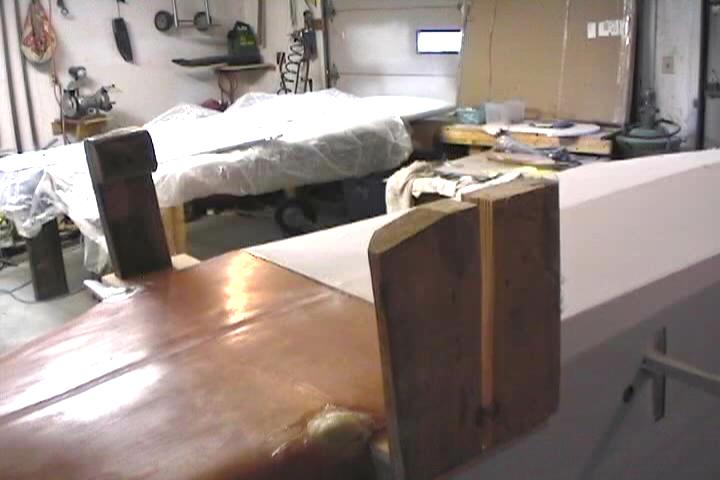
Short stand supporting the fuse when inverted. 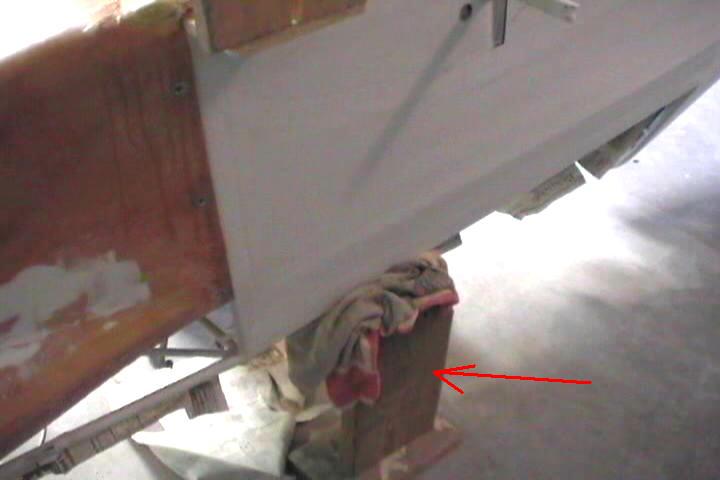
The sandable primer worked so nicely on the turtledeck I used it as a filler on the tape edges. Just brushed it on. Most of it will be sanded off, filling in the low spots. 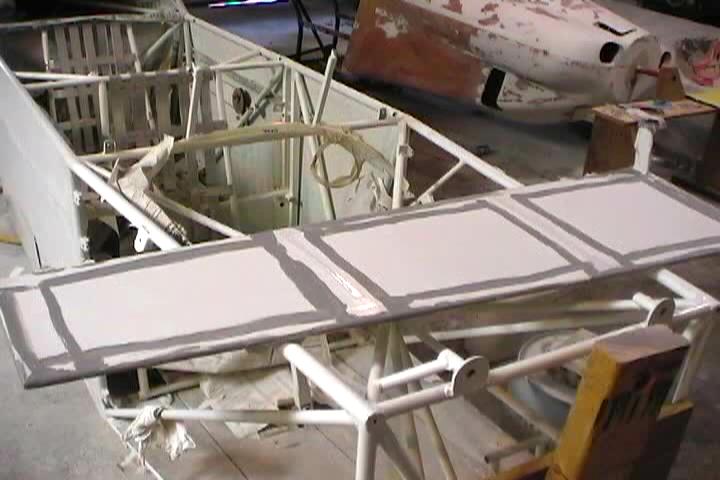
Getting there. Lost track of how many coats. Seemed like about 50, but I beleive it was more like 5 coats of primer. A lot of sanding. 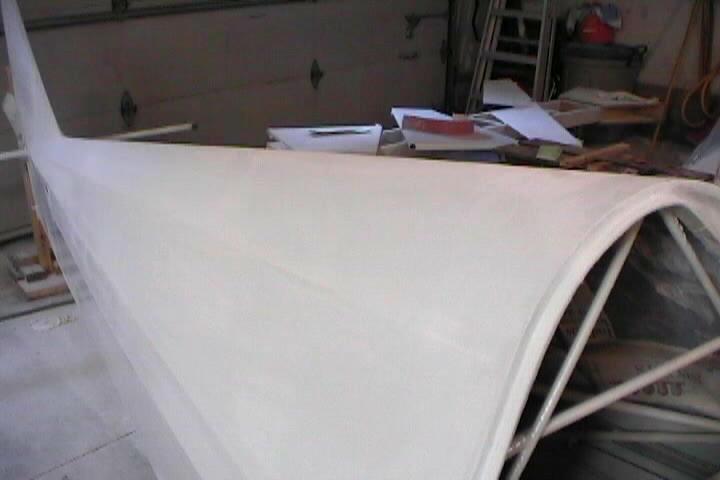
Photo of the $150 a quart primer on sanded off on the floor. Had very little overspray with the HVLP sprayer system I borrowed. Thanks Tom. 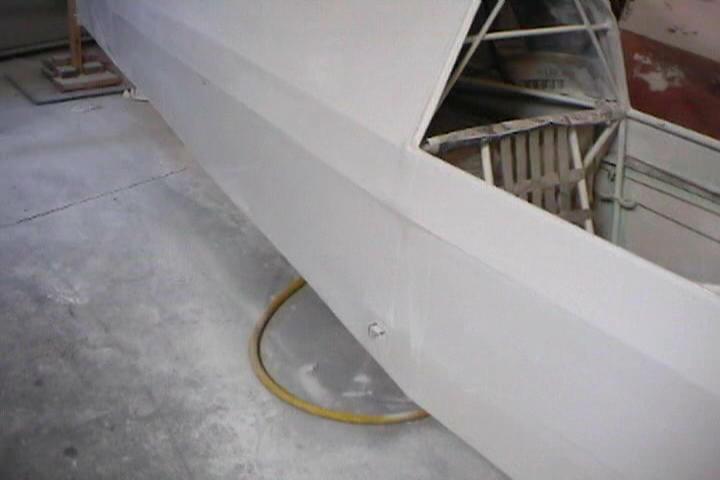
Priming and sanding the cowl. 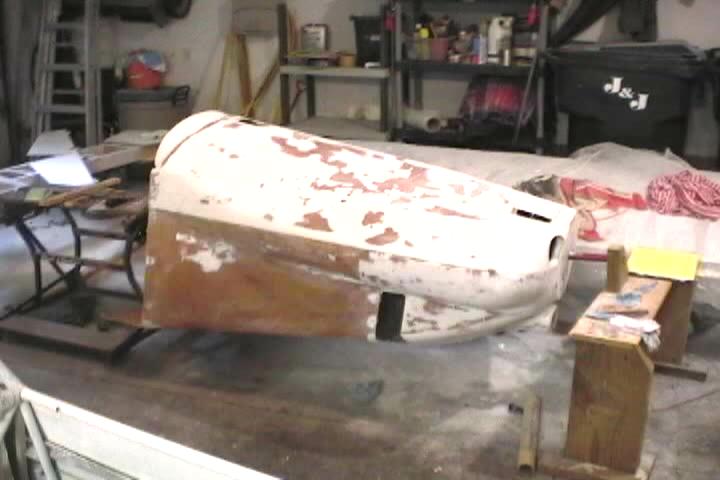
Got the fuse primed and sanded. Wanted to make up my wing filets before squirting on the finish coats. Used 4" aluminum dry vent. 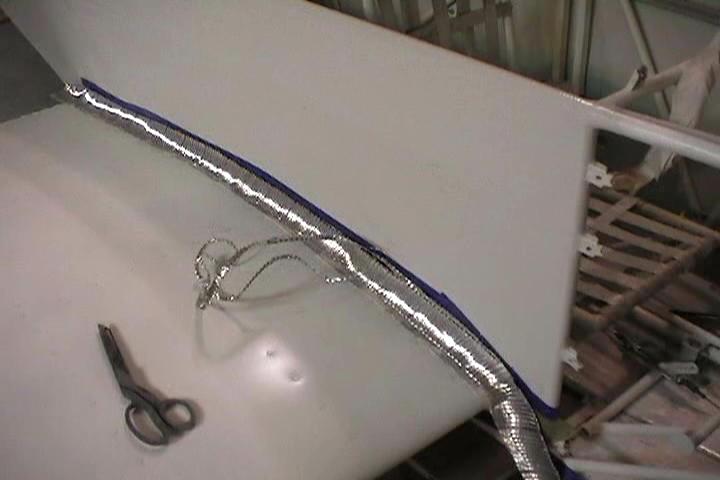
Stretched out the vent pipe then cut it into quarters with the angle grinder with a cut-off wheel to keep from distorting it too much and loosing the 2" radius. 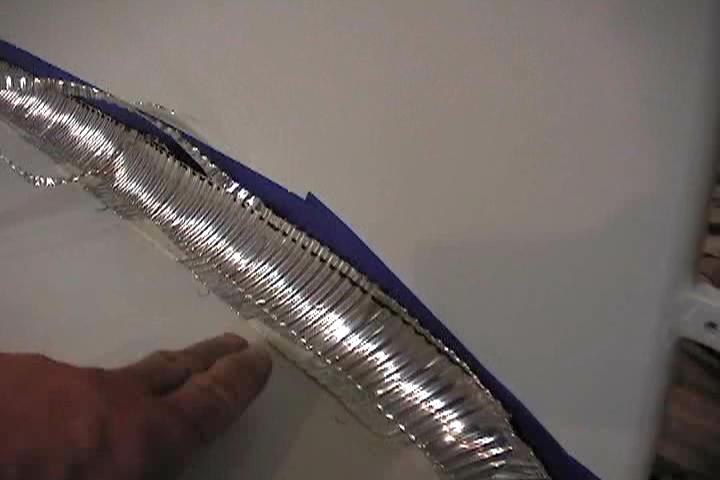
Used tape to hold it in position and used aluminum pop rivets to hold it in place. 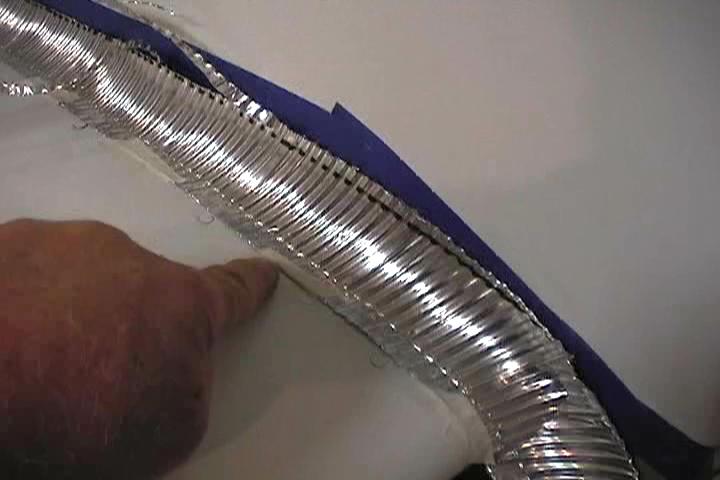
Marked it for trimming. 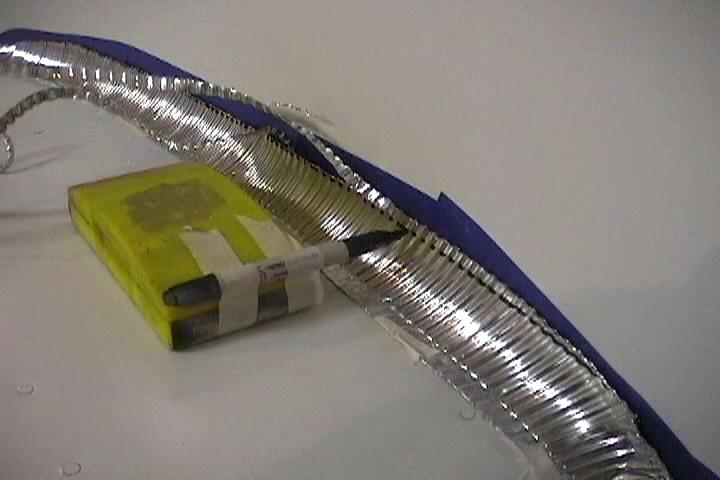
Vent duct is light enough to cut with scissors. 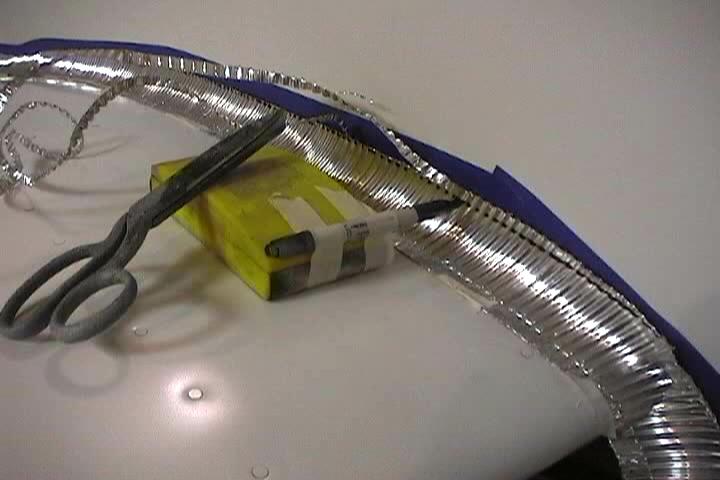
Started painting the color. Superflite system VI is very glossy. 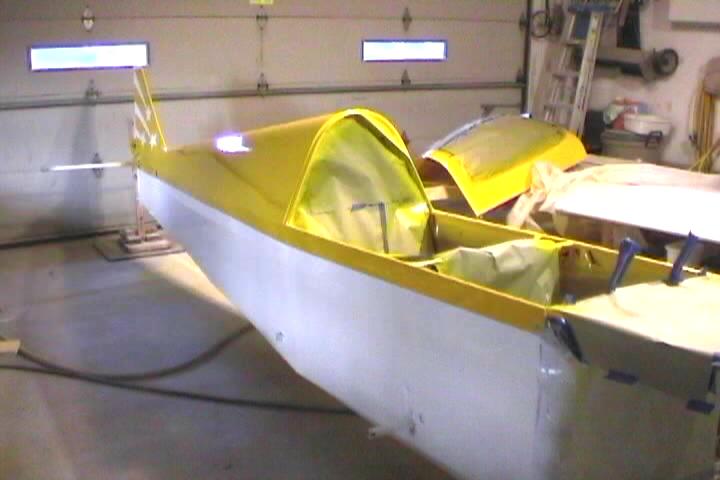
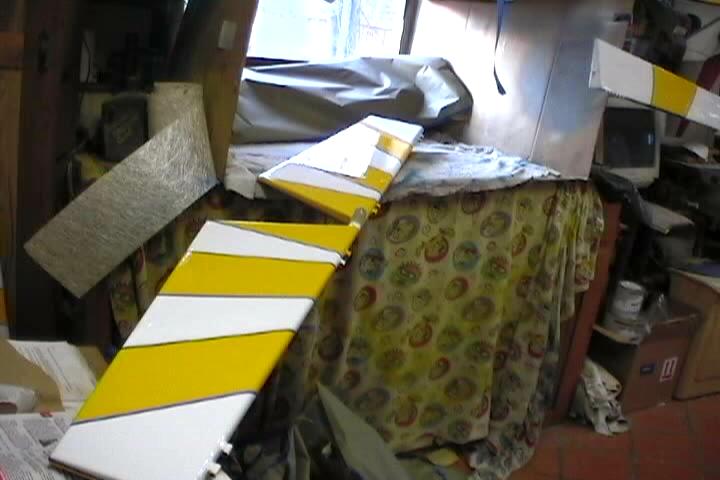
Made up a stand for the stab so that I could flip it over to paint both sides. Tried to paint everything horizontally to avoid runs and sags. 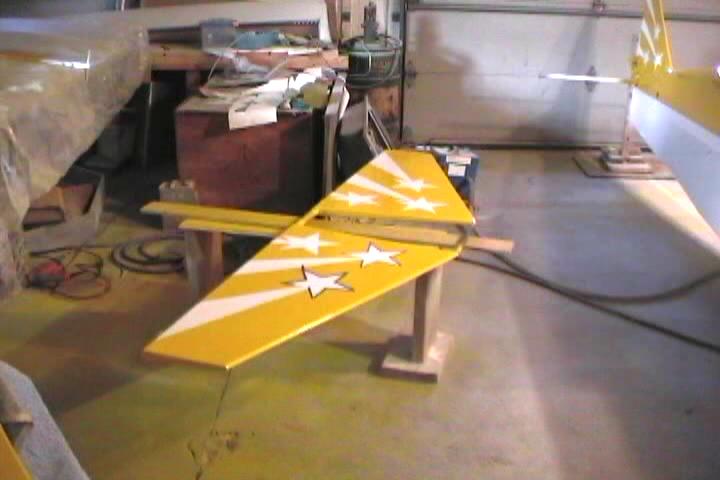
Put on different widths of the blue masking tape to see what width I wanted to use on the striping. 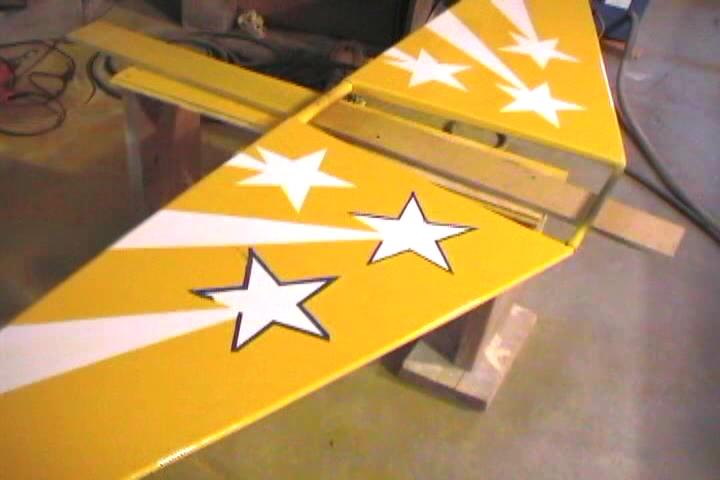
Stab flipped over in stand. 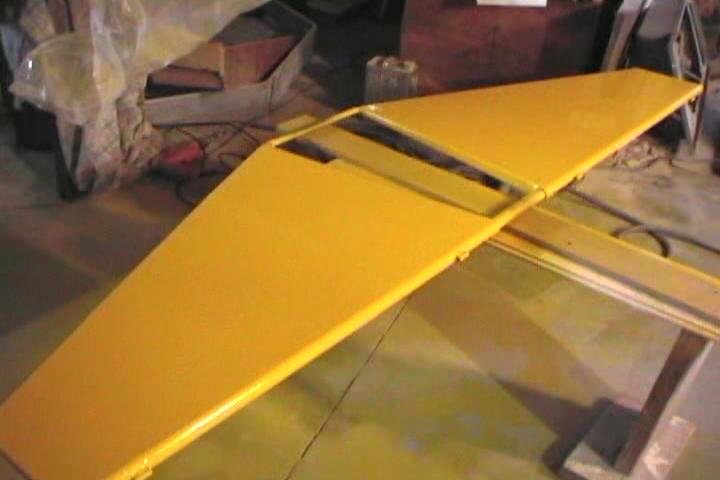
A lot of masking. I didn't spray the entire plane with a base color like Superflite recommends. I masked off for white and then masked off for the yellow. Still have to mask off for the blue striping. 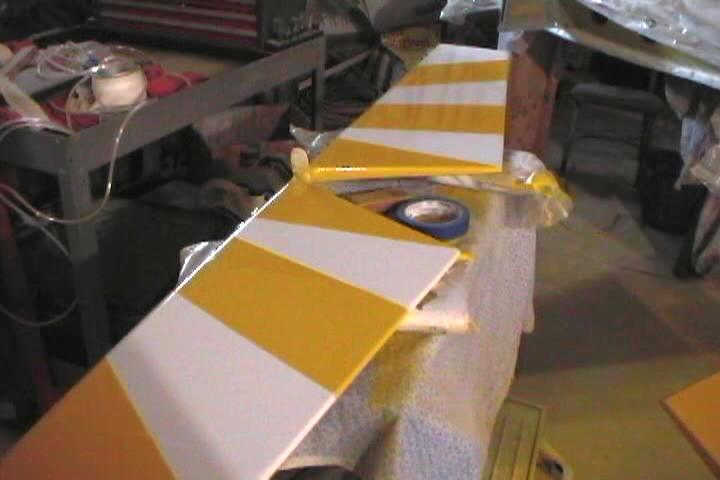
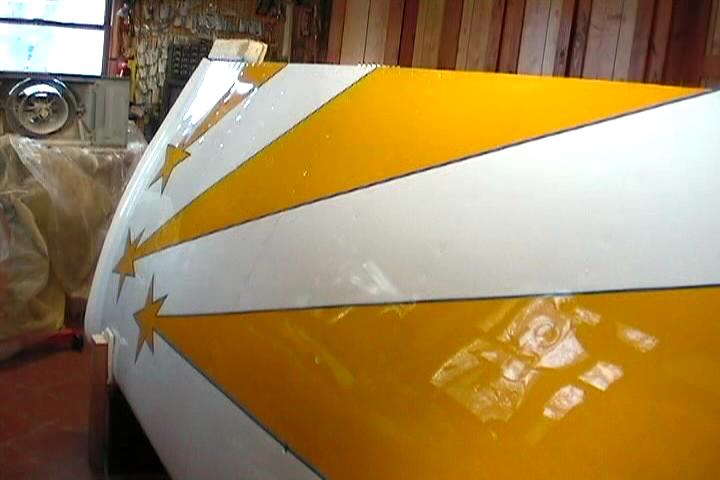
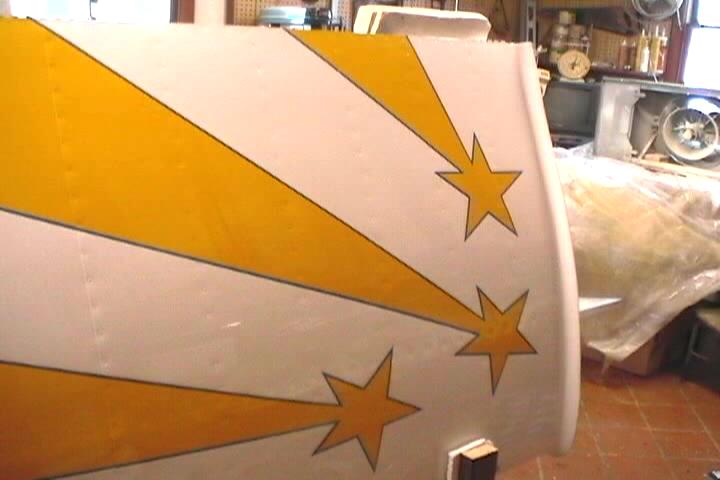
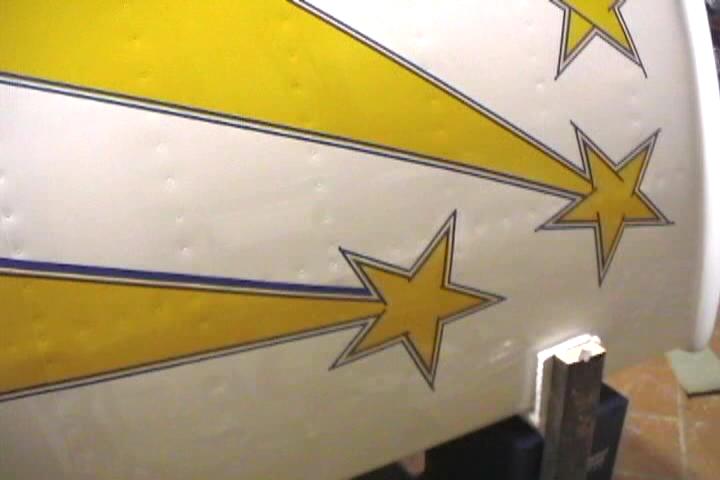
Decathalon star burst paint scheme. 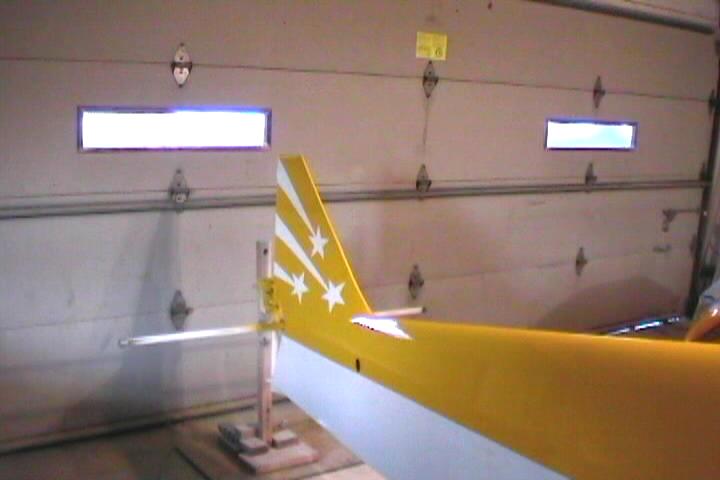
Had to mask off over the plastic wrap on the canopy. The primer kept flaking off the plastic. 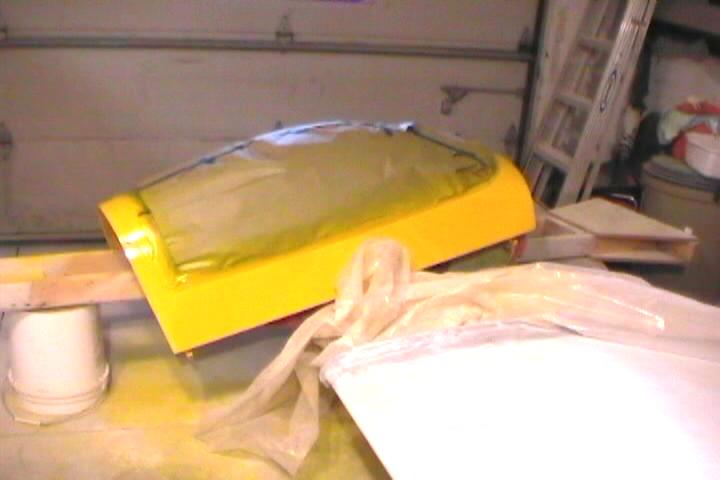
On bottom of wings where I used pop rivets to attach the skin, I used Superfill to fill in the rivets. I used a polyuerethane body icing on the final filling. It sanded a lot easier. 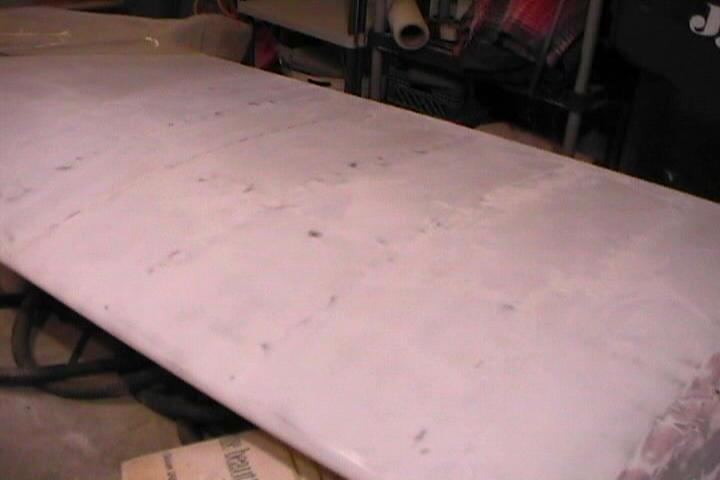
Wing fillet. Glassed over the vent pipe, filled and sanded. A lot of work. 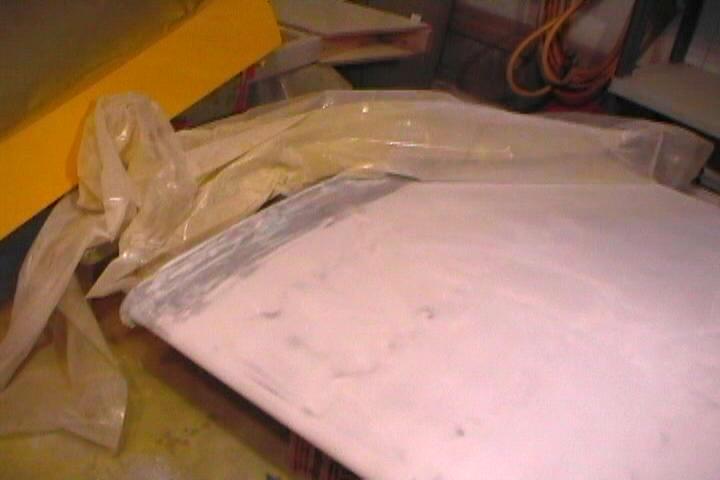
Prepping my homemade wingtips. 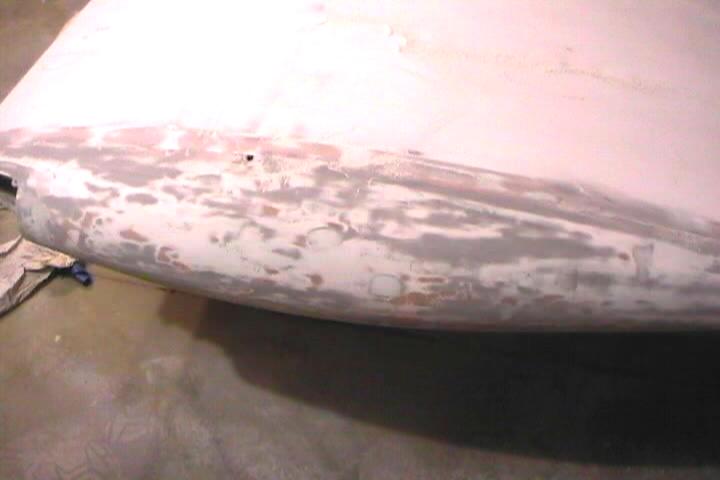
Masked of the inside of cockpit. Yellow overlaps inside the cockpit a couple of inches. 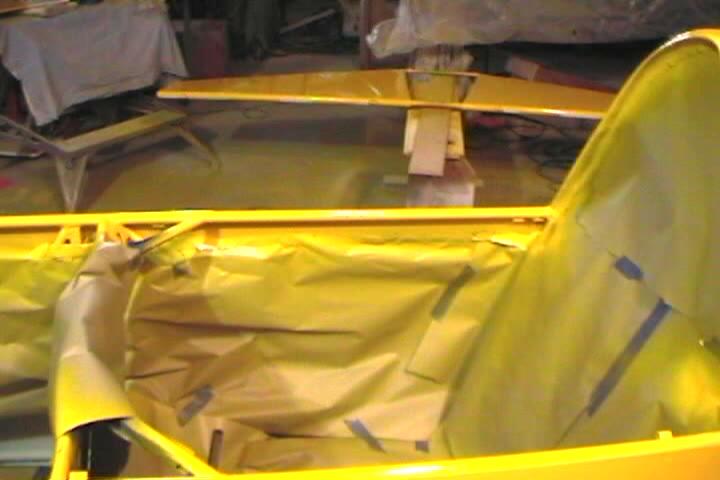
Yellow star burst on top of wing. Still need to paint the white. Those are leaves on the ground in the background. Running out of painting weather. Paint needs 7 days of 70 degree weather to dry. 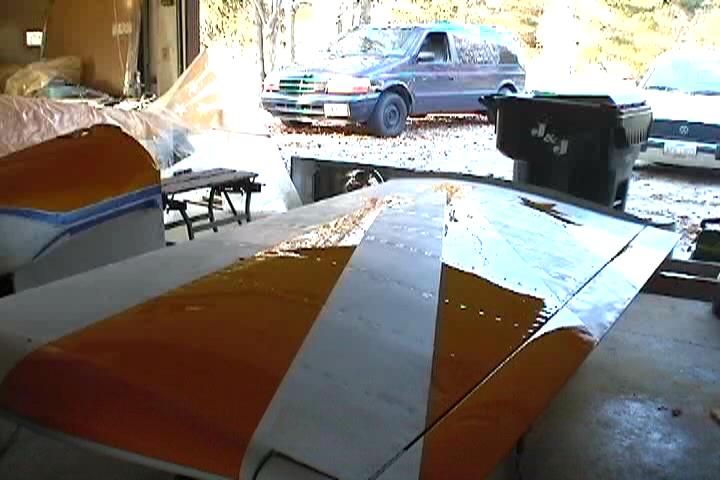
Blue masking tape on cowl put on to layout the paint scheme on cowl. 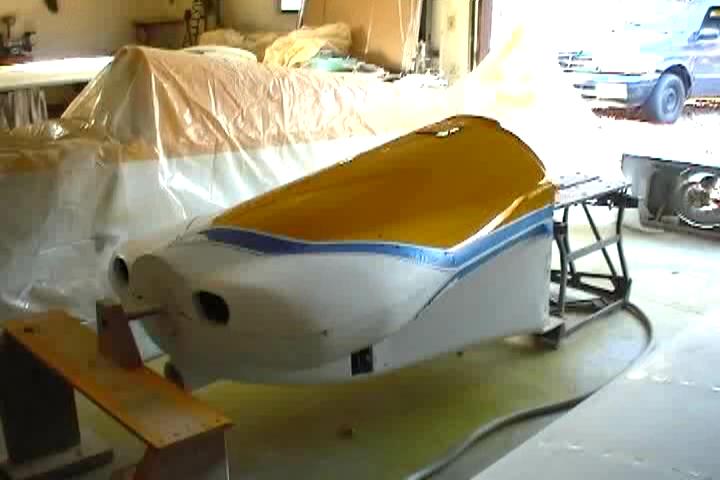
Starting to mask off for the white on the wings. 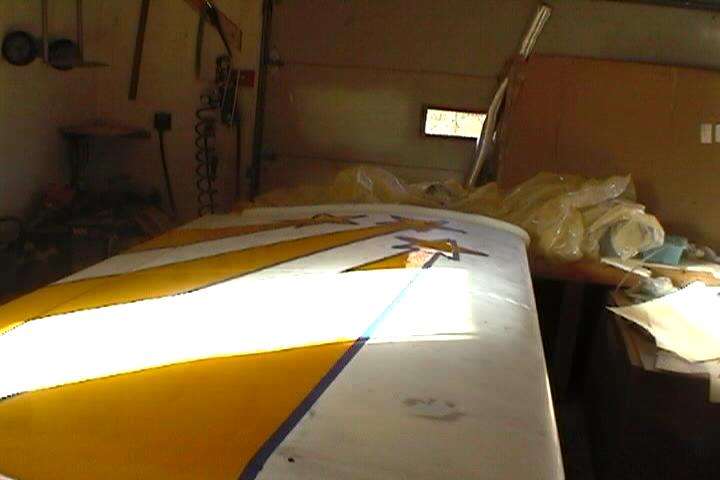
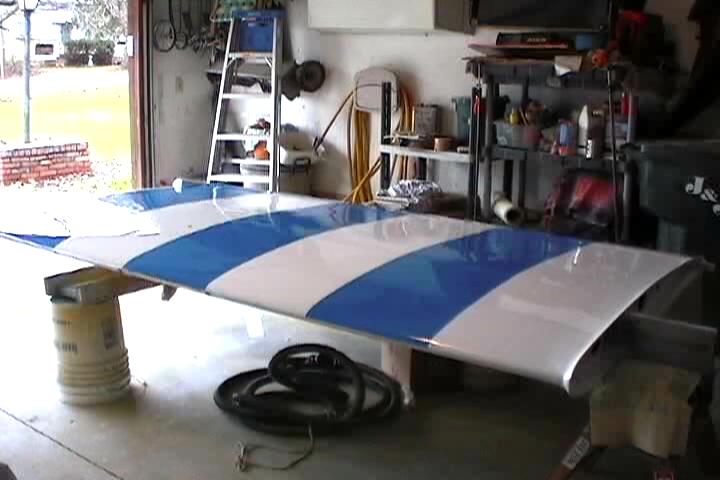
Campaign stripes on bottom of wings.
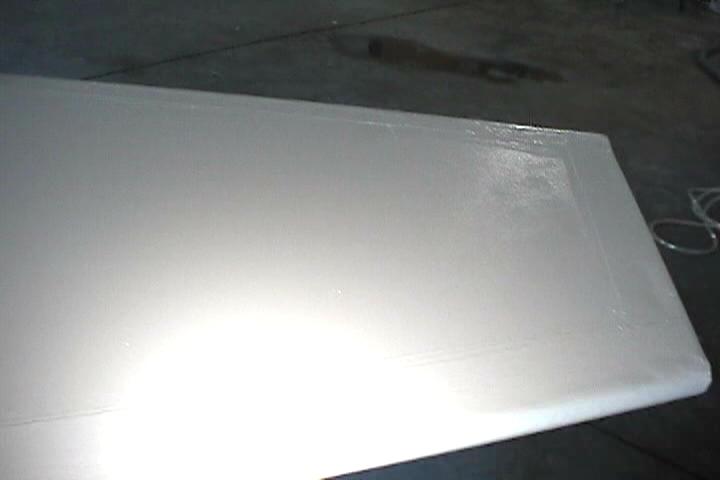
White painted on top of wings. 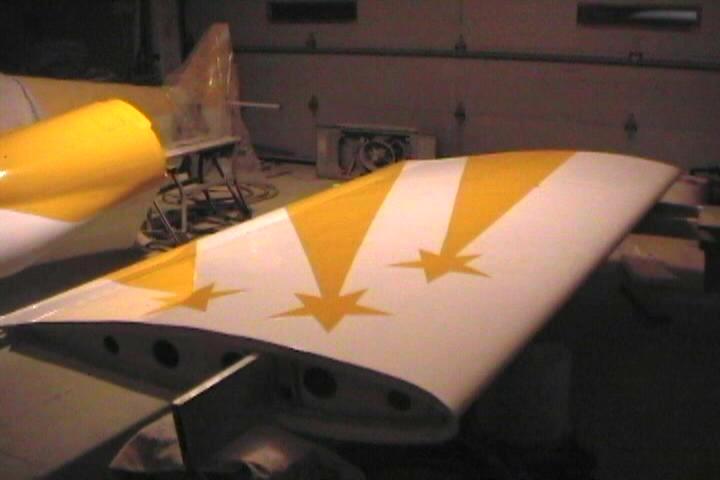
White on cowl. Cowl has its own rotisserie. 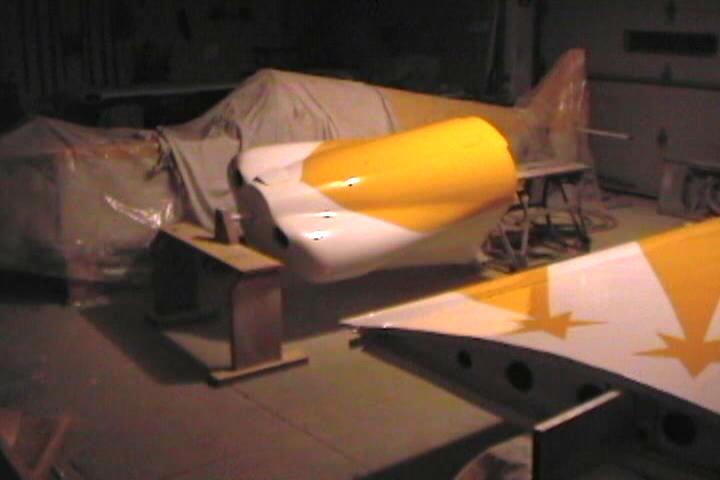
Had to move the wings into the heated workshop to paint the striping. Just starting to mask it off. 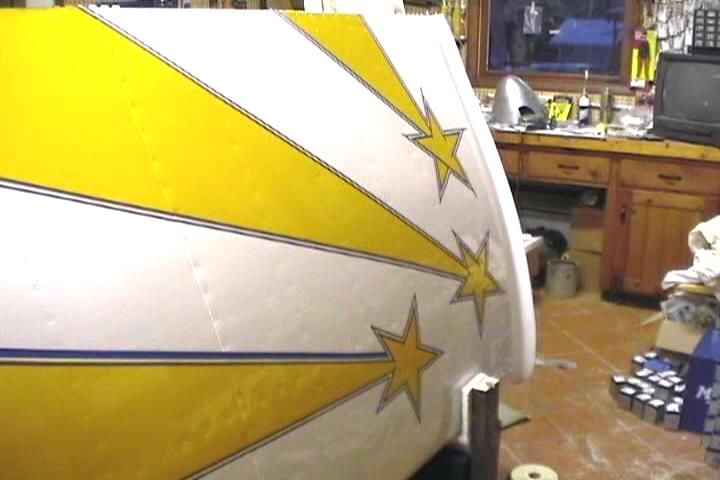
Control surfaces with stripes painted. 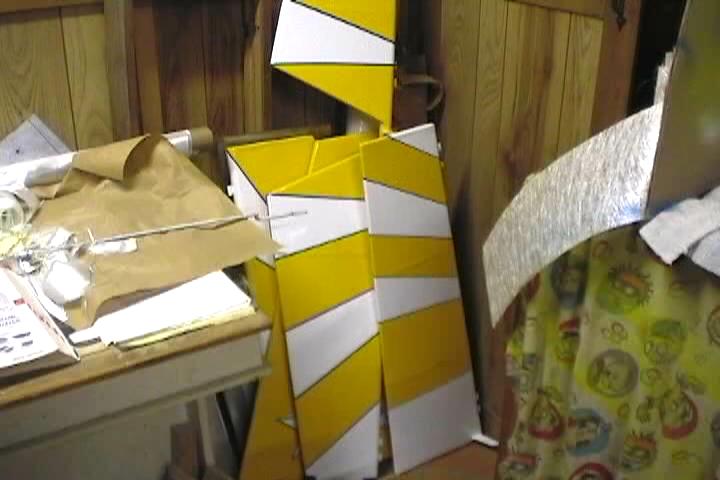
Everything I don't want blue masked off. 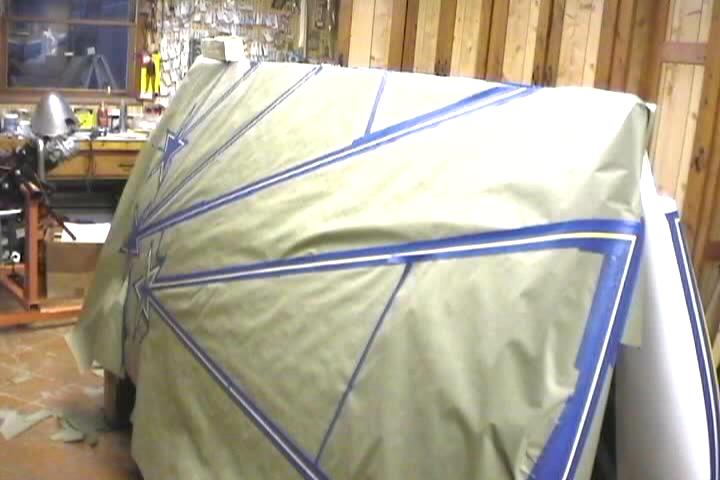
Made up a stand to hold the wings. 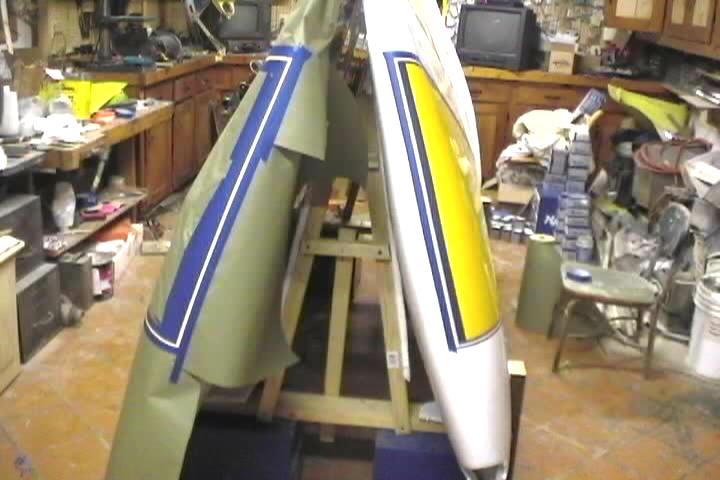
Other wing masked off. 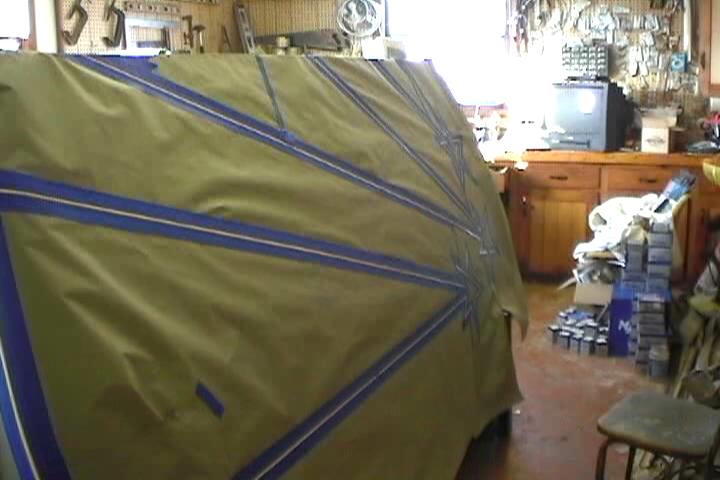
Not quite ready to paint. Have to sand down the surface for the stripes to stick. 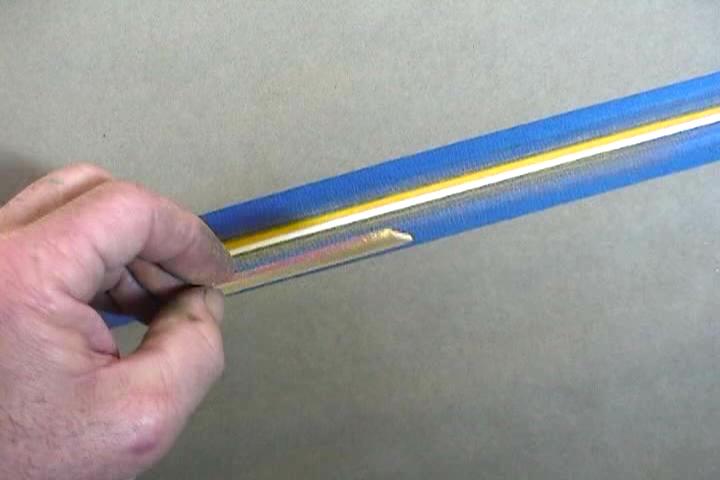
Made sanding blocks out of 1/8" balsa with 220 grit self adhesive sand paper stuck on. There is a slight edge where the colors meet. 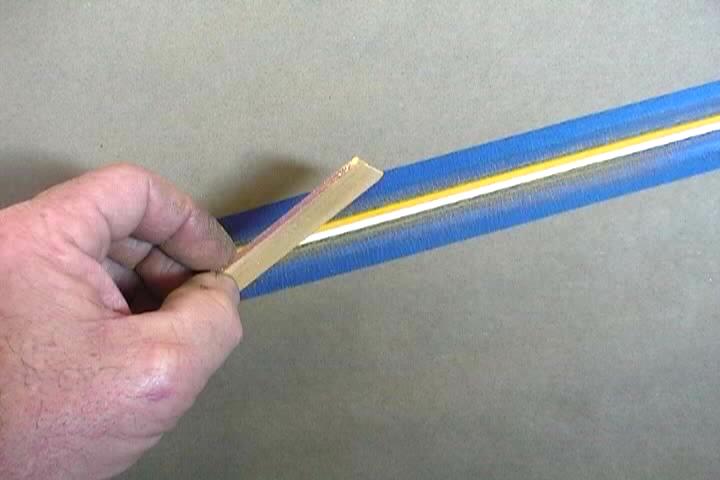
Scotch brighted the surface after sanding. 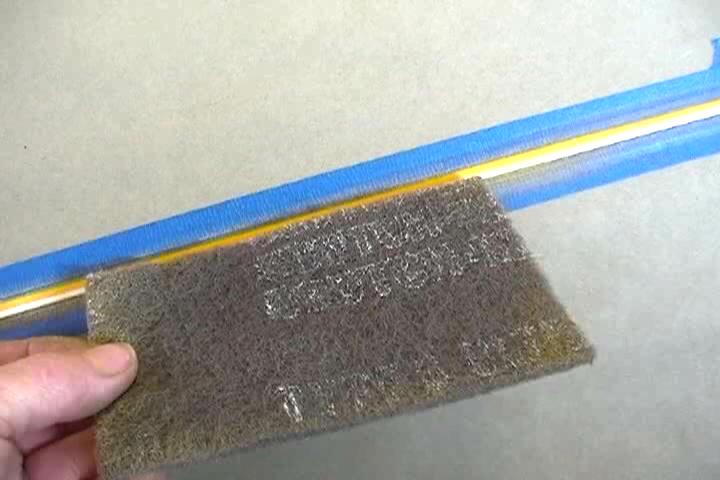
Stripes on. Masking removed. 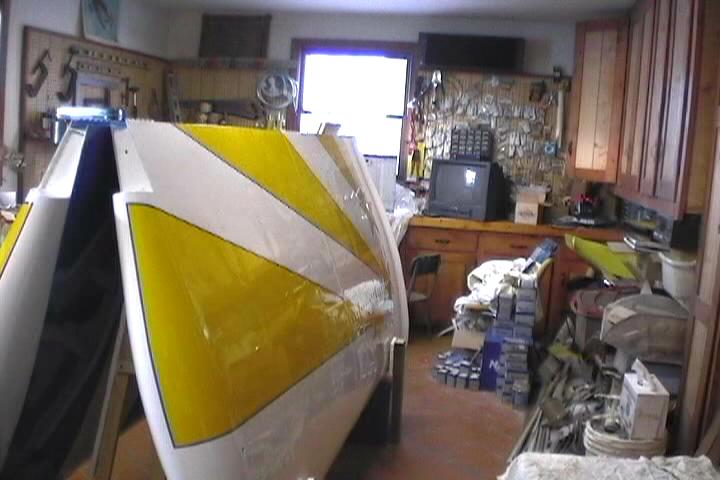
Ailerons striped.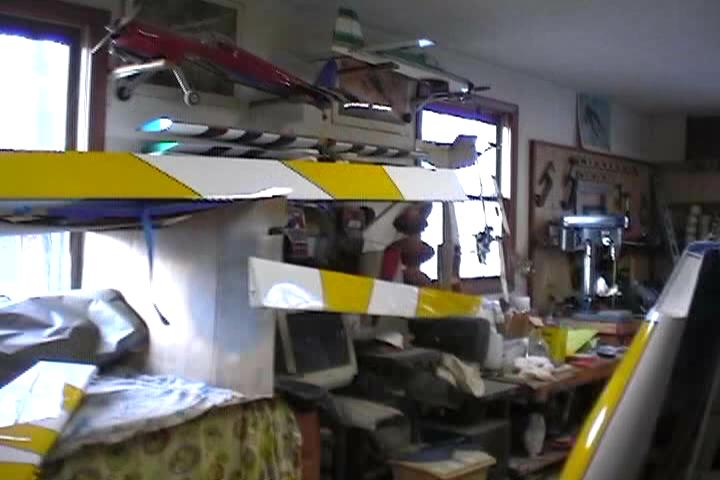
Elevator striped.