.025 Aluminum strap woven into rear seat frame.
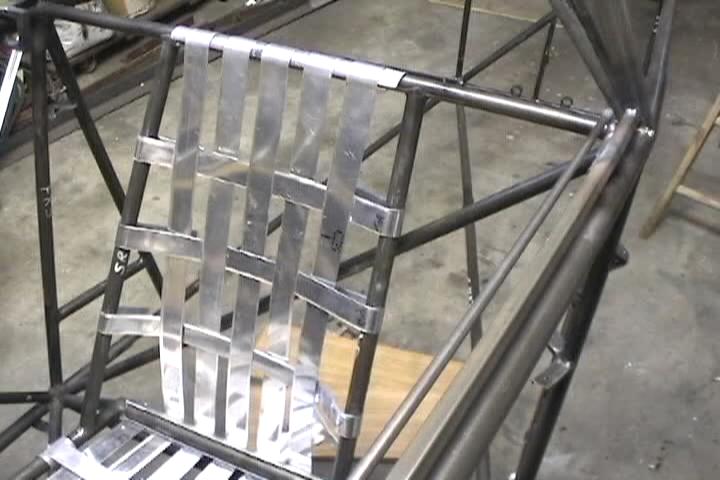
Used a peice of tubing cut up from an old lawn chair to attach strapping to then attached it to the seat framing. 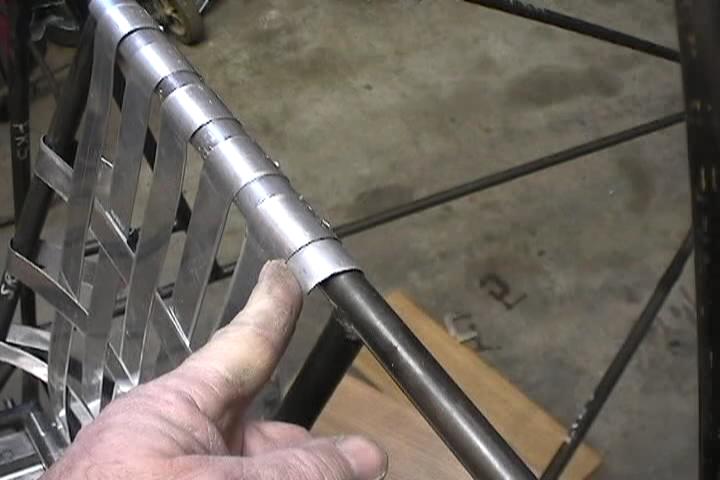
Strapping is rivetted to cut aluminum tube then tube is screwed to seat frame. 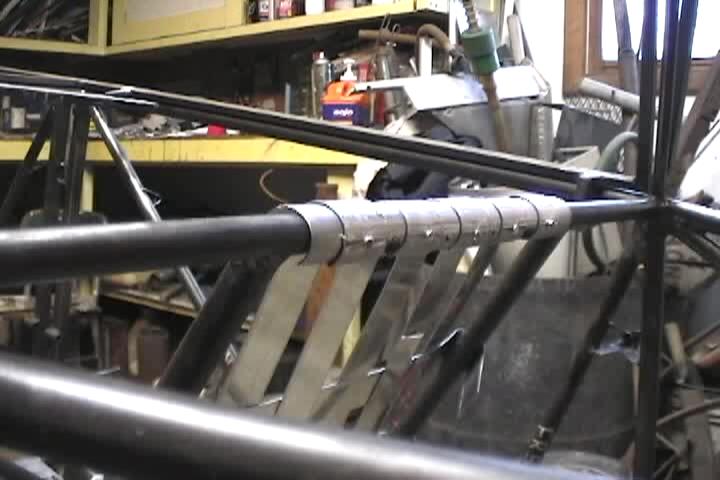
At the seat back bottom the strapping is riveted to cut aluminum tube but not screwed to seat frame. 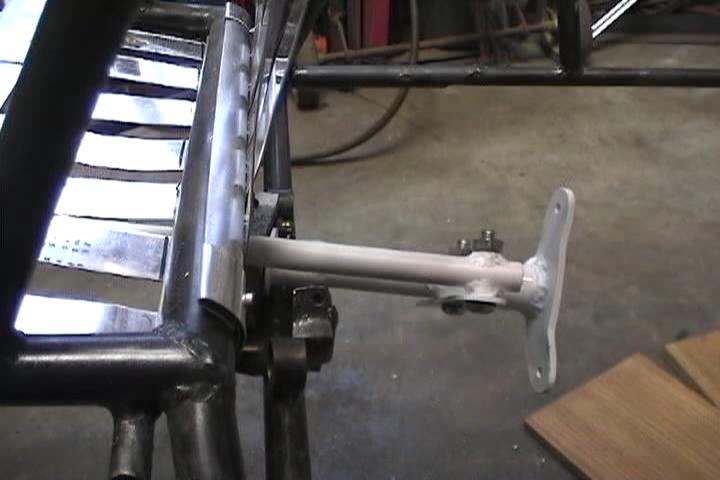
Seat bottom front is given the same treatment as the seat back top. 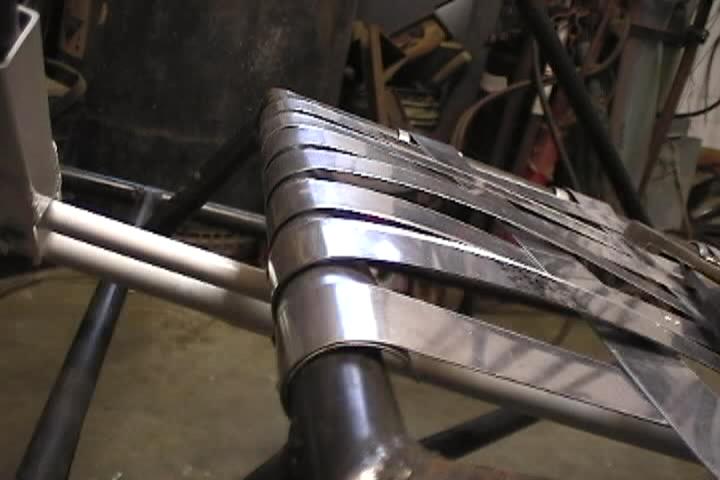
Cross strapping is woven separately. Riveted strapping to short pieces of the lawn chair tubing and screwed that to the seat frame. 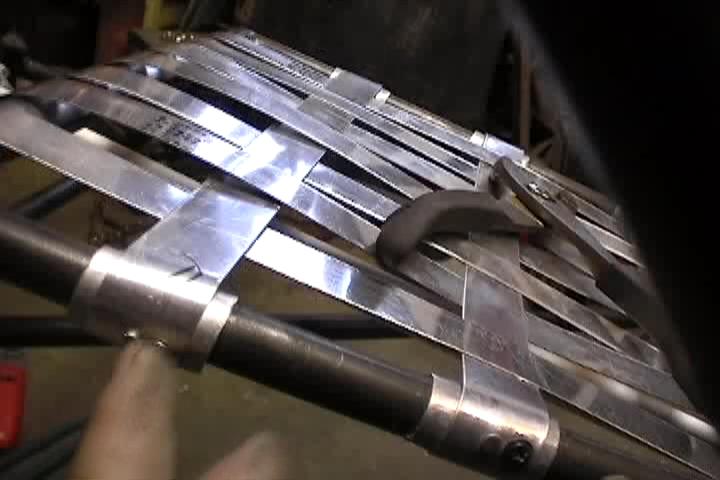
Cross strapping on rear seat back is screwed directly to frame rail with 2 screws each. 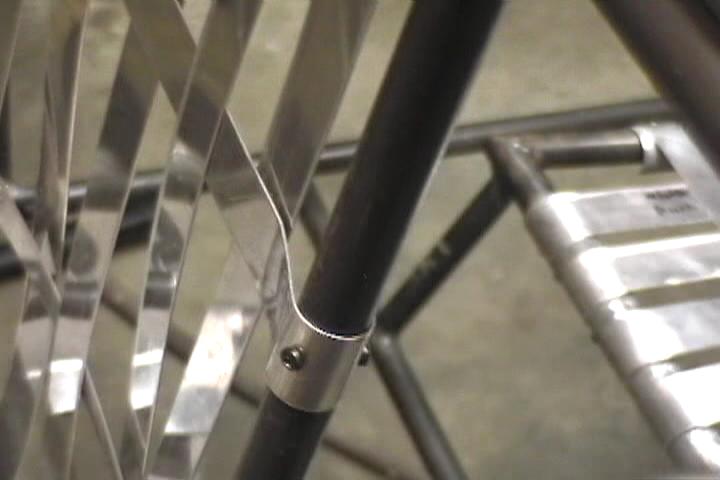
Treated the front seat differently. Wrapped strapping around seat frame and nut and bolted with a piece of .040 aluminum bent at a 90 degree angle. 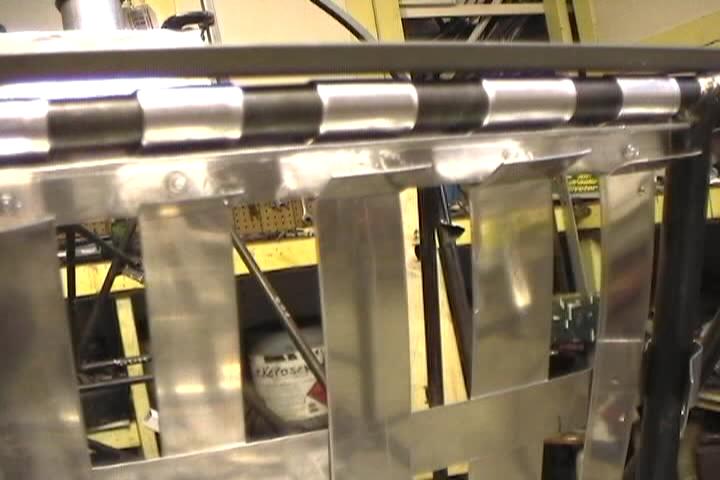
View of front seat top attachment from the front. Strapping is sandwiched between .040 aluminum strap in front and .040 aluminum angle on the back side. 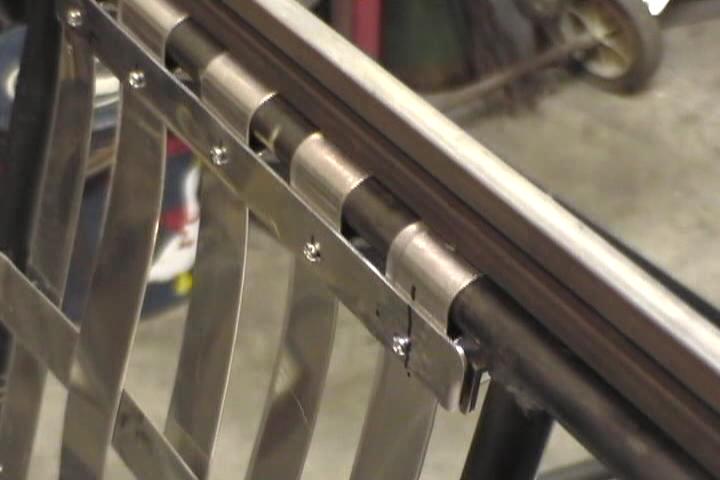
Another view of front seat top attachment. 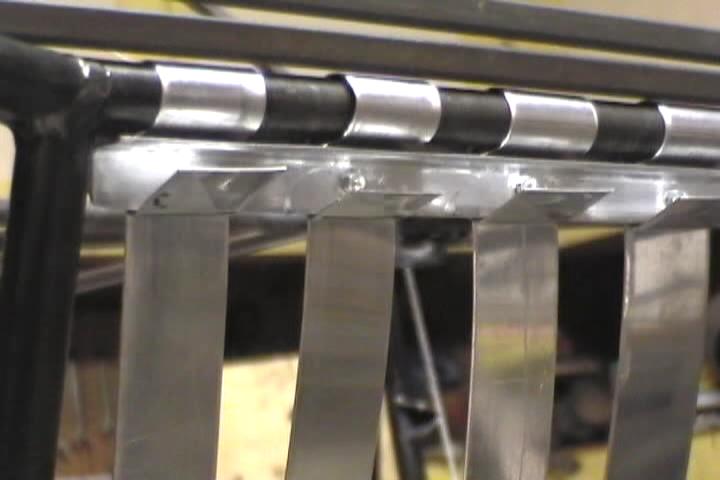
Front seat bottom cross strap attached to seat frame. 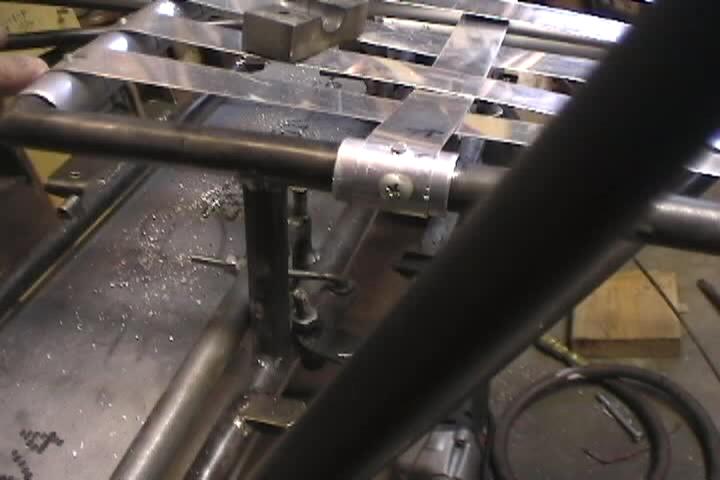
Front seat bottom installed with cross straps. 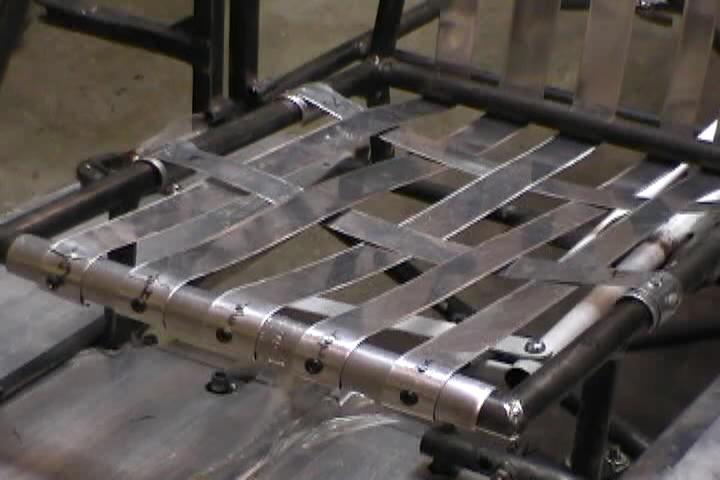
Cross strapping screwed to seat frame. 
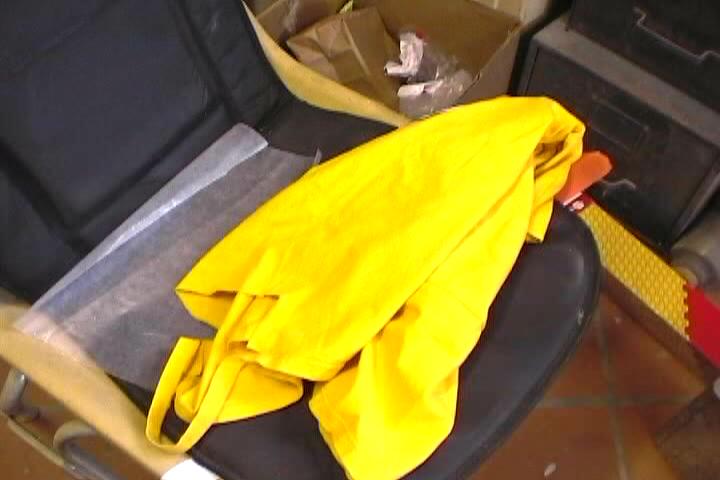
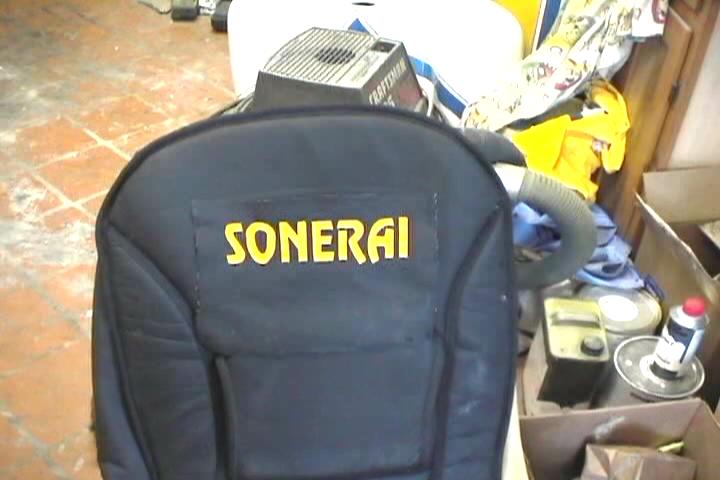
Made up a Sonerai logo to put on the seat cushions. Used a piece of the seat back material.
Had to cover up the Chevy logo. 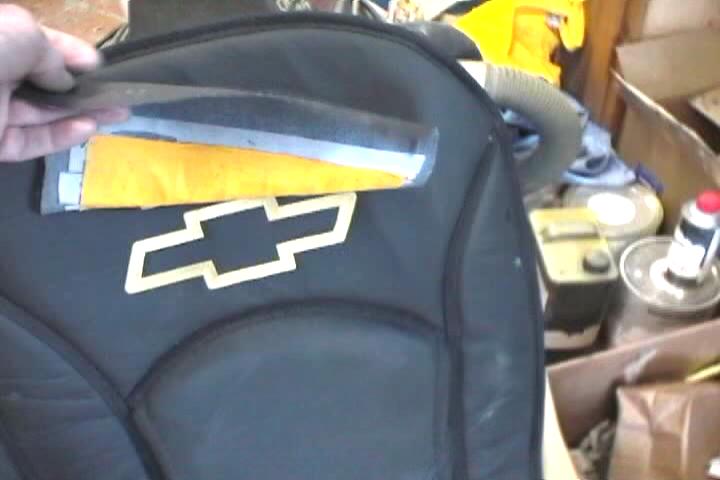
Scanned the logo off of the plans, traced it in TurboCad, sized it, made a mirror copy and printed it out. 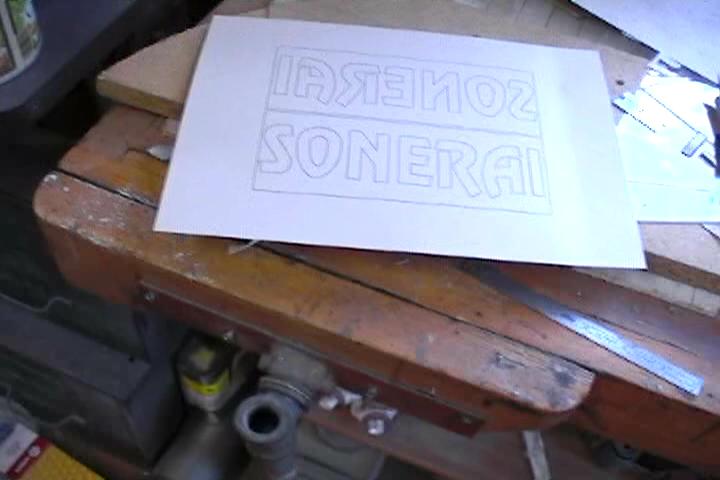
Used heat bond hem tape to do my sewing. 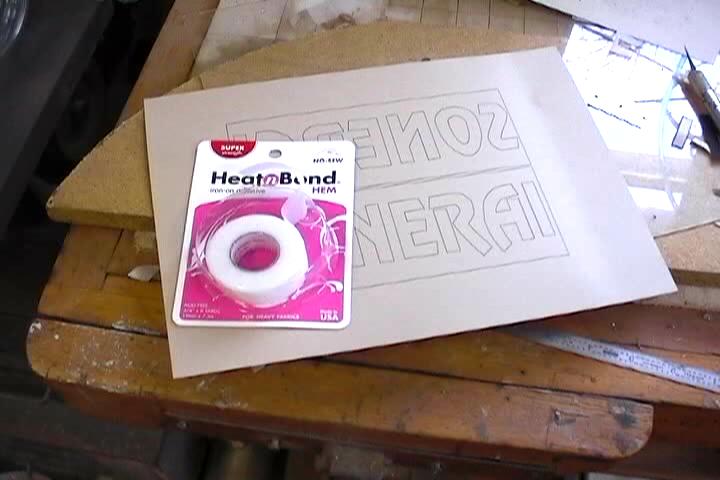
Found an old T-shirt that matched the color yellow I wanted to use.