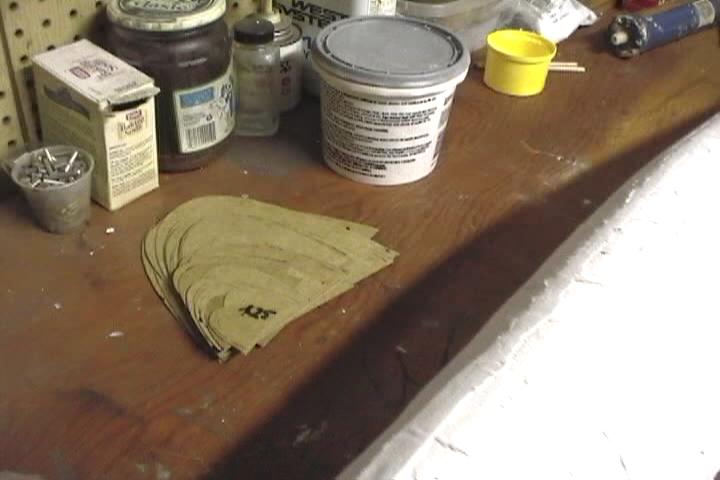
Made up templates of the wingtip shape using TurboCad. Cut them out of stencil board.
Cut-out the base shape for the wingtip out of a piece of scrap 3/4" particle board. 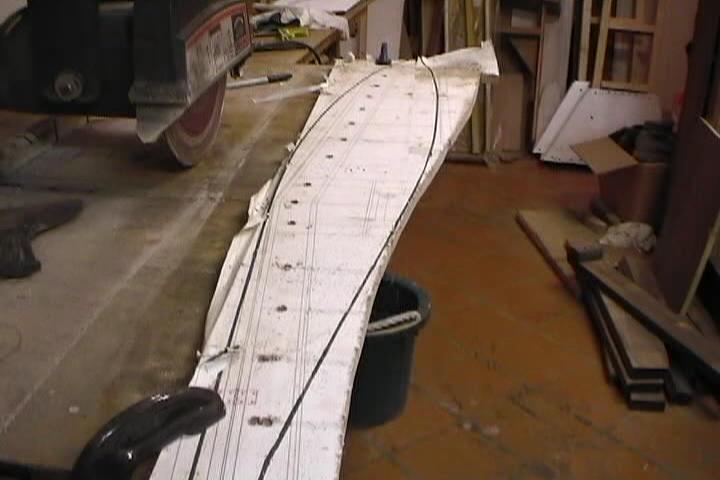
The way I made the templates in TurboCad was by making the main shape of the tip at the thickest point of chord then scaled down that size by a percentage. Hence the labeling of the template locations are percantages of chord thickness. 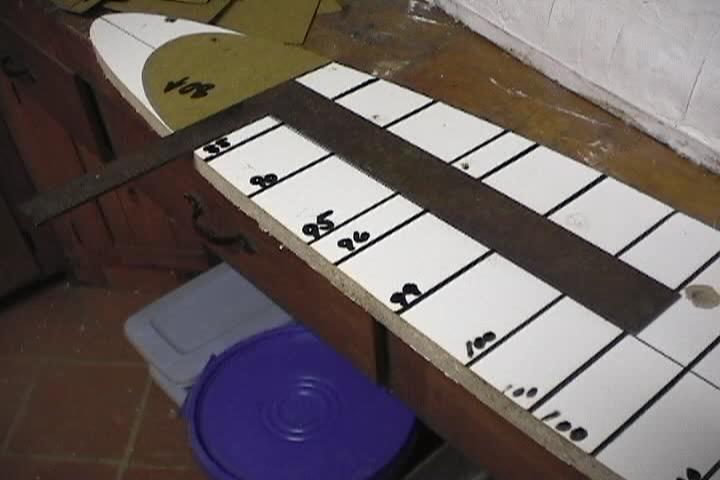
Made up the tips with the 1/4" droop in the ailerons per the rigging directions in the assembly manual. 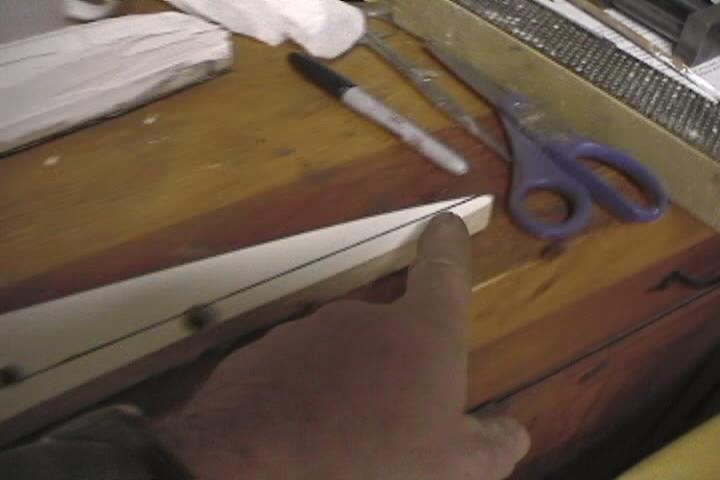
Glued rigid foam to tip template and gave it a very rough carving to shape then sliced through the rigid foam at each station to insert the templates. 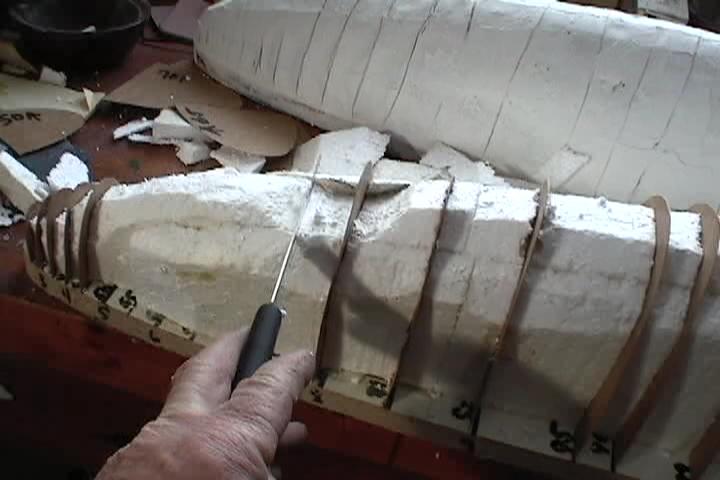
Second wingtip ready for the expanded foam treatment. 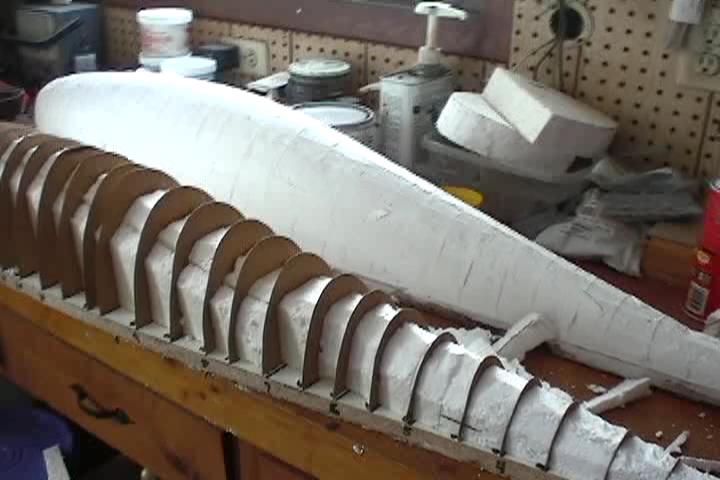

Foam filling in between the templates. 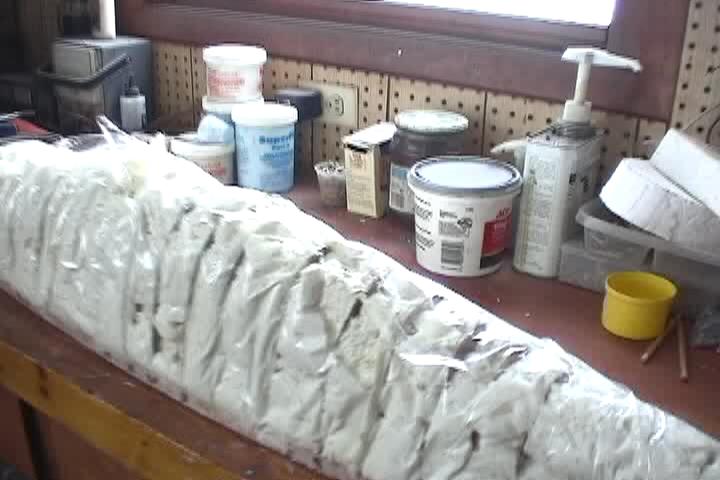
Another view of expanded foam. 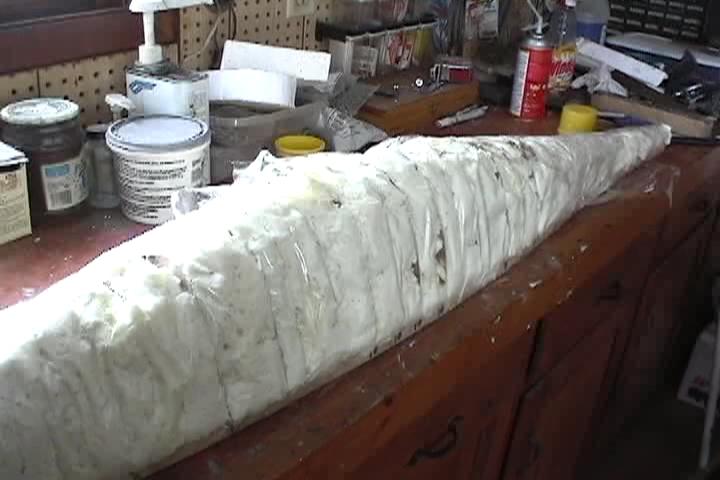
Foam will expand quite a bit. 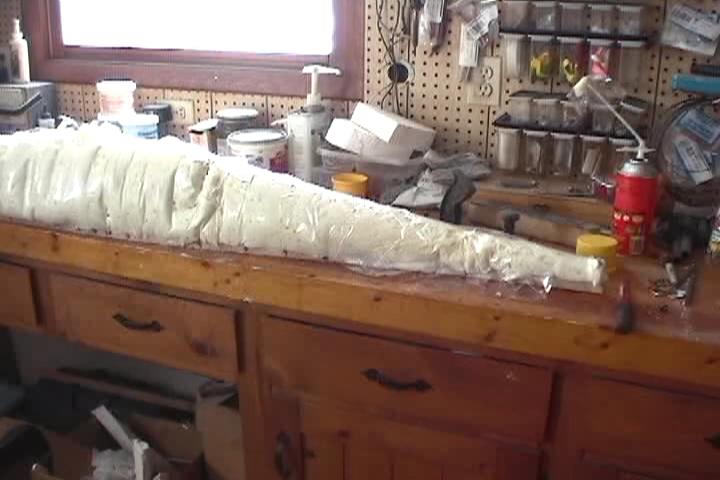
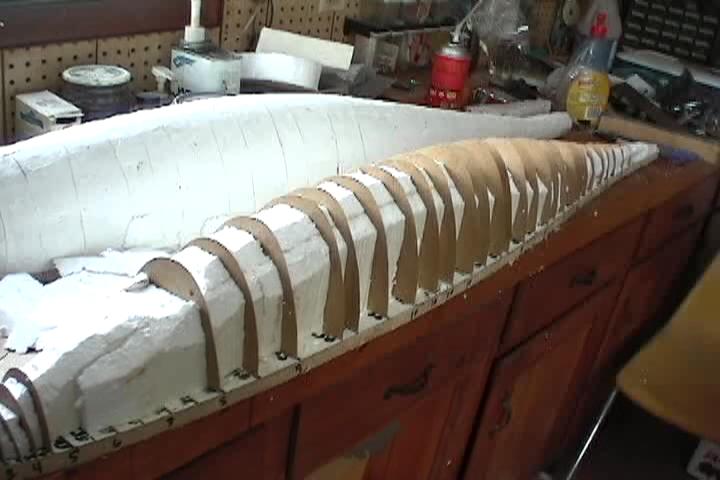
Foam cut down to templates then it shrinks down below templates on its own. 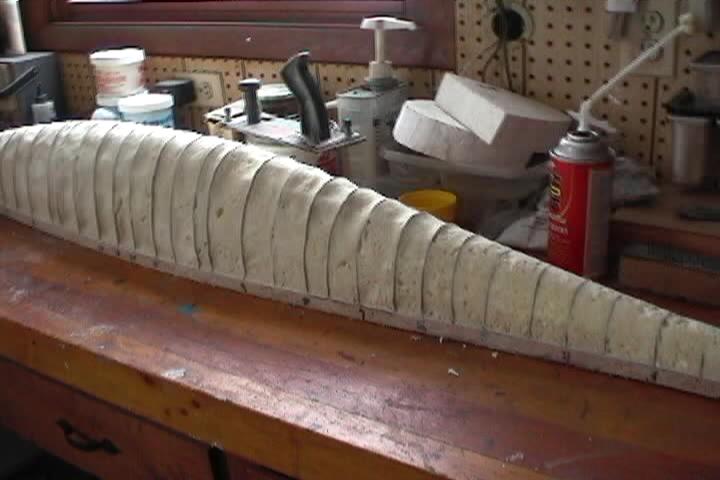
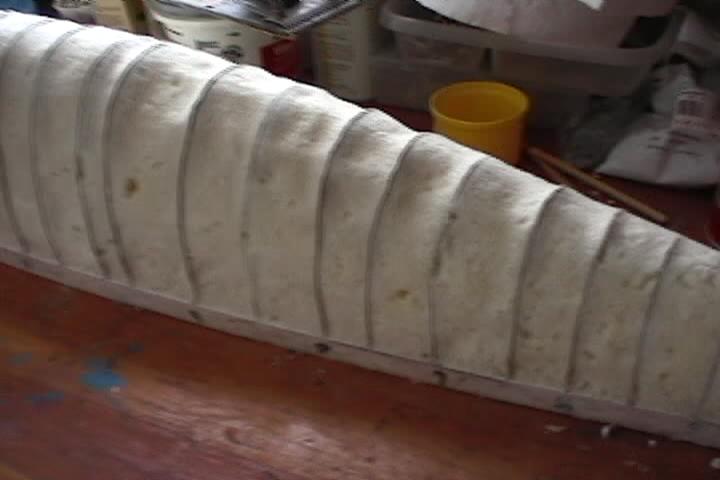
Used patching plaster to fill up to the edges of the templates. 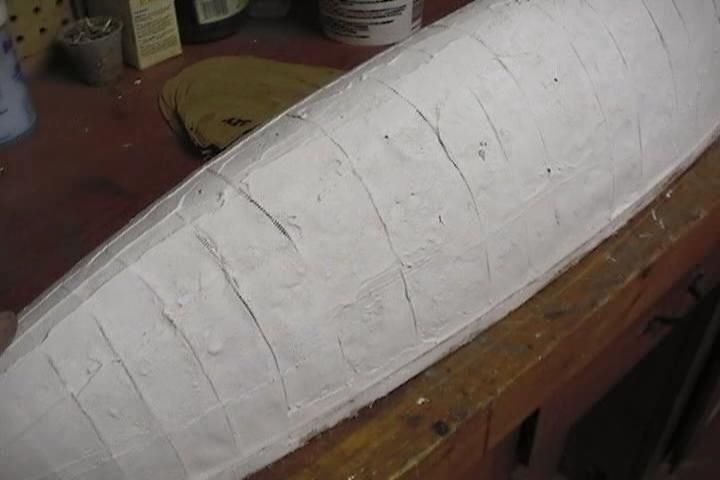
The plaster keeps shrinking making it very difficult to make the plug. 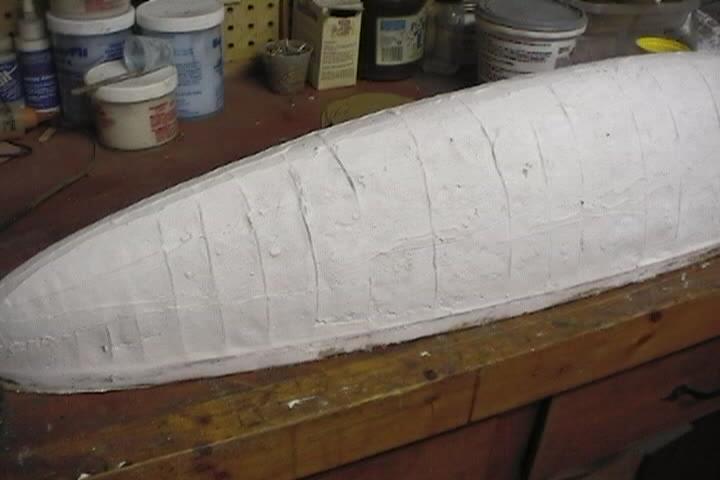
Plaster takes quite a while to dry and continues shrinking making it very difficult to make a good plug. 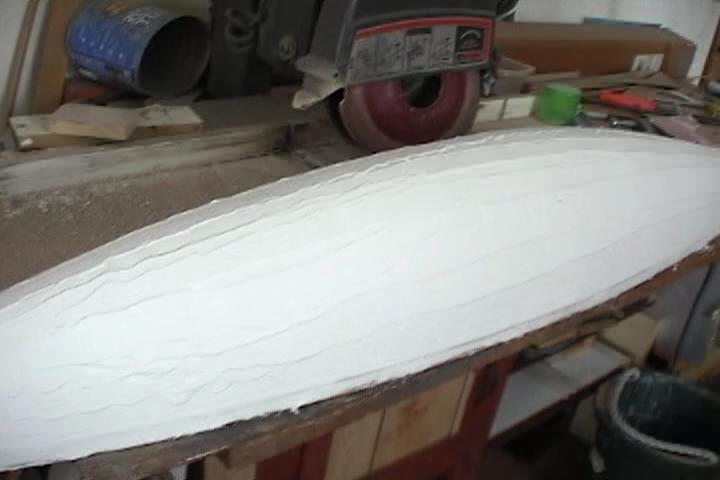
Between the foam and plaster shrinking it was very difficult to make a good plug. 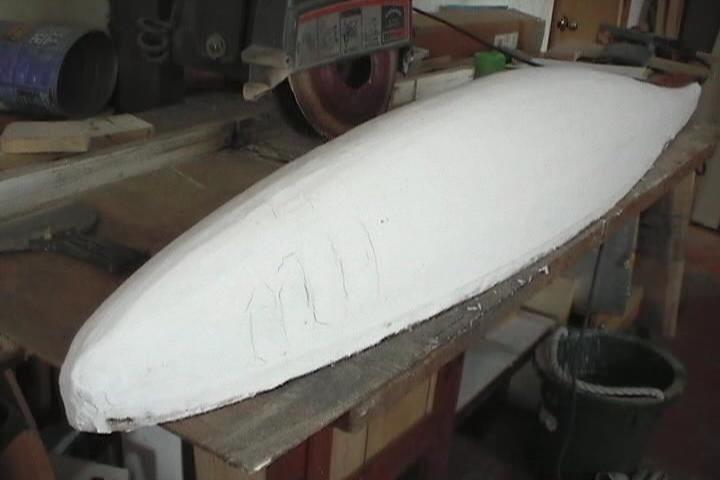
Got to fill it in again. 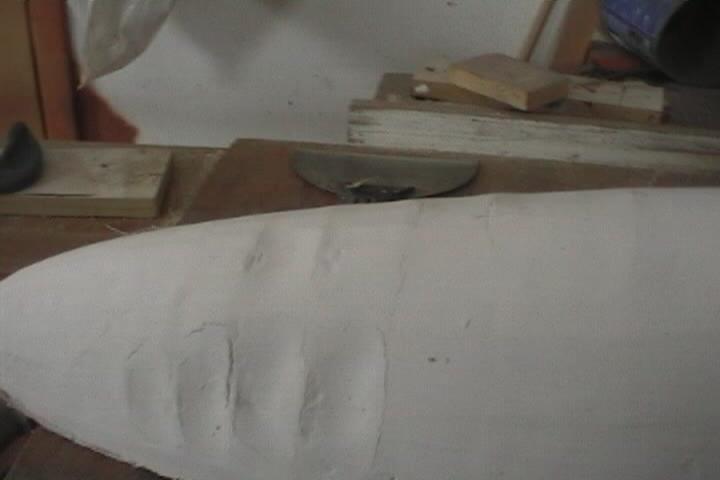
Used chalk line chalk on plaster to work as a guide in sanding. A lot easier to sand than primer.(from Tony Bingelis books) 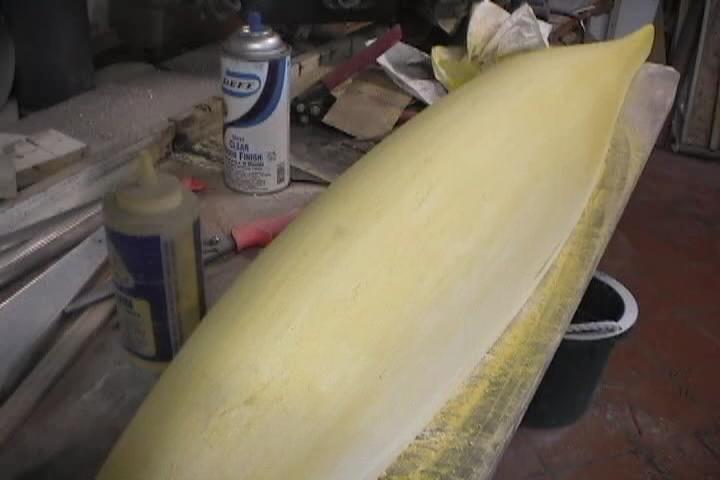

This time I tried using primer. Chalk is alot easier. Fill shrink crack. Fill shrink crack. A real exercise in determination. 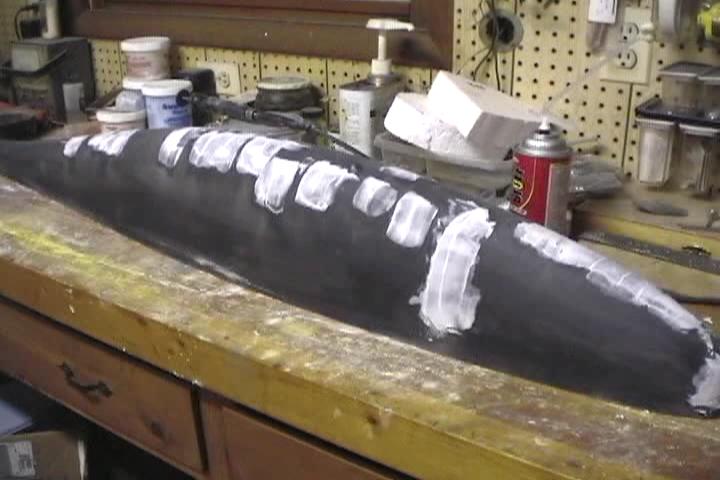
Used the process from CST products to make the molds and parts. This is a link to there step by step instructions. CSTsales fiberglass mold construction. Tip primed and waxed. Looks good now. 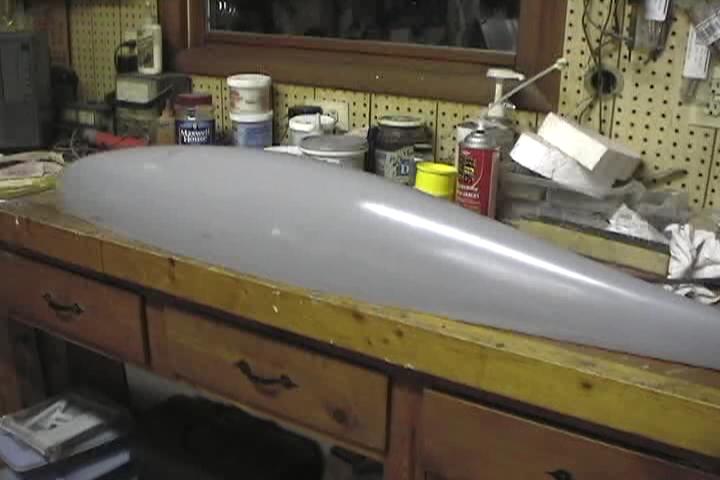
Put on the parting board for the female mold. 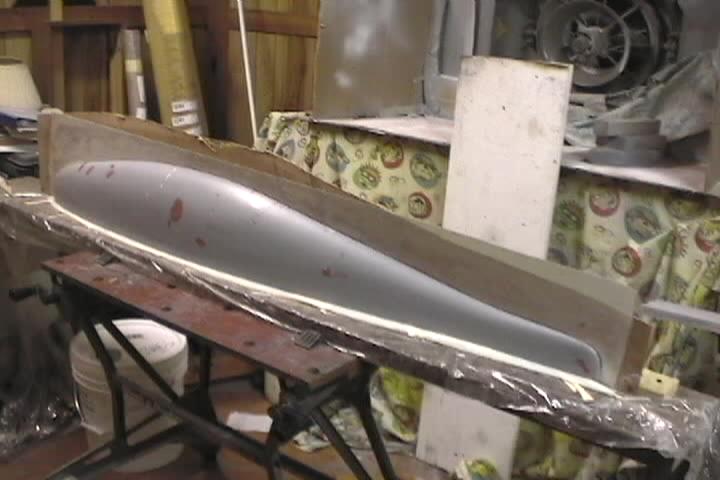
Use mylar film at the parting areas along bottom and the centerline of the wingtip. 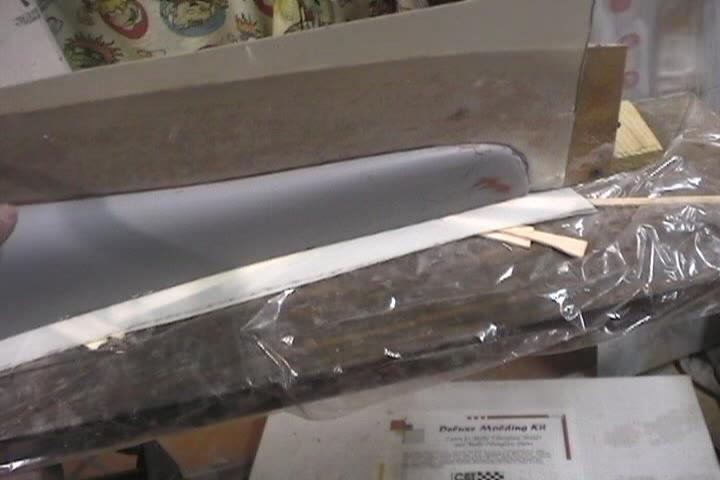
Use clay to seal the area between parting board and plug. 
Clay is used to hold parting board in place. 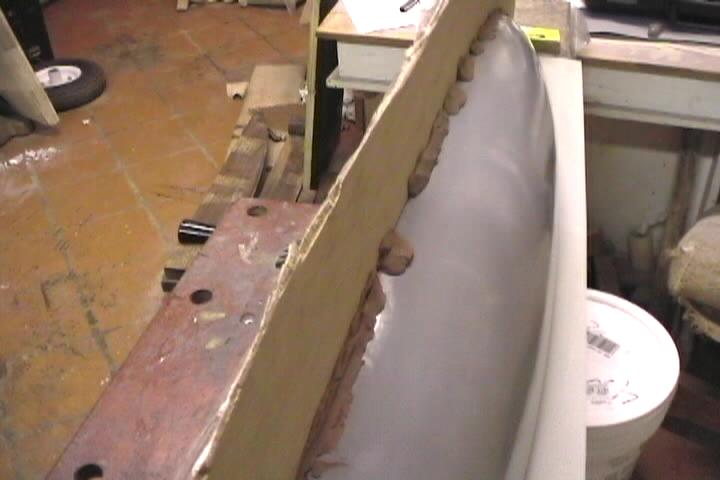
Everything waxed and mold release applied. 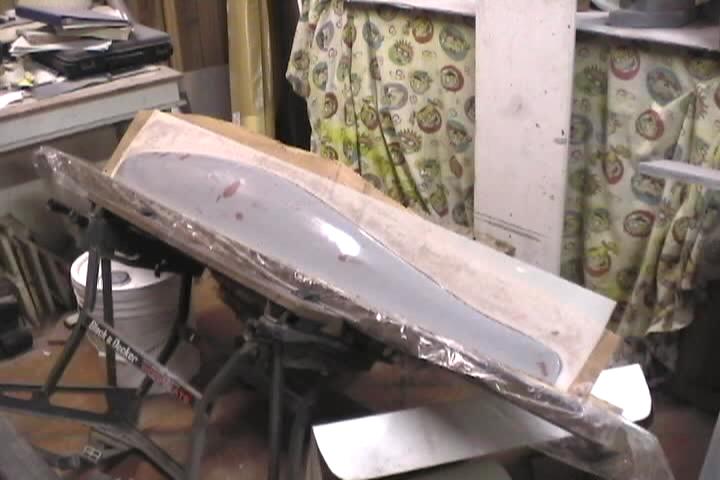
A resin coat applied. 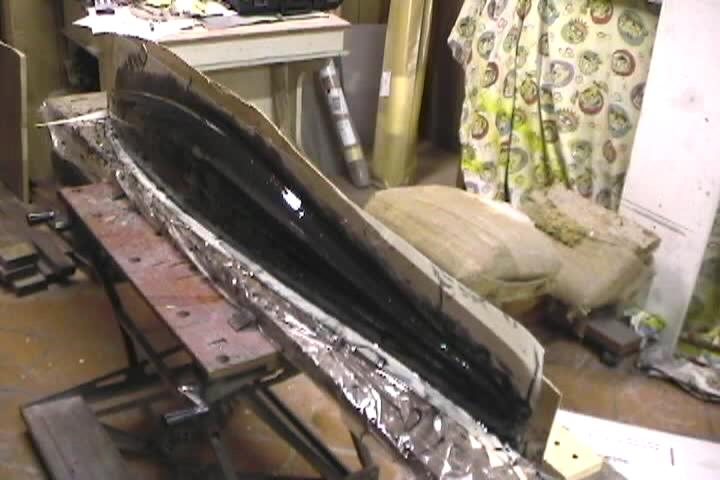
Layer of glass applied. 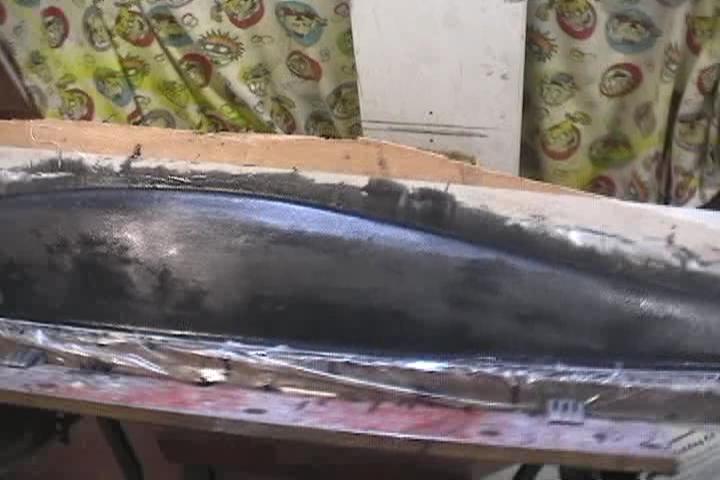
Its very easy to see the glass wet out over the black resin coat. 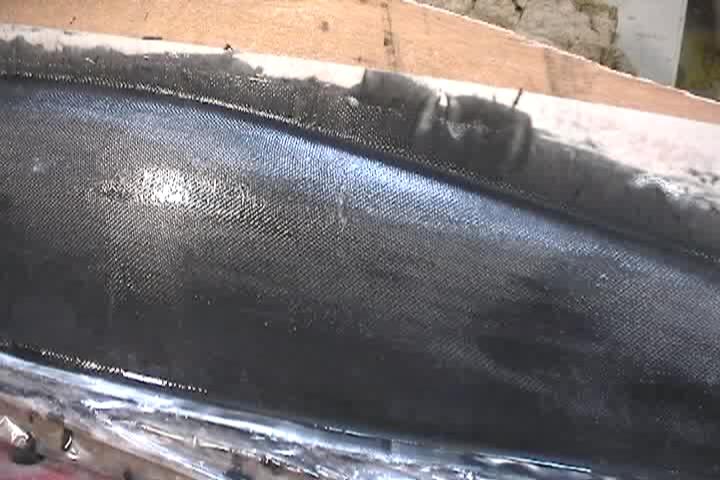
This spot isn't wetted out. 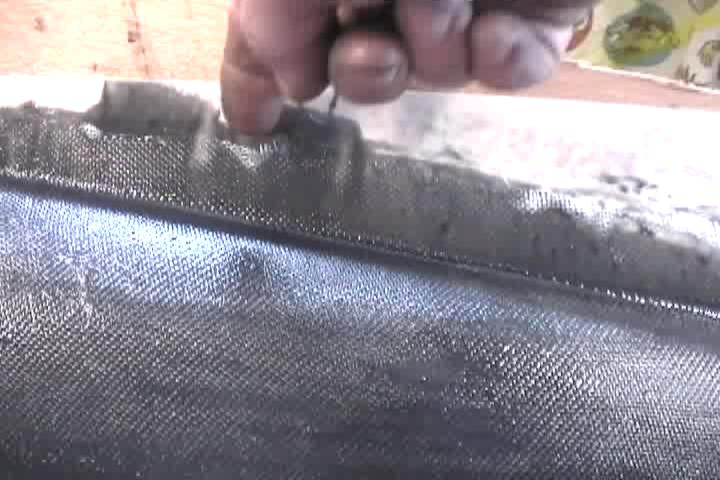
Used 1/4" thick balsa to build up mold. I have a lot of this balsa sheets. Been easier to use coremat or some heavier layers of glass to build up the mold. 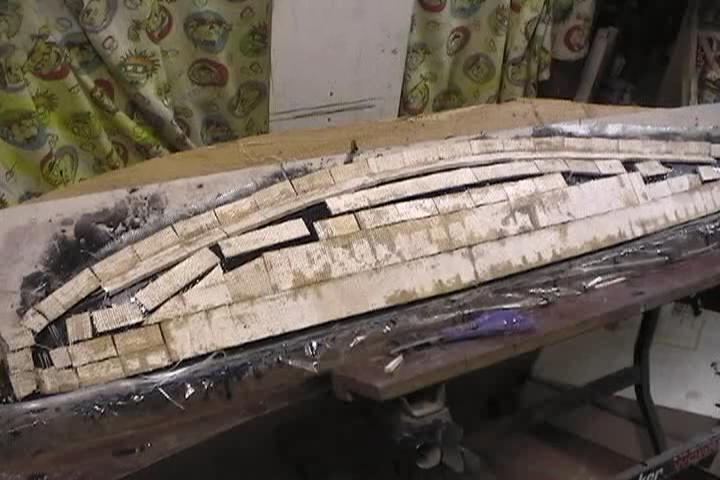
Applied a layer of glass and resin over balsa. Used microballoons in resin which happens to be brown. 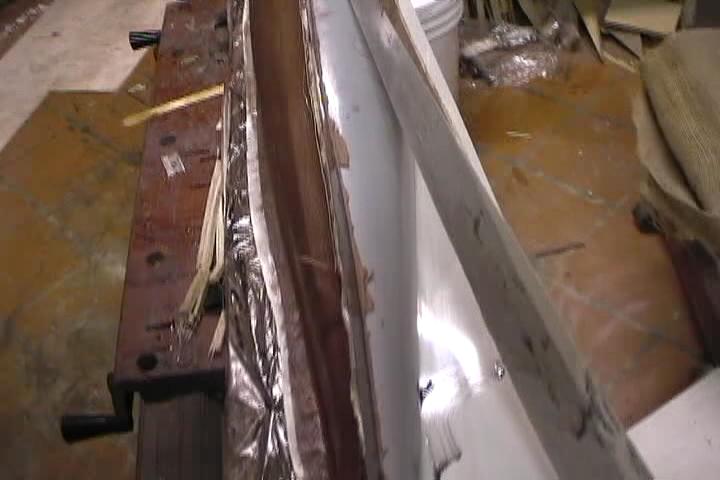
One half of one wingtip female mold layed up. 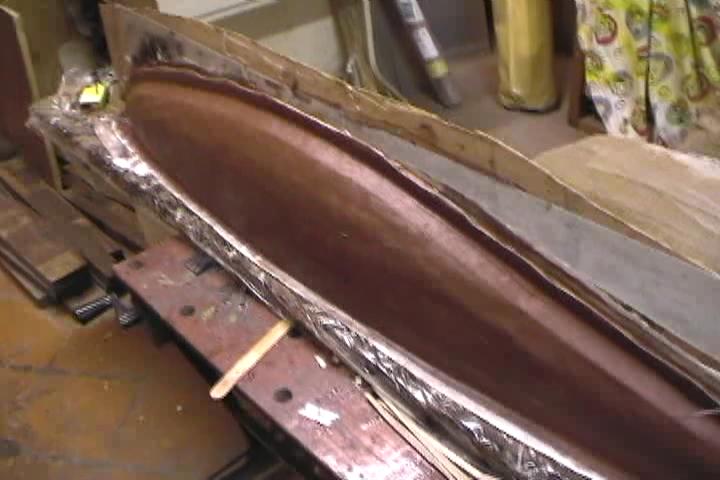
Used a 1/4" ball file in dremel to make alignment points for the two halves of the mold. Bottom arrow is pointing to small crack in the plug. 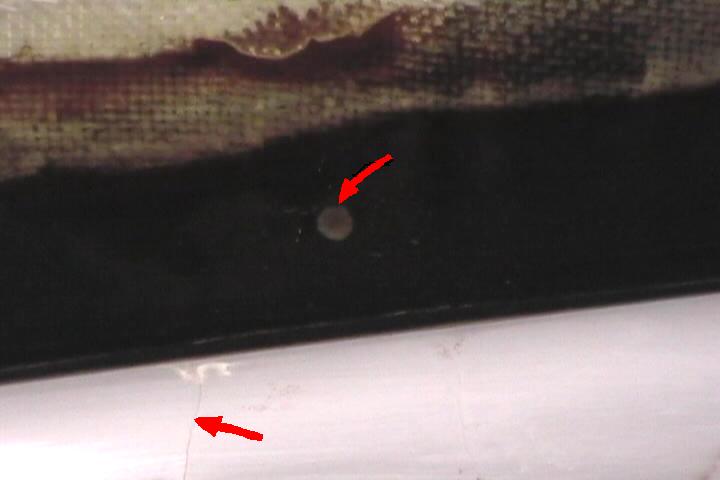
Parting board removed excess clay cleaned up everthing waxed and mold release applied. 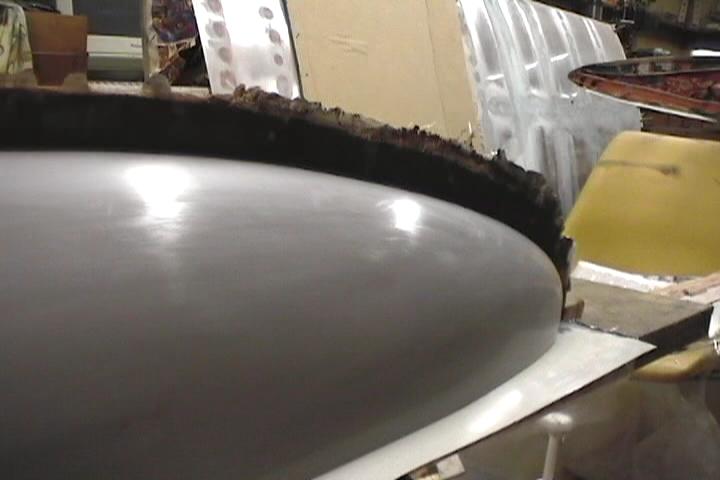
Do it all over again to the other side. 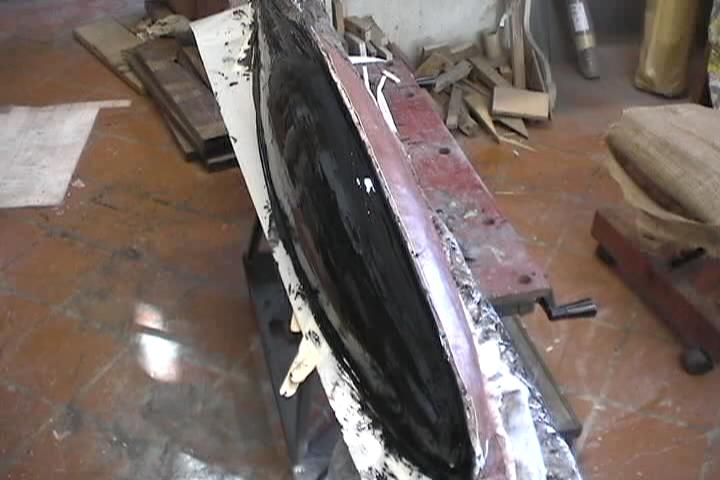
Make-up the other half of the mold right against the first half. 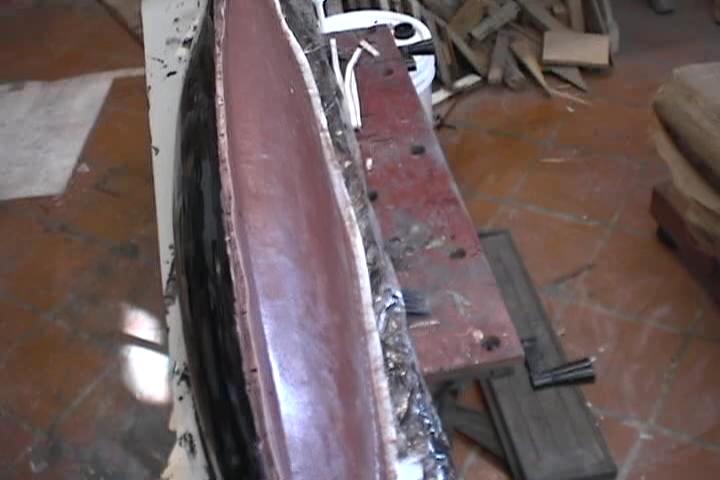
Build up the other half of the mold just like the first. 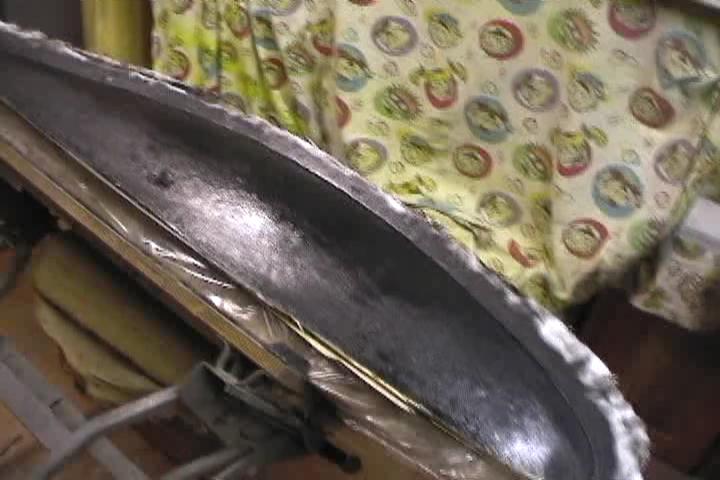
Pulled the female mold off the plug and aligned the 2 halves together with spring clamps. 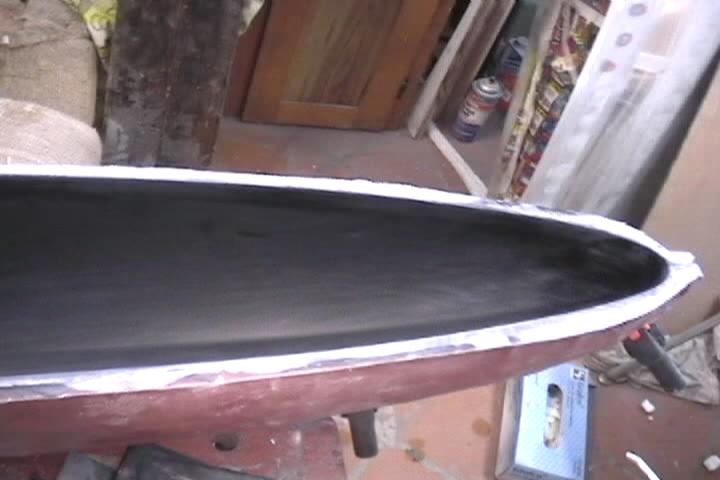
Waxed mold and applied mold release. Put on a coat of clear resin then laid in a layer of kevlar glass. Its hard to see but there is 4 layers of tape around the perimeter to create a lip where the tip is inserted between rib and wingskin. 
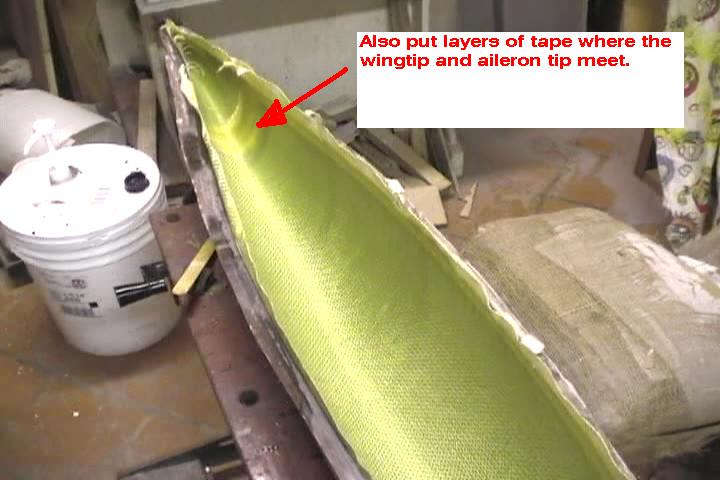
Here you can see the tape, 4 layers of vinyl tape and one layer of masking tape. There is actually a layer of s-glass which turns clear when wetted out in the tip light area. 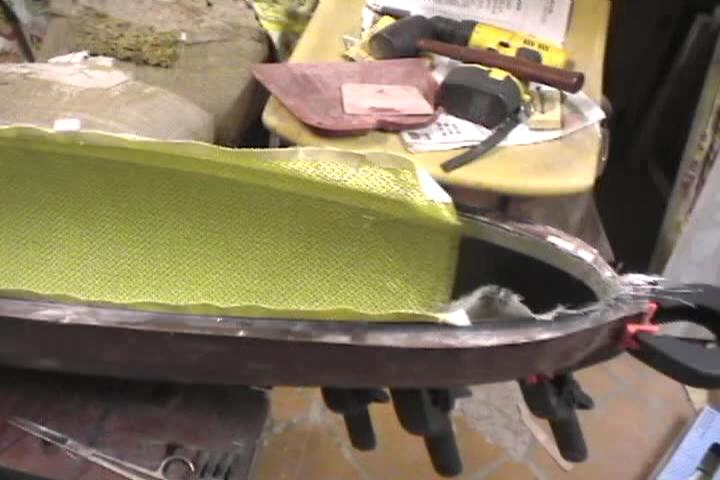
This is where the aileron and wingtip will be cut apart. 
Cutting away where the location of the lip will be. The masking tape acted as a peel ply leaving the vinyl tape in place. 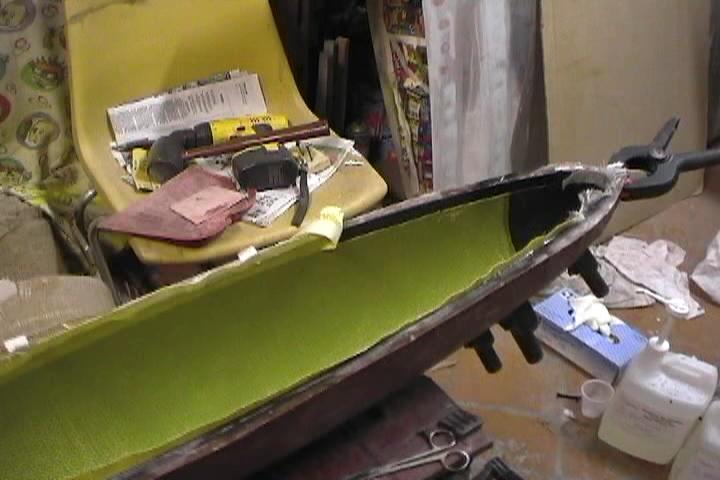
Fitting up the aileron tip and aileron end rib. 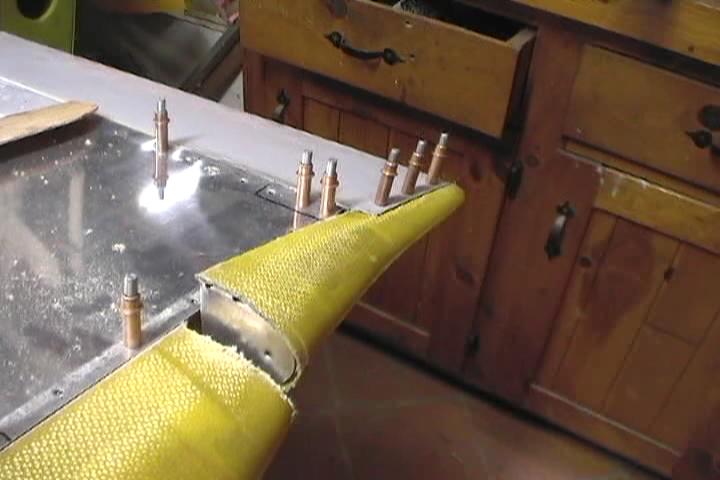
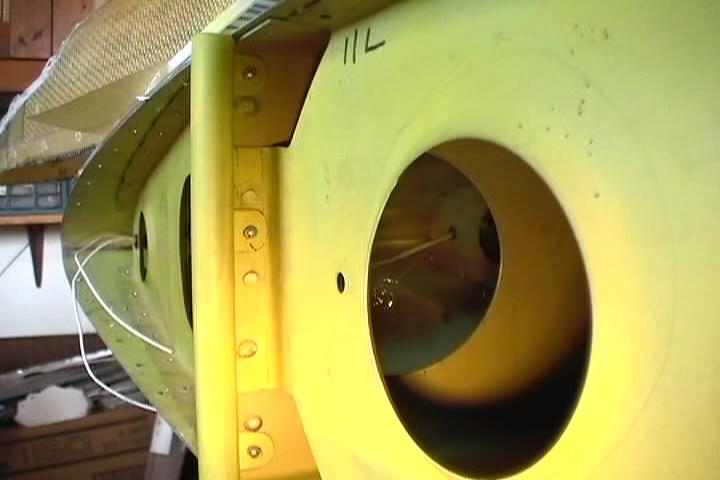
Installing the wingtip. Very difficult getting the tip edge between the skin and rib. Made it easier having the tip light hole to get access inside. 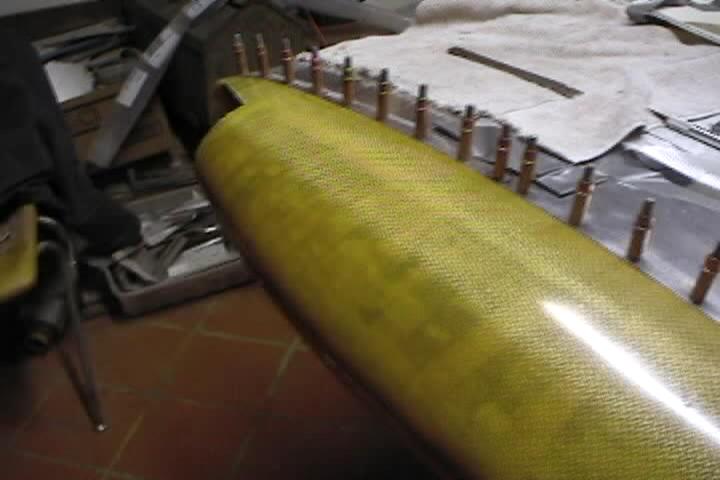
Hole for the tip lights. 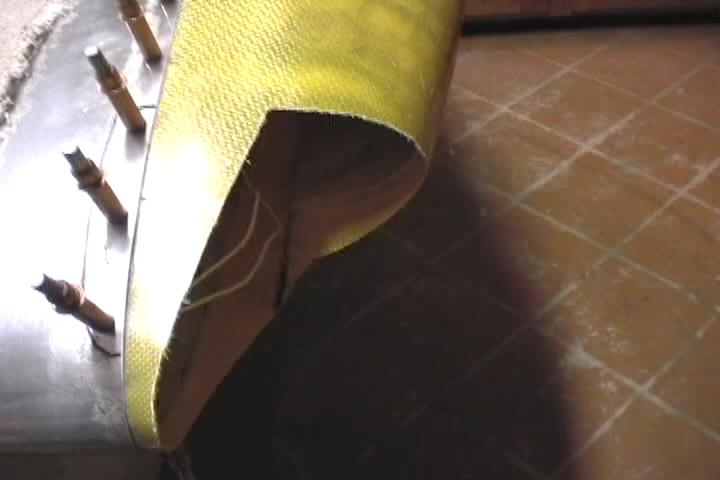
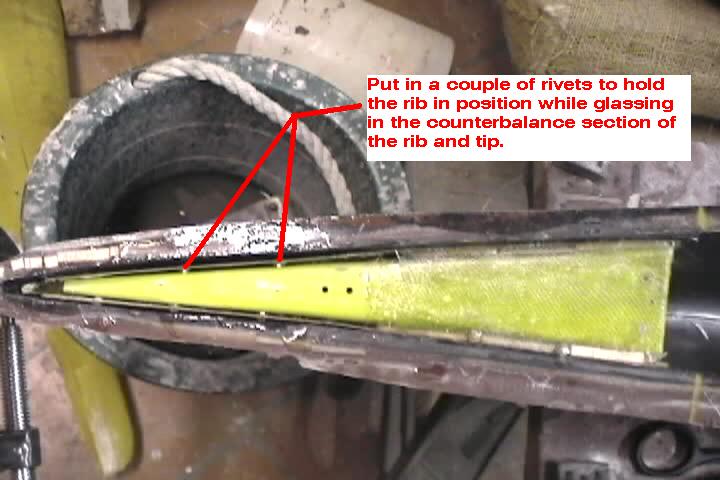
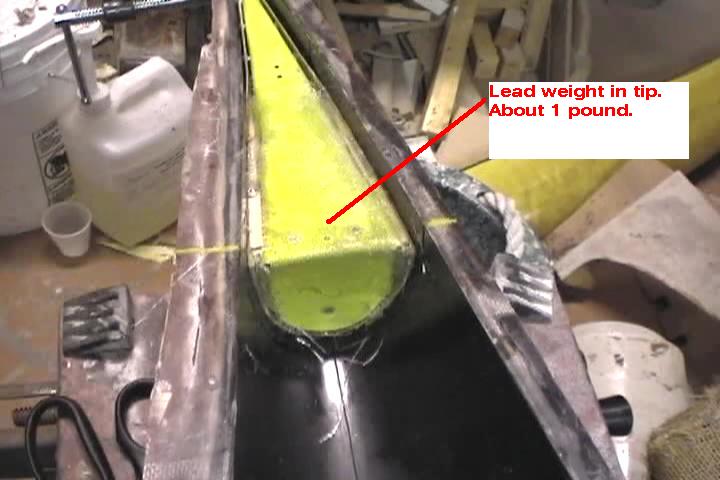
Checking aileron counterbalance clearance. 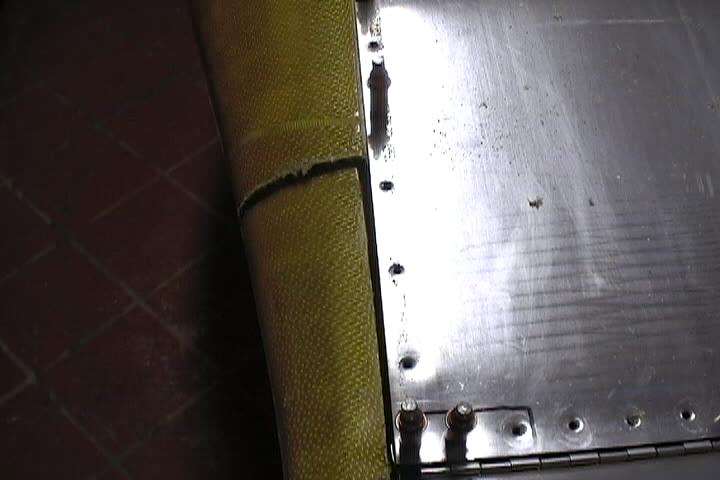
Attaching aileron tip to the aileron end rib. 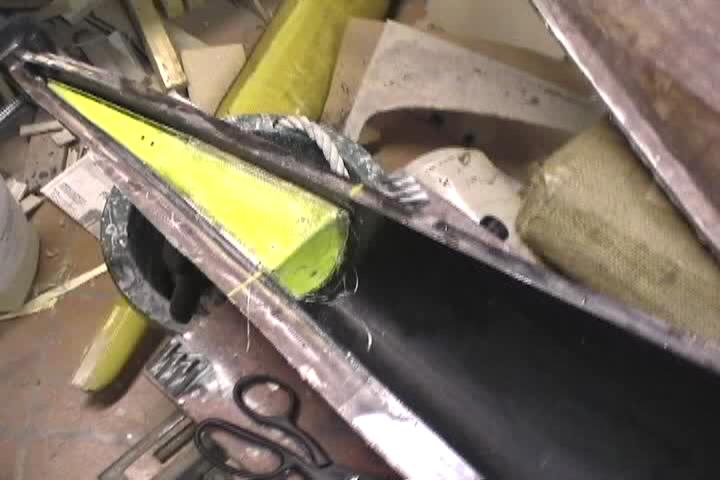
Vacuum forming the tip light lens cover out of .032 lexan. 
Had made up this vacuum form box for making canopies for my RC model planes. 
The plastic will crease when vacuum formed. You need to space the plug above the crease so that it isn't in your finished part. 
Made the frame the same size as the rack in the wifes oven. Put the framed sheet of lexan in the oven at 450 degrees, waited until it sagged about 2" then yanked it out and put it over the plug on the vaccum box. Got to work quick, the lexan cools fast. 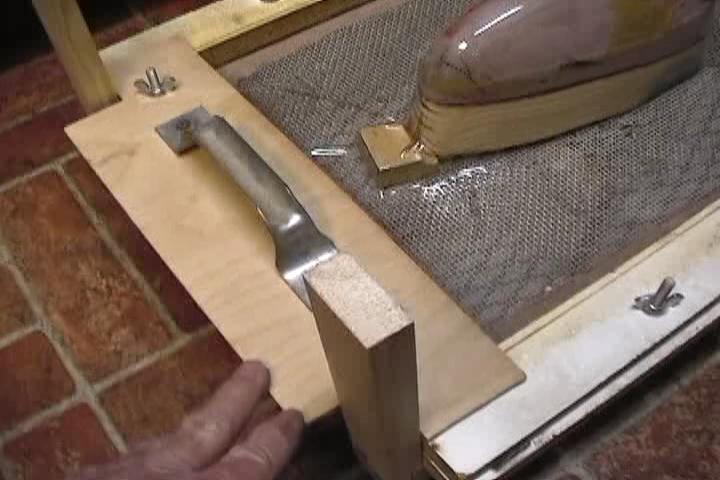
Vaccum box. Box with a heavy layer of screen covered with a fine screen and a hole in the end to hook up the shop vac. Put on a couple of 1x2 uprights to help guide the frame onto the vaccum box quickly. 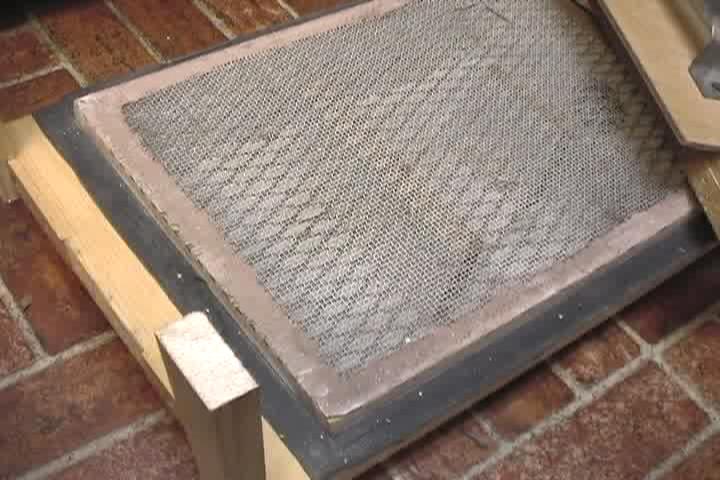
Used the cut-out piece from the wingtip to make the tip light plug. Filled the inside up with bondo and a couple of small blocks of wood to make it solid. 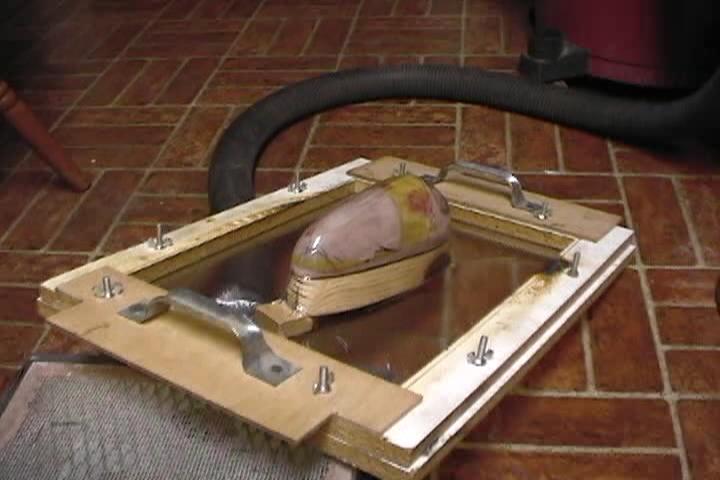
Glassing in the flange to mount the lens to. 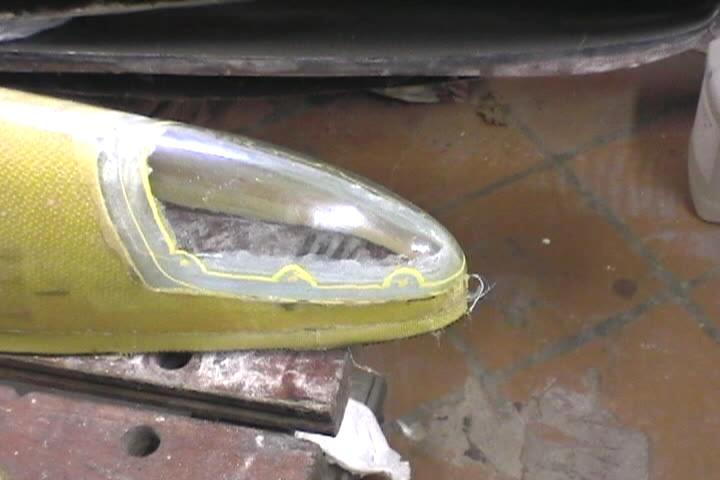
Used e-glass for making up the flange. Used layers of vinyl tape to make the lens flush with the wingtip. Clay dam put in to help keep the resin where I wanted it. 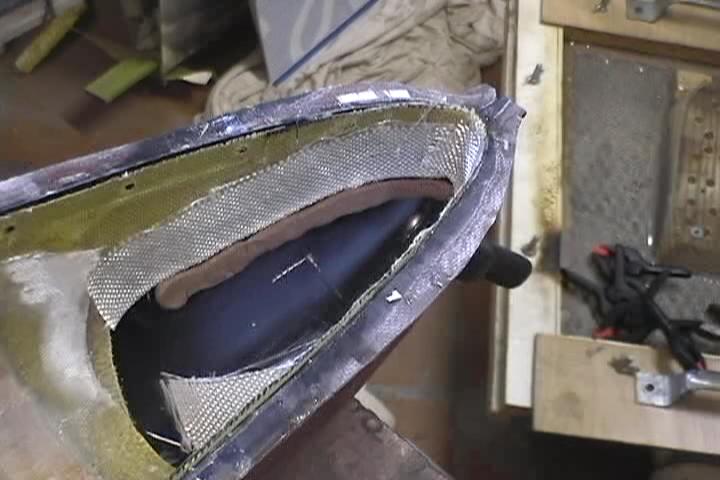
Pretty well finished lens recess. Tabs on the inside are for a removeable aluminum base for the lights. 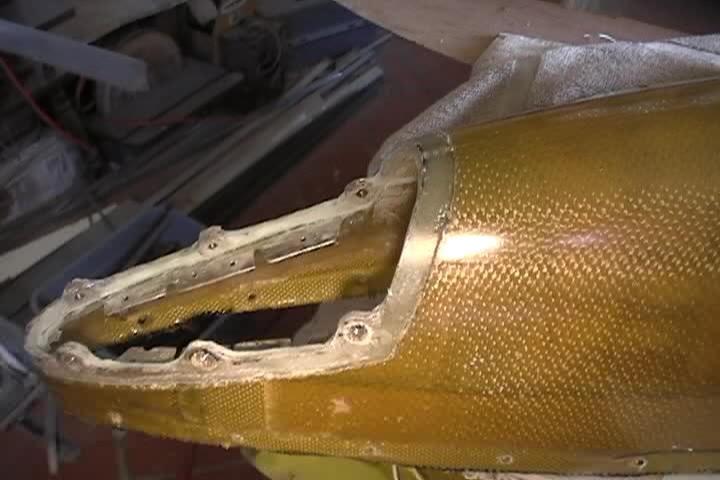
Installed 1/2" tubes on the end of the spar so that I could slide in a rod to help pull the wing out of the main carry thru when folding up the wings. 
View of other side of the wing puller tube.