Made up an aluminum switch panel to mount on the back of the front seat tubing above the aft control stick. Used a wire brush in the drill press to get the brush finish look. It covers up any imperfections very nicely.
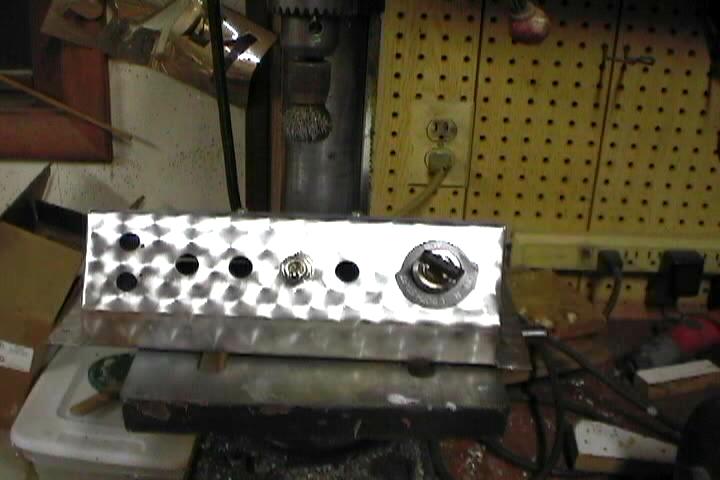
The switch panel holds the six position spade type fuse holder. 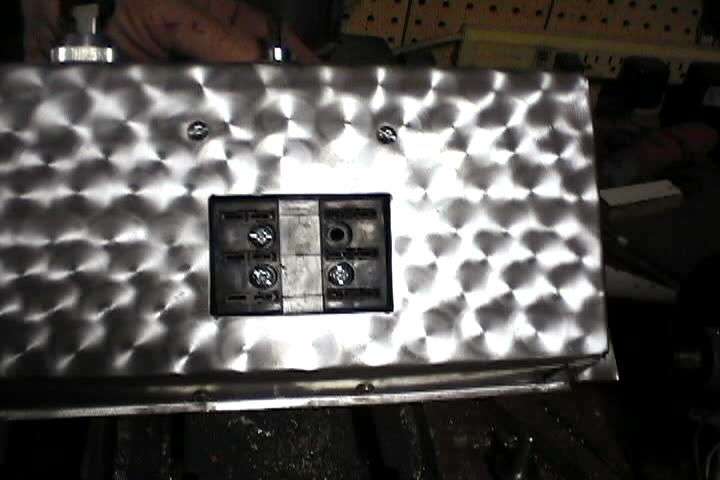
Inside view of switch panel. Drilled a couple of extra holes for future switches. Initially I'm only using two. 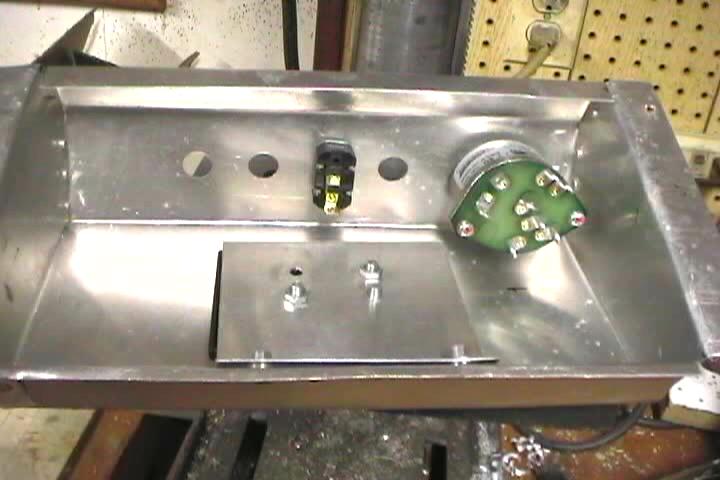
Made up a ground block using a piece of buss bar drilled and tapped for 6-32 screws. 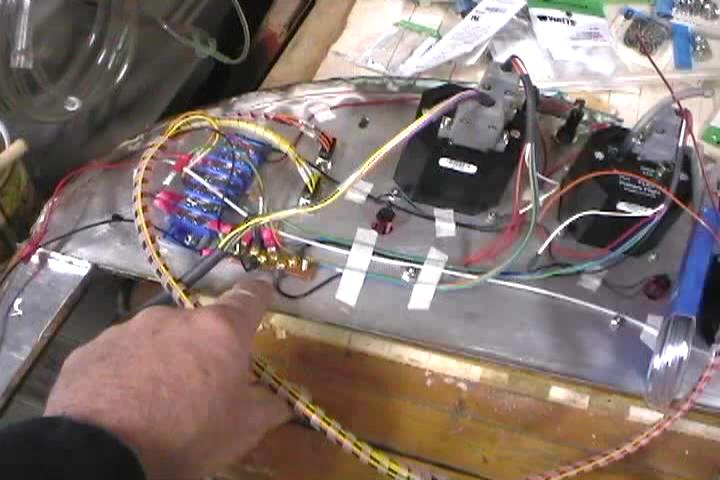
The back of the E1 MaxiSingle electronic engine management system. 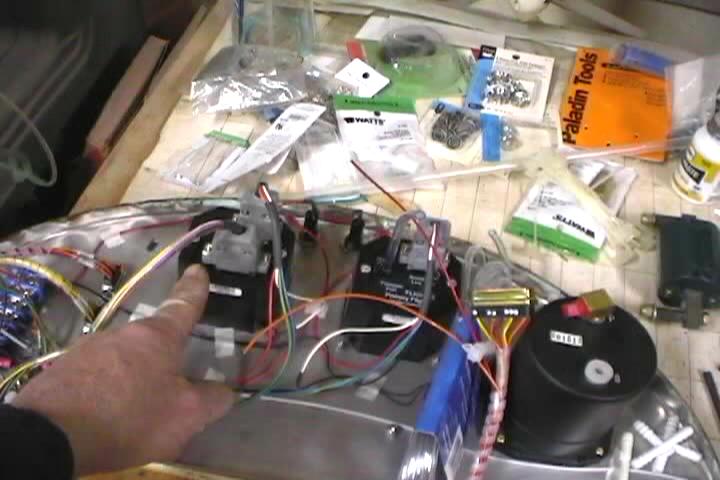
Installed two panel mounted fuse holders for the electronic instruments. 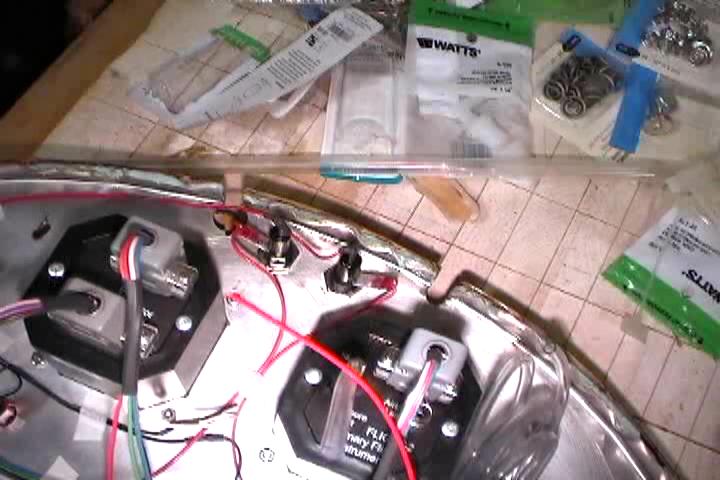
These two 9-pin D-sub connectors have the wiring for the CHT and EGT probes. One is for the front two cylinders EGT and CHT probes and the other is for the rear two cylinders. 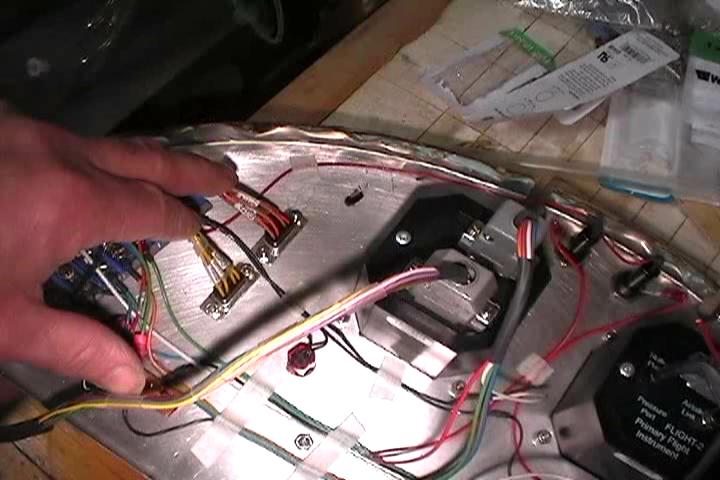
This is the cable for the tachometer signal from the voltage regulator. Used sheilded cable for it and RCA plug connector to connect to wiring harness from firewall. 
Panel is made of .025 aluminum with an oak veneer glued on. Made u pthe panel cut-outs with just the aluminum then glued on the veneer to cover up any mistakes. Daughter said it looked like a smiley face. Now when I look at it, it looks like Sponge Bob Square Pants. 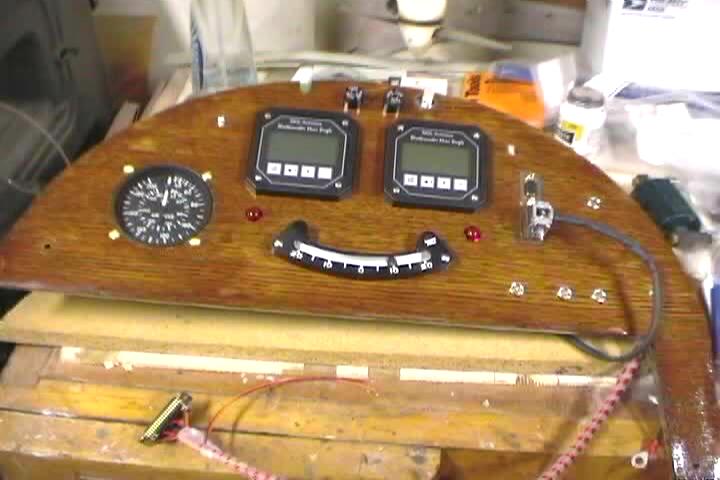
Had to cut down the D-sub connector and make it into a 90 degree connector to clear the front cross bar on the canopy frame. Would have been nice to set back the front cross bar on the canopy another half inch to give more panel clearance for items that mount on the surface of the panel. 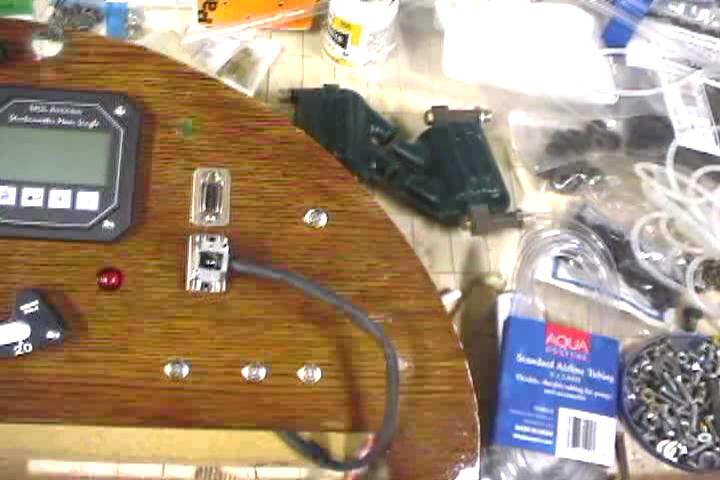
Fuel site gauge made of clear acrylic tubing, heated and bent to the panel curvature. Difficult to figure out how to connect up to regular fuel line. 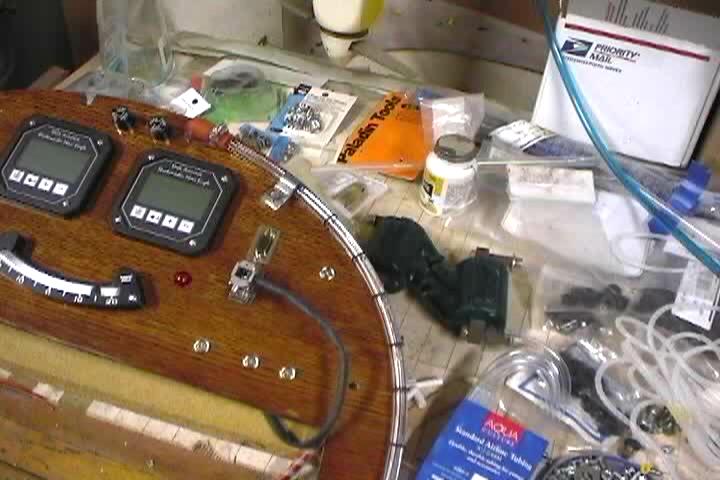
Used this conduit box fitting to run my EGT wires through.