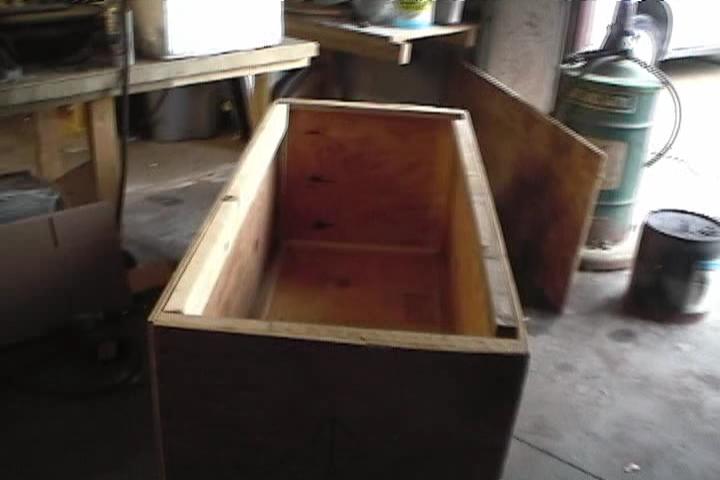
The crate the canopy came in.
Fitting it up to see how much more excess needs to be removed to get the contour I would like. Canopy came with shrink wrap on the outside. This canopy came from GPAS . 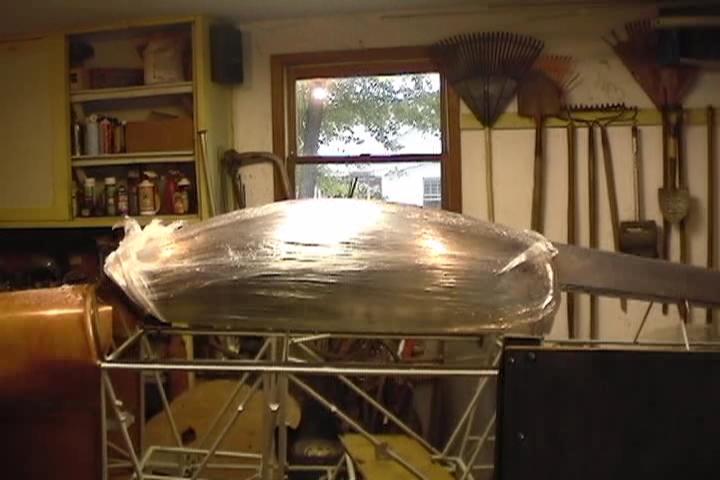
Front of canopy resting on front bow. Canopy has a smoke tint to it. 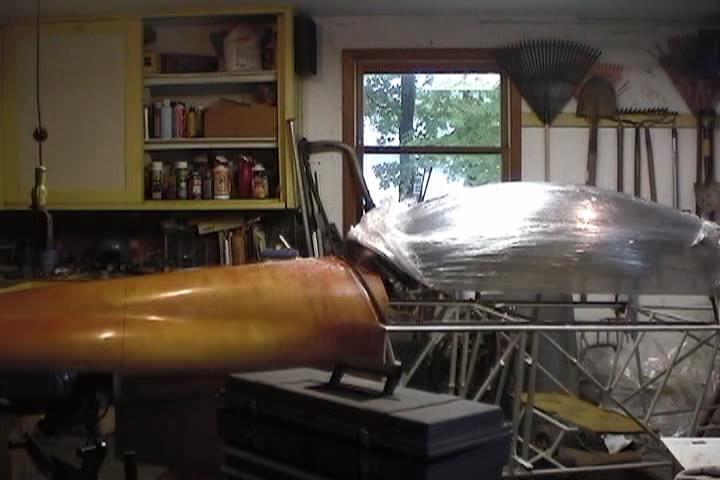
Needed to trim the front of the canopy at the front bow of the frame to get the proper slope at the rear of the canopy to blend into the slope of the turtledeck. 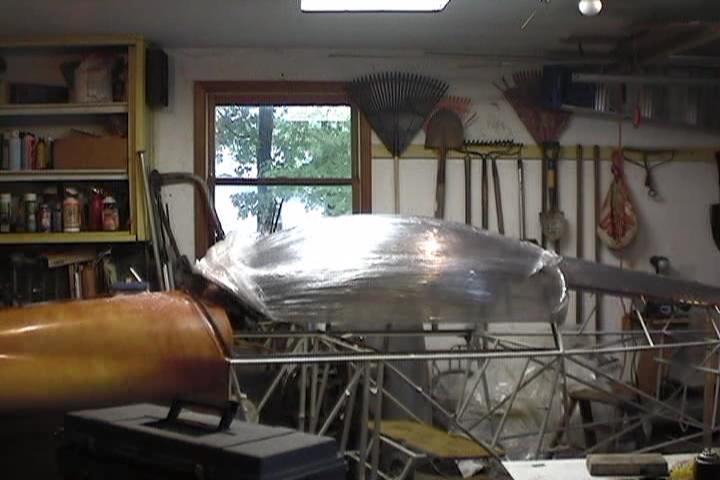
It's all guesstimation to figure out how much to cut off. Used electrical tape to mark where to cut it. 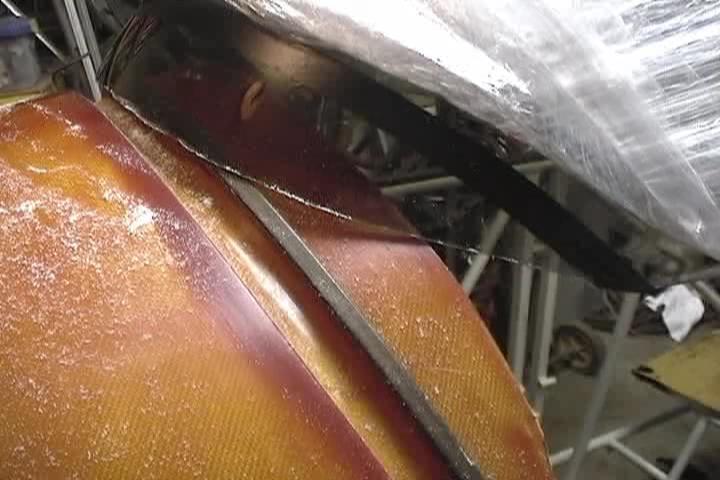
Here are the 3 cut-off pieces from the front of the canopy stacked up. 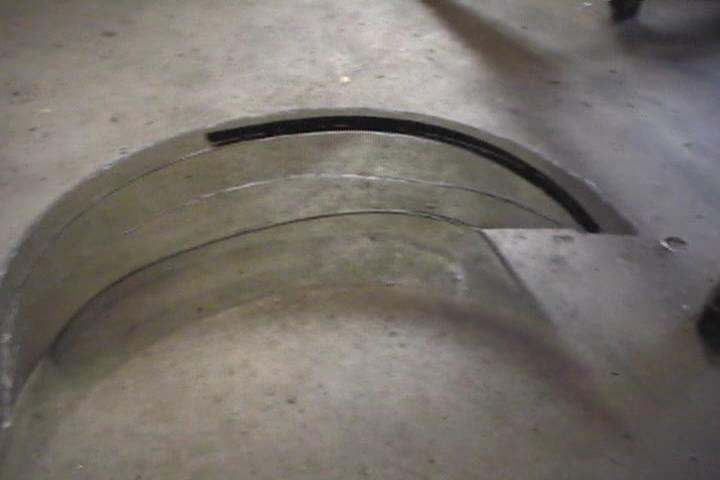
Used dremel tool with cut-off wheel to trim plexiglass. Wheels lasted very good. I cracked more than I wore out. 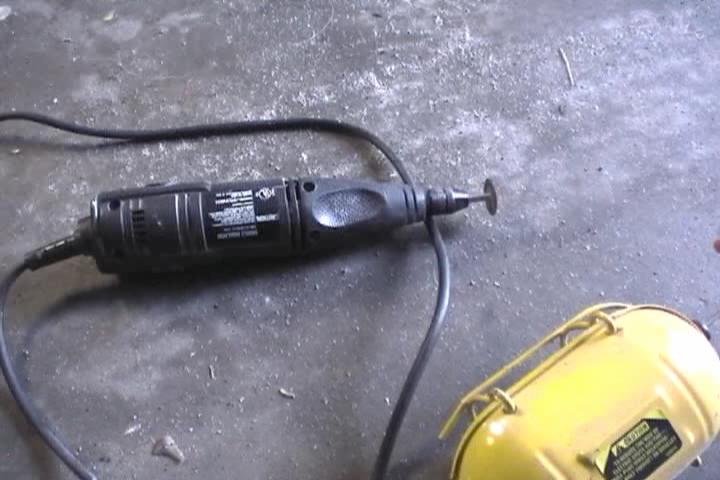
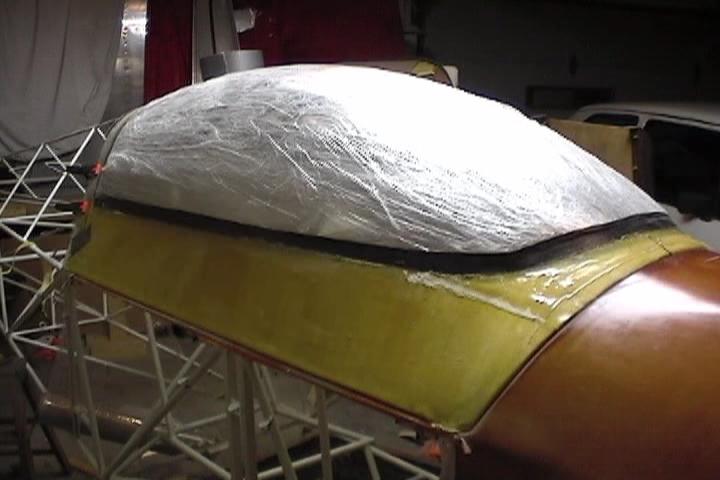
Can you see the straight edge on the canopy? This was as close as I dare go in matching up the slope of the canopy to the turtledeck. Really isn't a lot of headroom leadway. I went with the per plans turtledeck height. A lot of builders have increased the turtledeck height 1 to 2 inches. 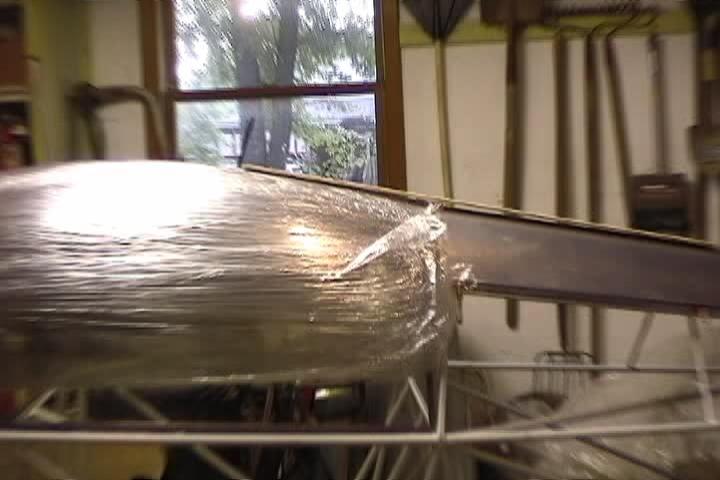
Another veiw of the slope difference. It's not too pronounced but an inch higher turtledeck would of been just right. 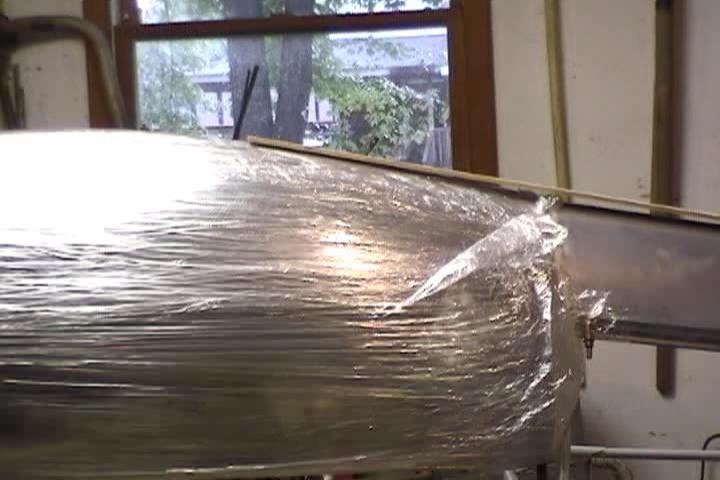
The natural shape of the canopy bows out a good inch from the rear canopy frame.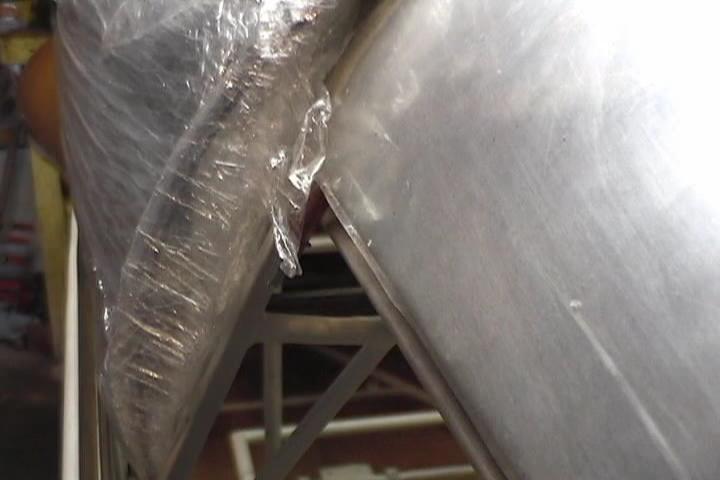
Canopy trimmed. 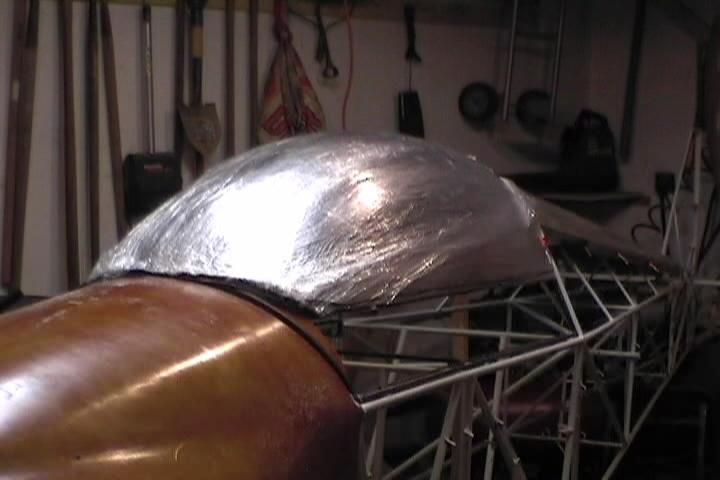
Not sure how canopy is constructed. It really doesn't naturally conform to the contour of the fuselage. It's wider 4 inches up the sides then the bottom. You could bring the skirt up higher but that would cut into your visibility. 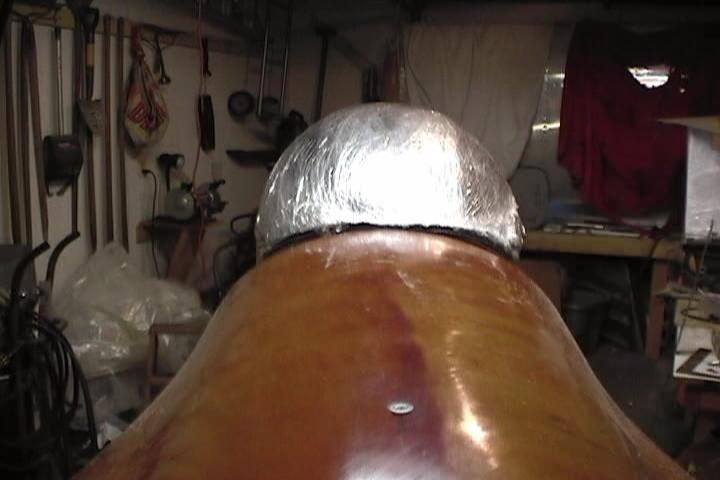
Rear view. 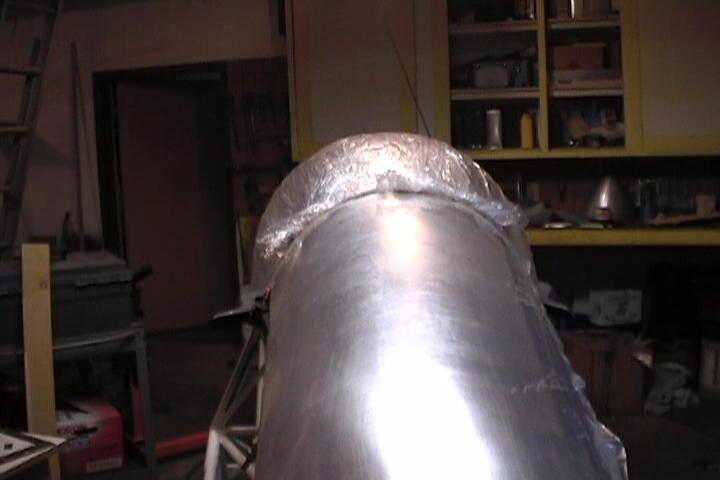
Made up a balsa and fiberglass lip for the canopy to seal up against. Had to cut most of it off because it interfered with the opening and closing of canopy. May be best if you want to seal all around the canopy to put more slope towards the back in the turtledeck bow. 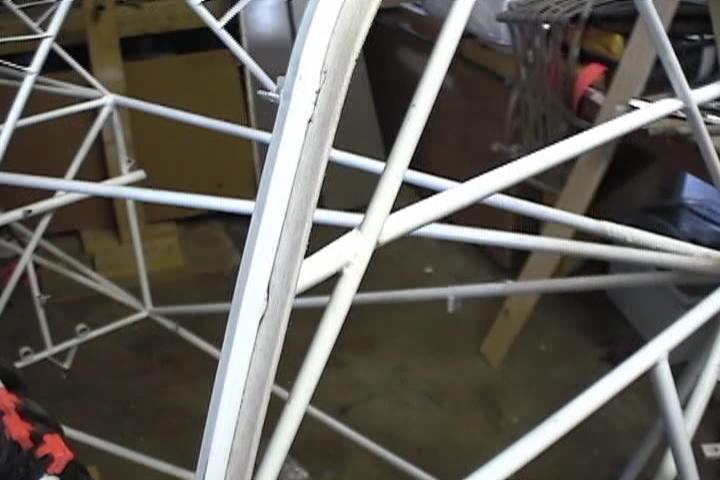
Planned on fiberglassing the canopy to the canopy frame with a fiberglass skirt. Masked off the area where the fiberglass would lap and scuffed it with 120 grit sand paper. 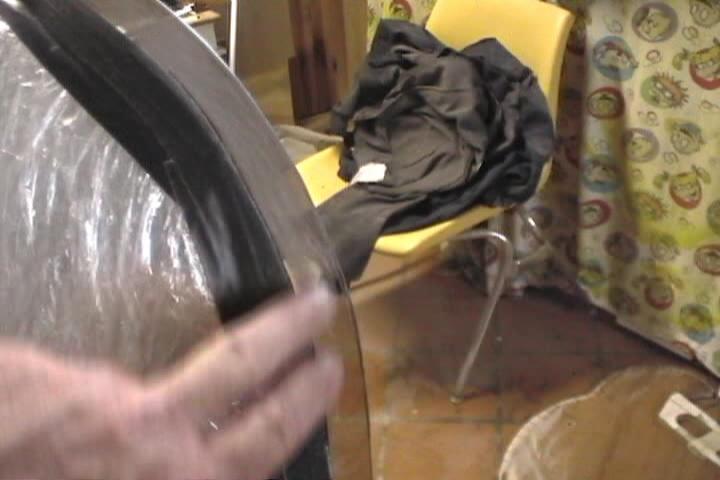
Made up these blocks to clamp plexiglass to canopy frame. 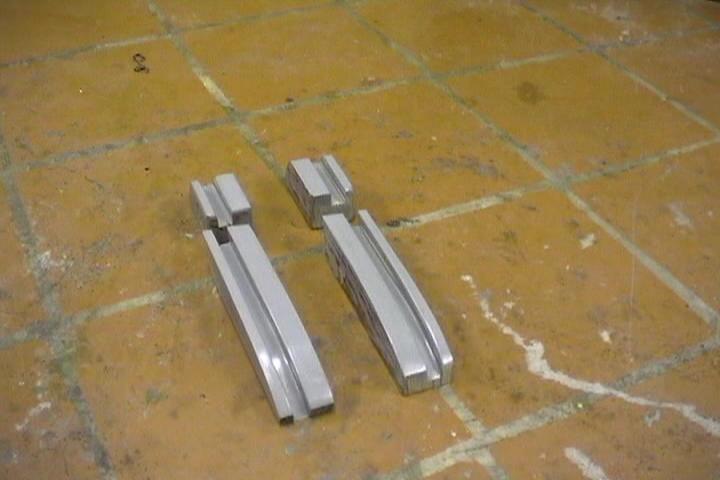
Here is a good view of how much the plexiglass has to be flattened out to the frame. 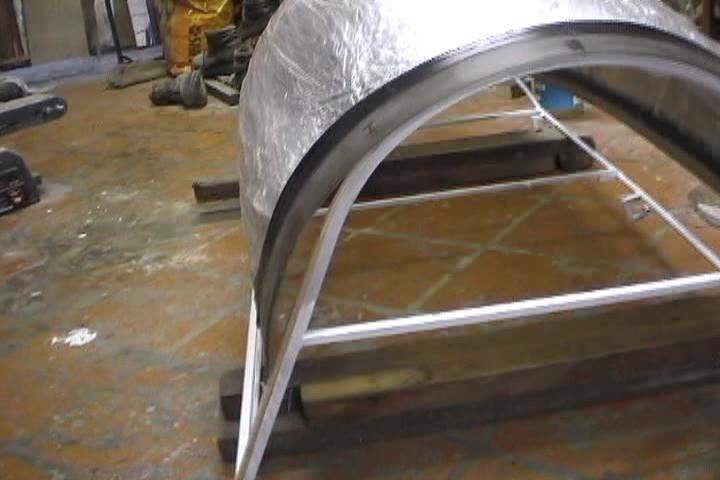
You can see here the wood I glued to the canopy frame and sanded it down so it would be 1/8" smaller than the turtledeck to get the canopy to match the turtledeck. 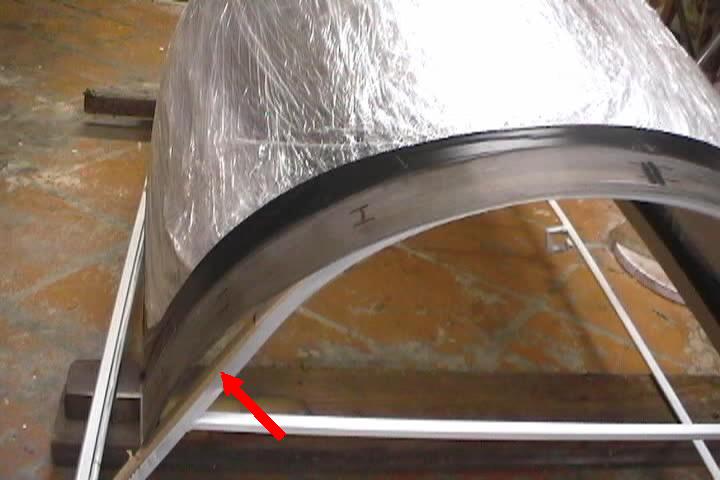
Put alignment marks for the canopy to the rear of the frame. 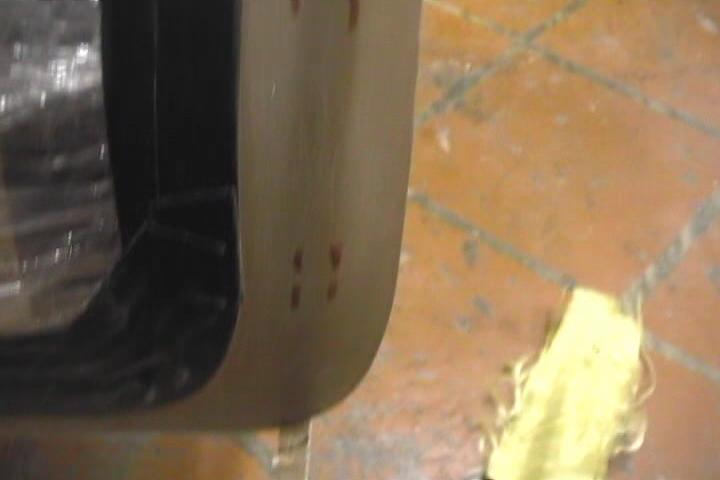
These grooves are deeper and wider to allow for 2 layers of kevlar to wrap around the frame. 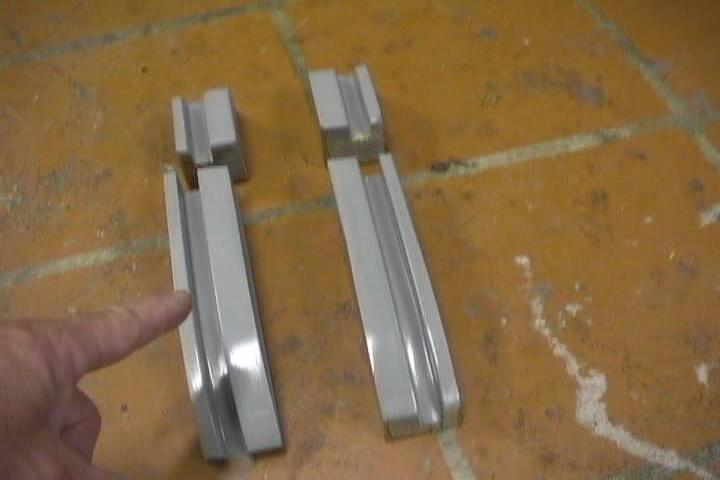
The plexiglass being epoxied and glassed to the frame. Just epoxying the the kevlar inside the frame now. Left enough excess kevlar to wrap around the outside of the plexiglass after the inside dried. 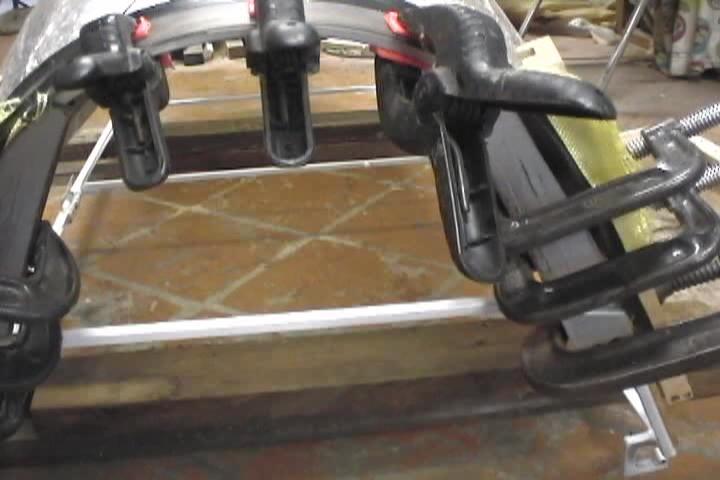
Couple of clamps holding the front of the canopy on the center line of the frame. 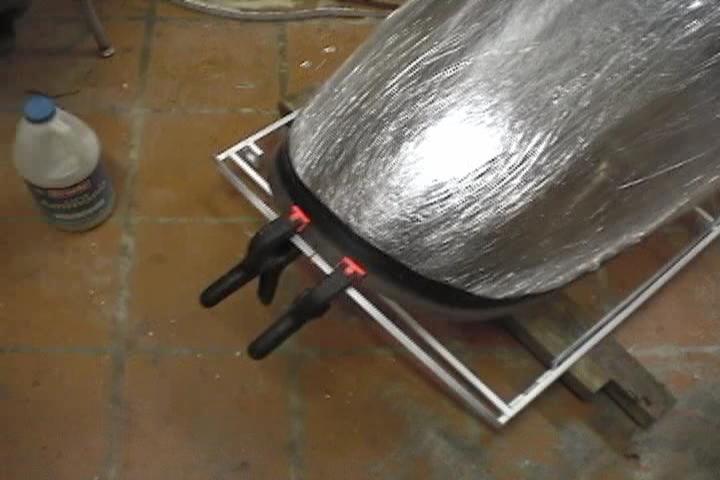
Considered drilling and screwing the plexiglass to the rear bow but I beleive it would have been too much stress at one place. I beleive you need to decide to either epoxy it all with no drill holes or drill and bolt it all together so that it can move in the holes. 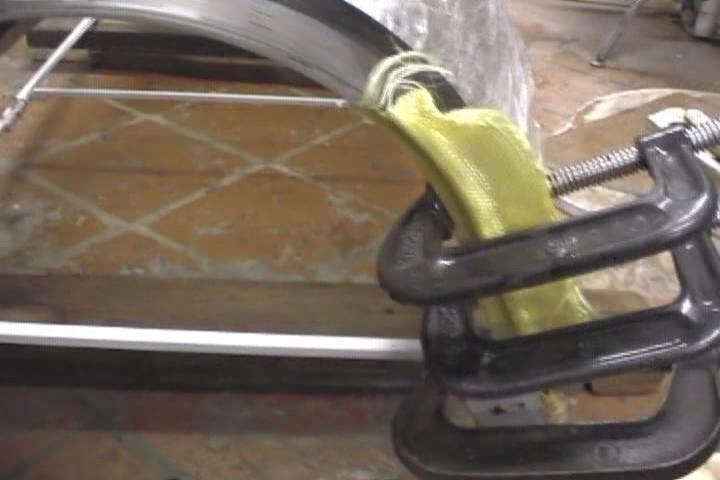
The excess kevlar is wrapped around the edge of the plexiglass. 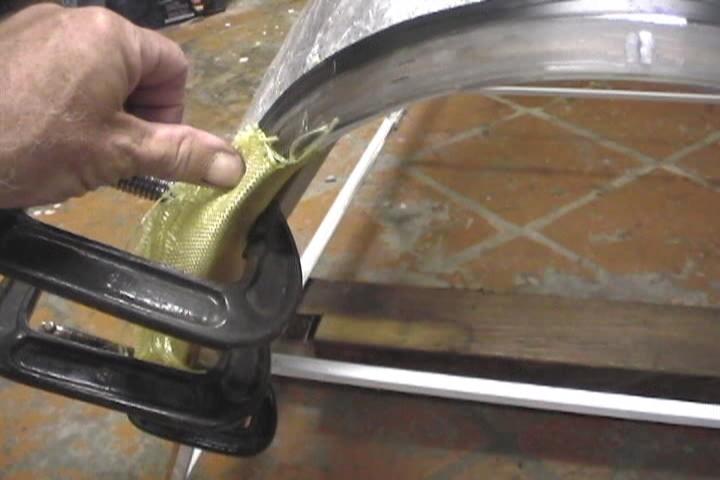
Epoxying kevlar to outside. That is a piece of .020" lexan between the clamps and kevlar. 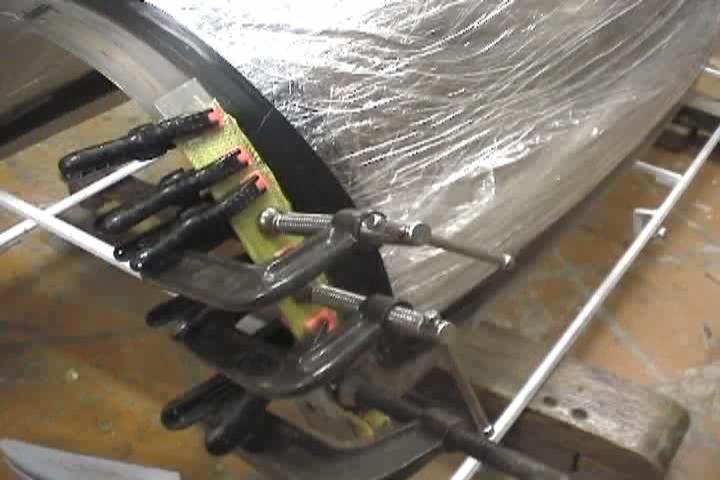
Another view of the lexan being used as a parting media. 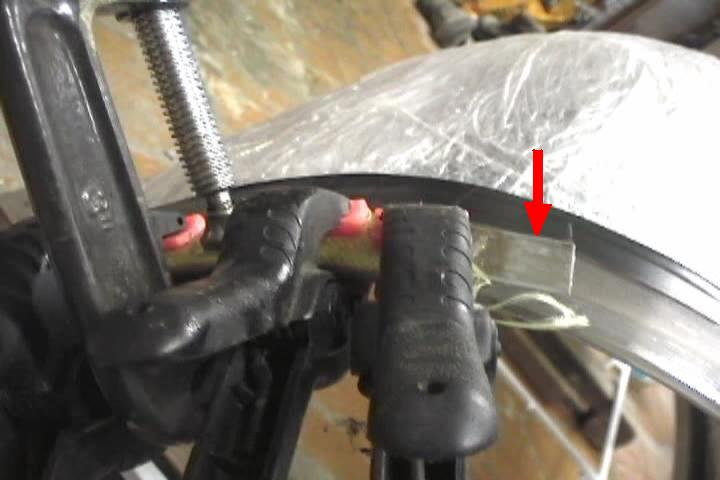
To get rid of some of the bowing in of the plexiglass at the bottom I put in these stand-offs to help spread the plexiglass at the front and sides where it meets the skirt. With plexiglass only attached at rear bow I was able to get the plexi out of the way in order to weld in the short pieces of 3/8" tubing. 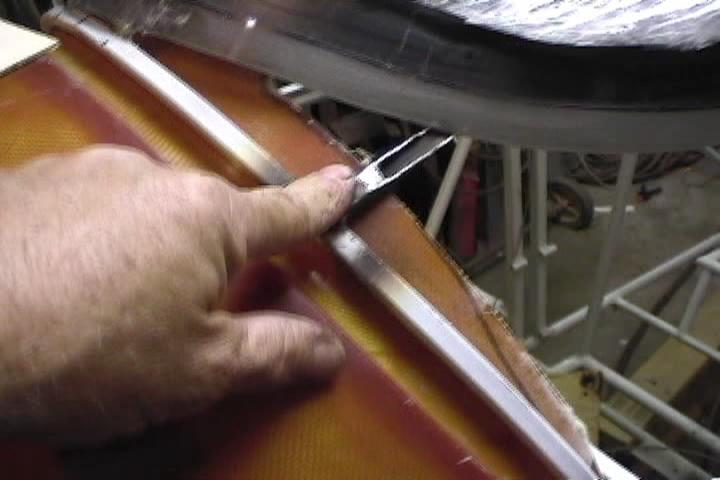
Stand-off on other side. 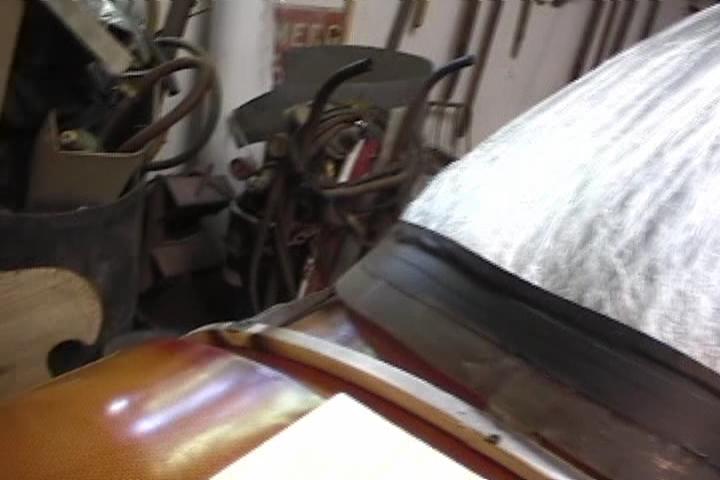
Started planking my canopy skirt using 1/8" thick x 6" wide balsa sheet using super glue. 
I had this balsa handy from building R/C planes. Used 1/8" 3/16" and some 1/16" sheets to build up the skirt. It goes fairly quickly using super glue and it is easy to sand to shape. I wet the balsa with ammonia to bend it for the curved areas in the front. Water works but ammonia dries faster. 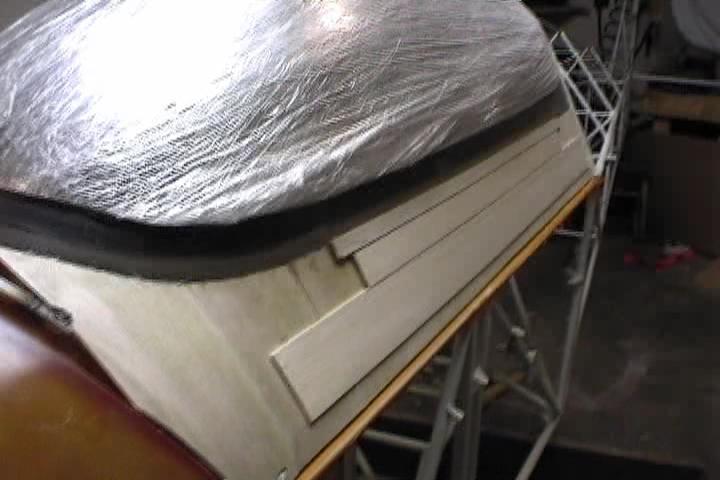
Layed up 1 layer 5.0oz kevlar on the inside first. 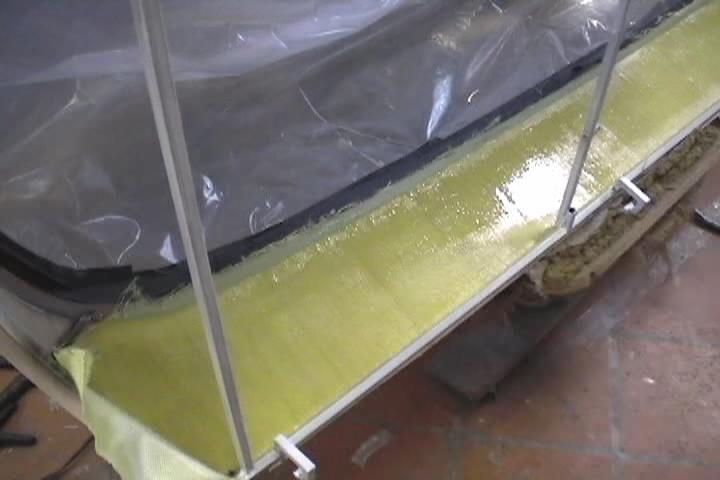
Another view of inside lay up. 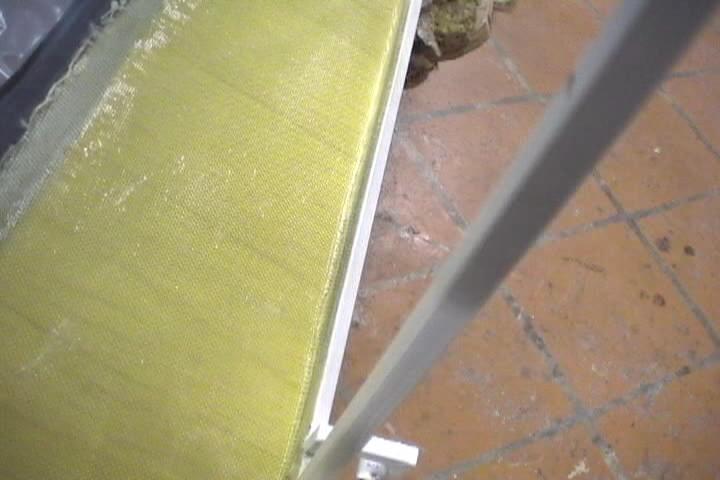
Laying up the outside of skirt. Using lexan as a parting media and as a spacer between the longeron and skirt. 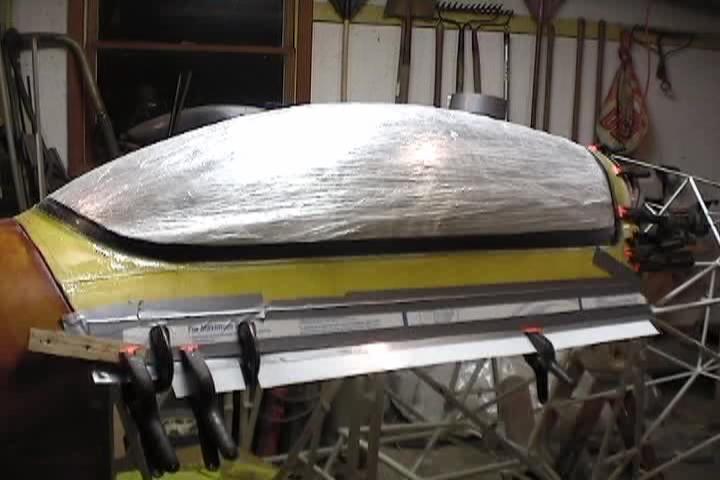
Also another layer of kevlar at the rear canopy frame bow. 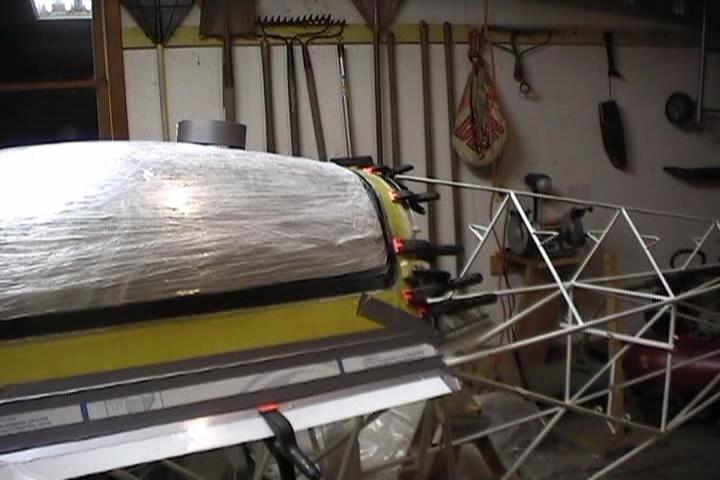
View of hinge side. Still a lot of finish work to do on this. Sanding and glazing. That will be on the next set of photos.