Attempting to get an idea of how the cowl opening will look. Made up a flange out of clay.
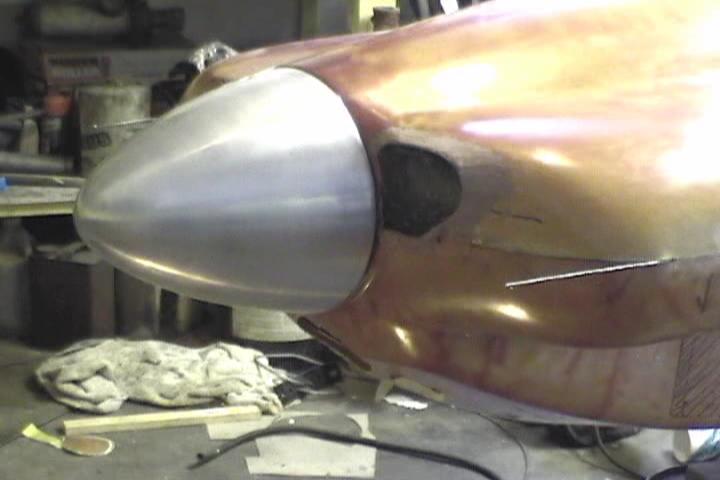
Only have the inlet in the top half of cowl. 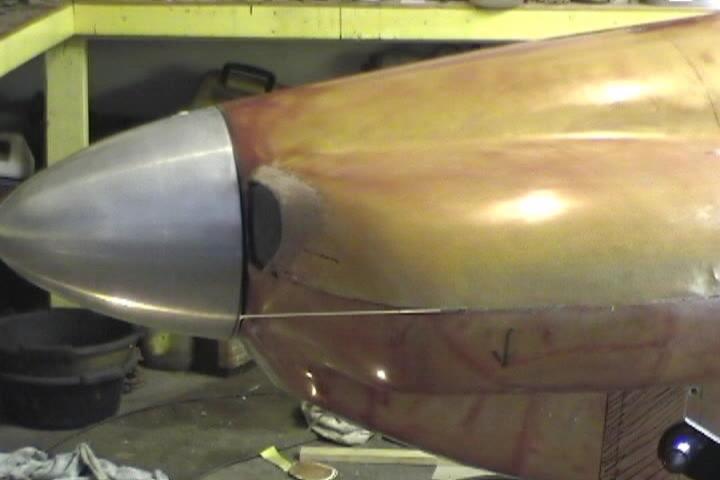
The cut-out in the lower cowl for the oil cooler and carb fresh air intake. Using a piece from a dryer vent to make up the shape of the inlet. 
4" dryer vent tube in place. 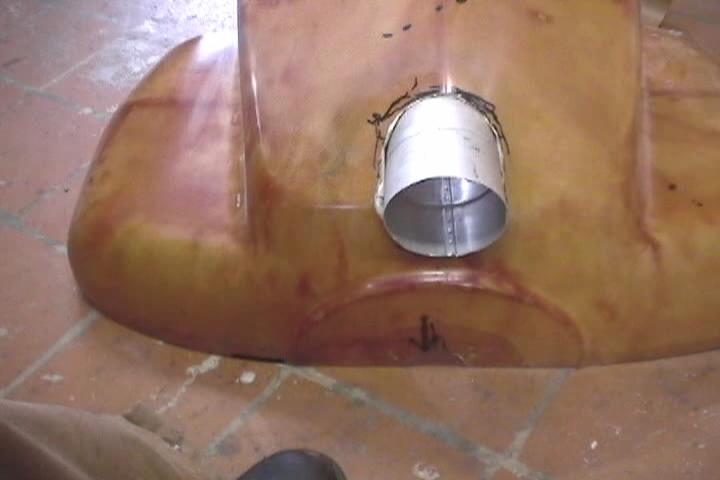
Used duct tape to hold it in place. 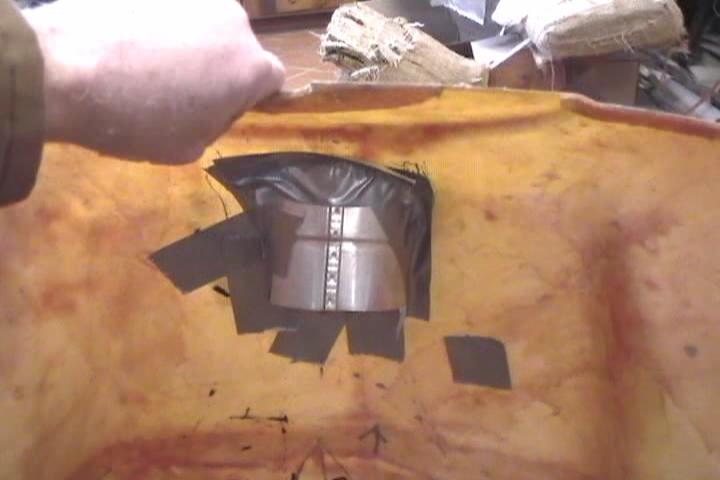
Used bondo to blend in the shape to the cowl. Stuck on a piece of plastic tubing on the leading edge of the opening. 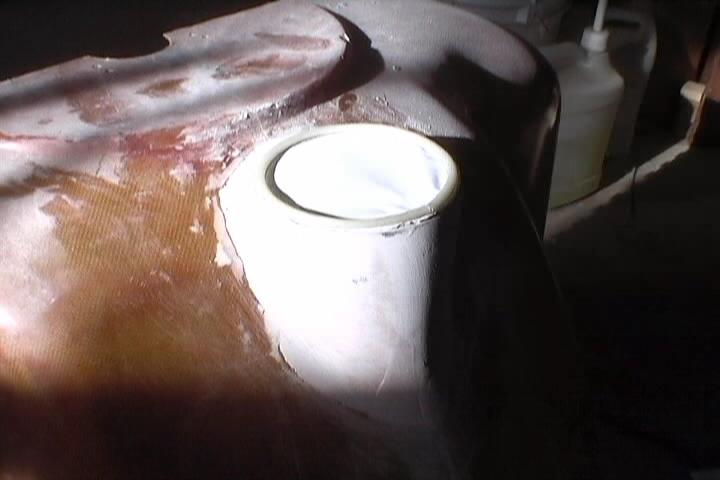
Put in a wooden plug covered with a piece of mylar in the opening at the bottom of the inlet. 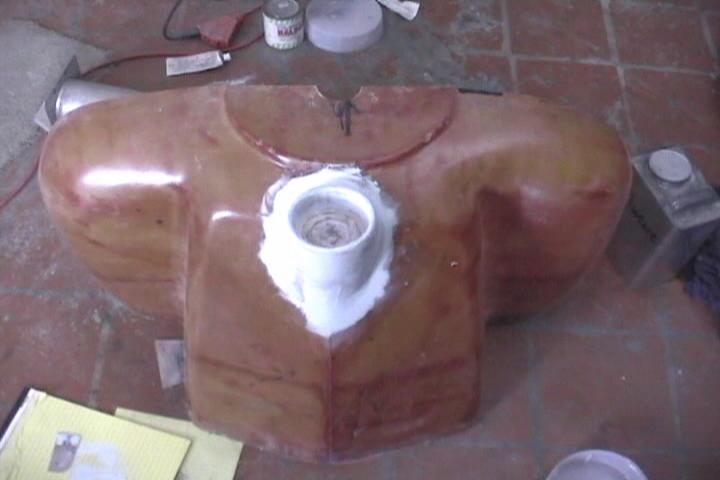
Here it is sanded, primed, waxed, and mold release applied, ready for the lay-up of glass. 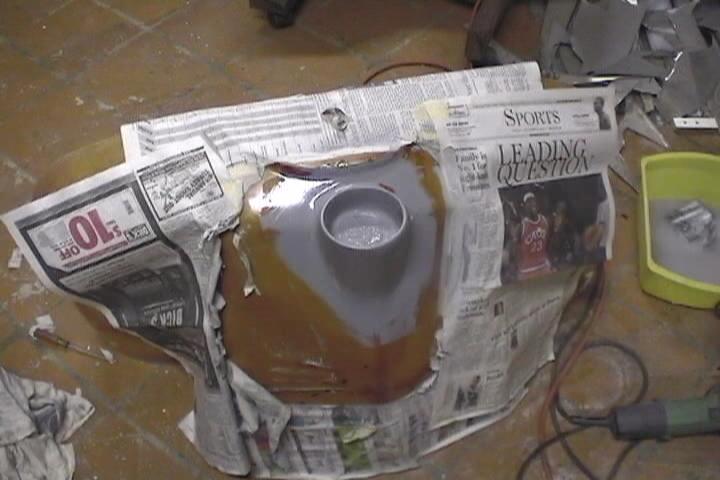
Heavy resin coat applied. 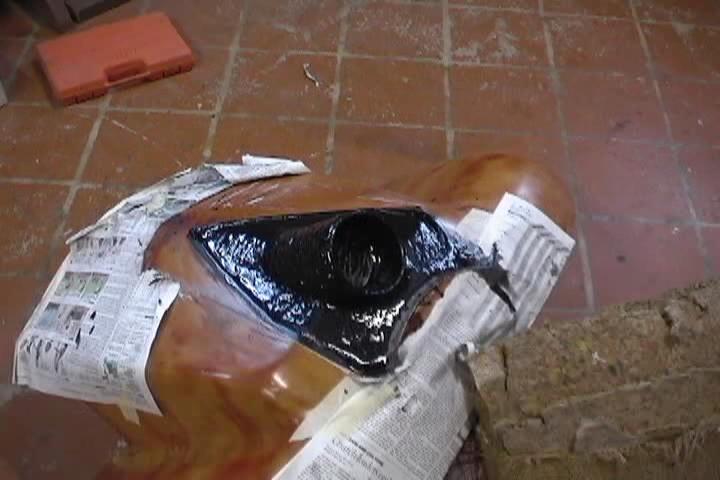
Now building up with fiberglass. 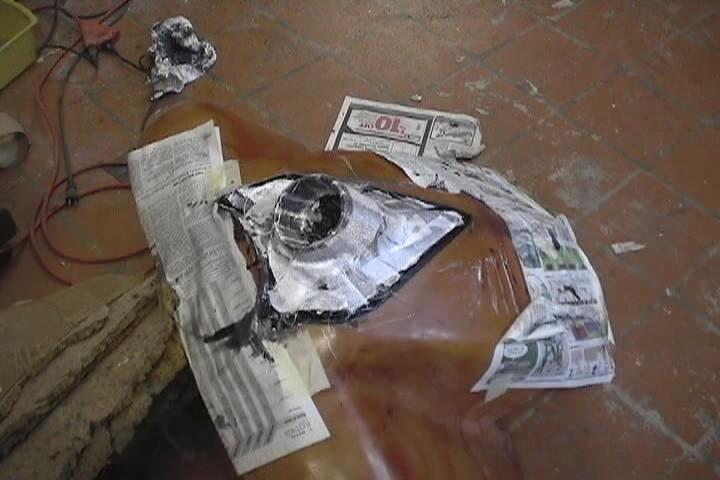
Laying up about 3 layers of glass. 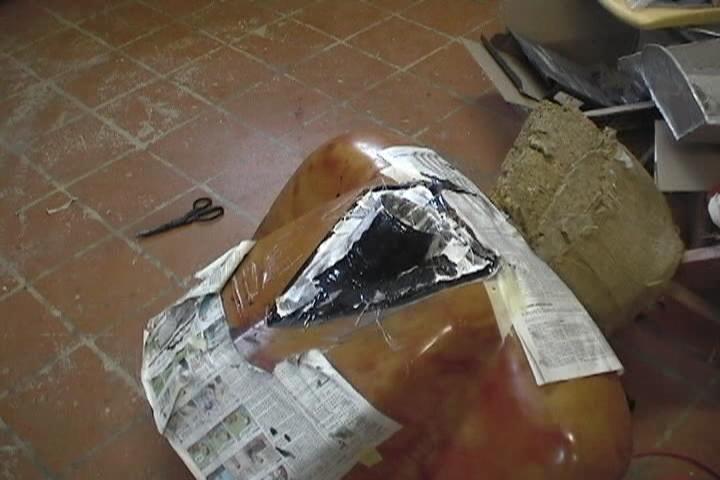
Pretty well had to destroy the male mold to get the female mold off. 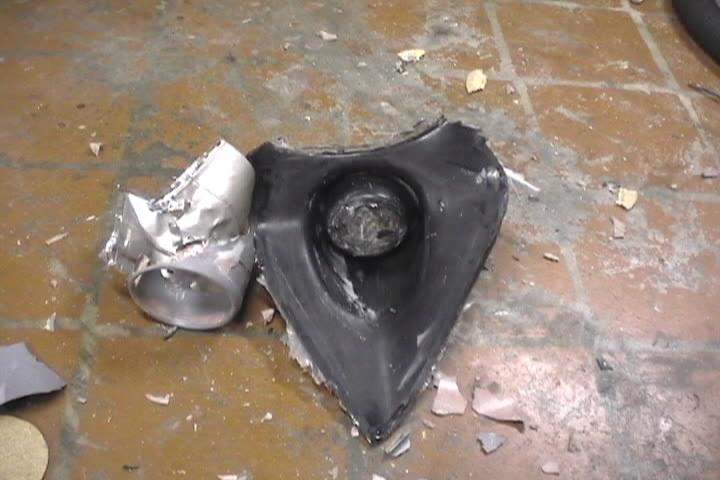
This is how the female mold broke away from the cowl opening. 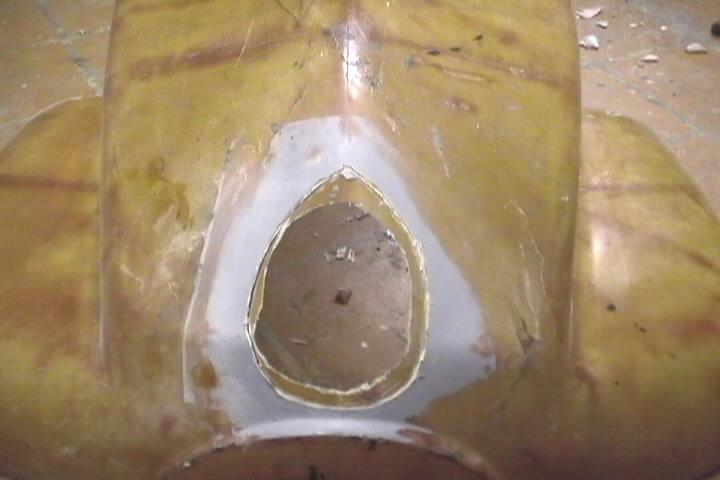
Cut out the cowl opening more to allow for a larger bonding area for the glass. 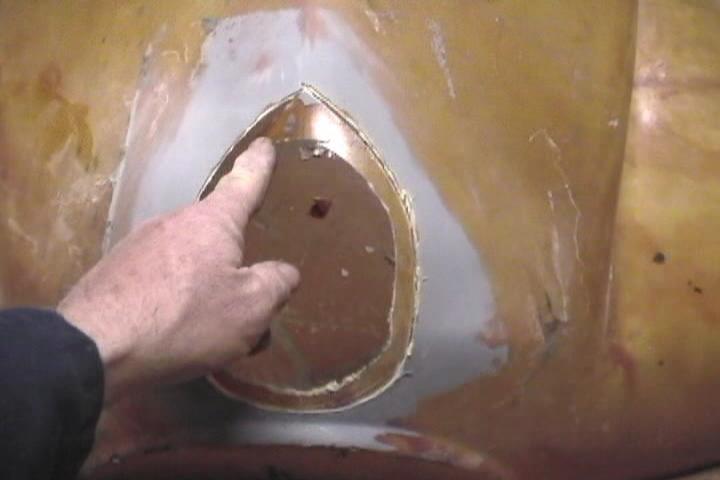
Used a dremel drum sander to sand down the edge to the kevlar fabric. 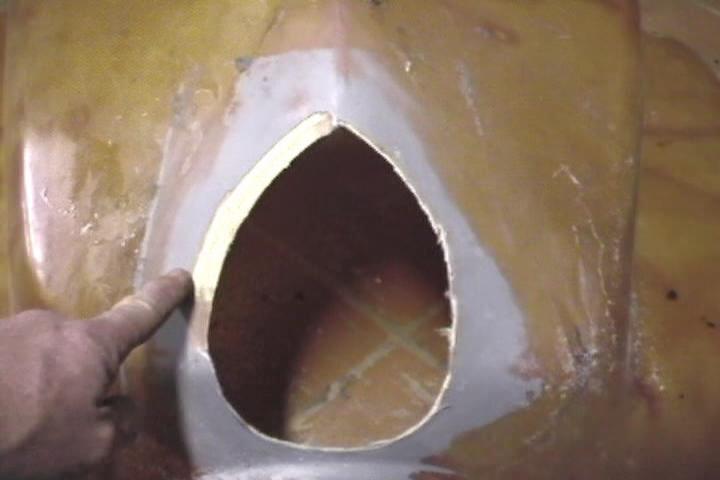
Ground down the inside of the cowl to the kevlar fabric. Prepped the mold with several coats of wax and mold release then screwed it in place on the cowl. 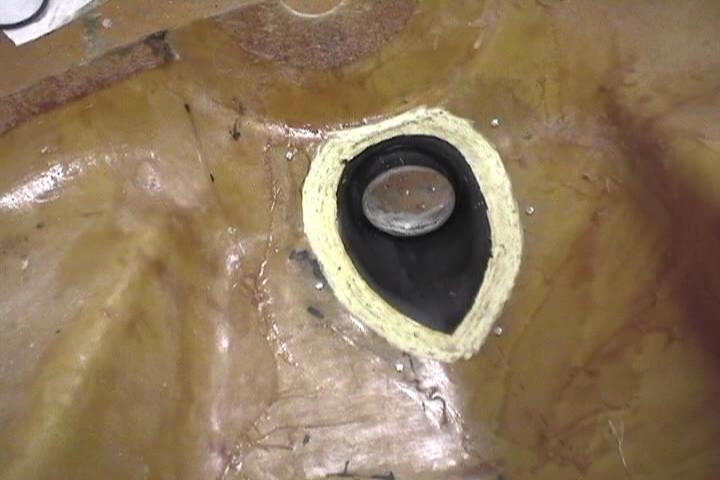
Used regular E-glass to make up the inlet. Ran out of the kevlar. 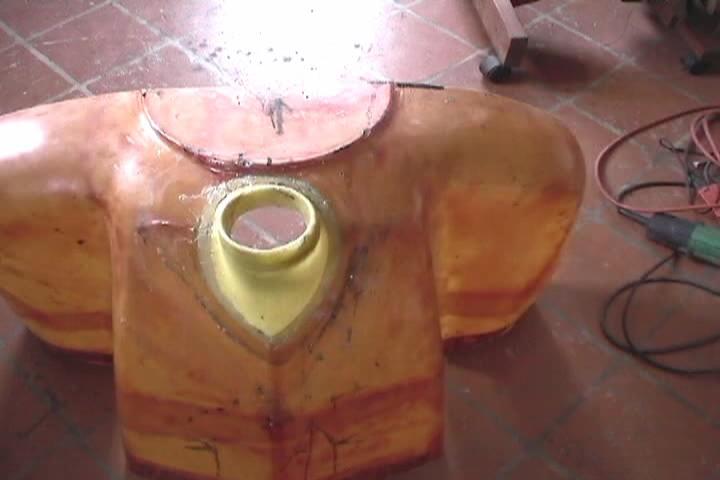
Had a couple of air pockets in leading edge of the opening. 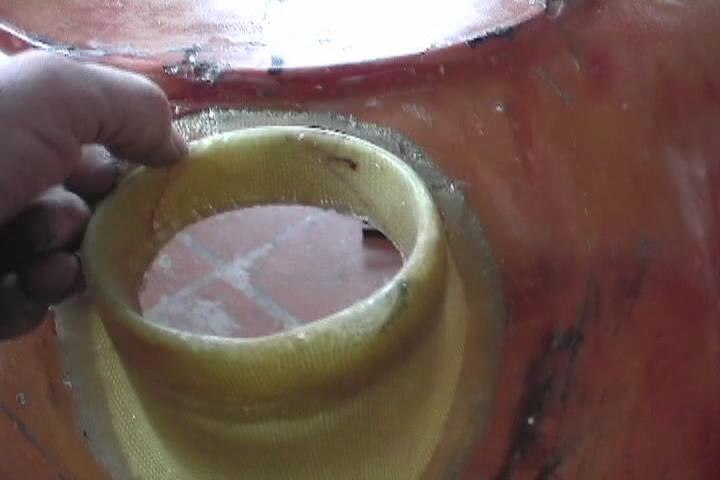
Lapped the glass on the inside. hopefully this will help prevent cracking where the to items meet. 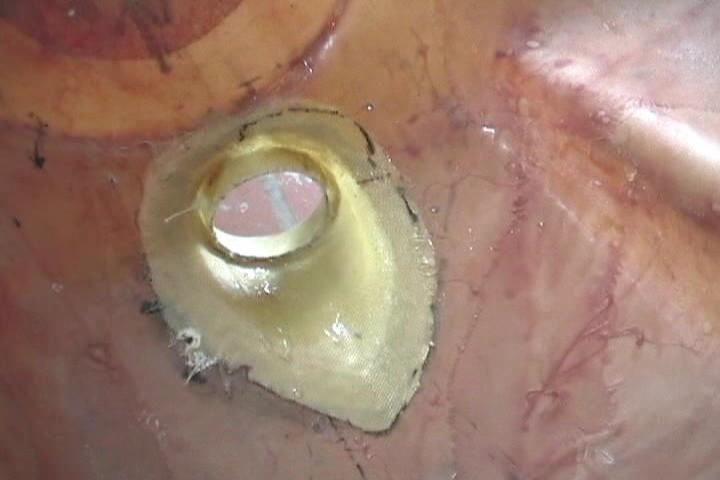
Made up a 1/4" plywood ring to hold the front of the cowl halves together while making up the recess in the cowl for the prop bolt clearance. 
This is the mold for the recess for the prop bolts. Made up of particle board, 1" thick. Filled in edges with bondo and sanded to shape. A piece of mylar screwed to one side. 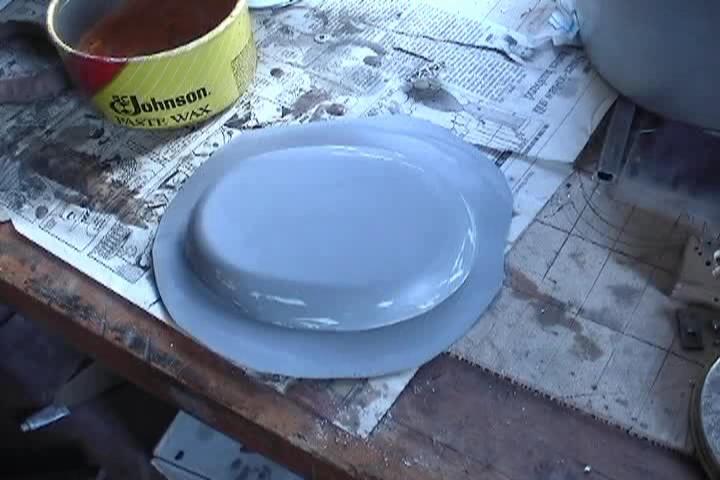
Cut-out for recess. At this time I had also made up the lip where the cowl halves meet. 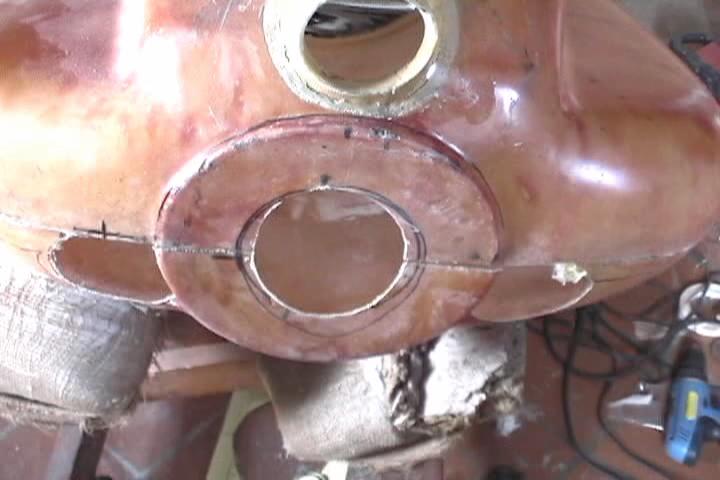
This is the other side of the recess mold. 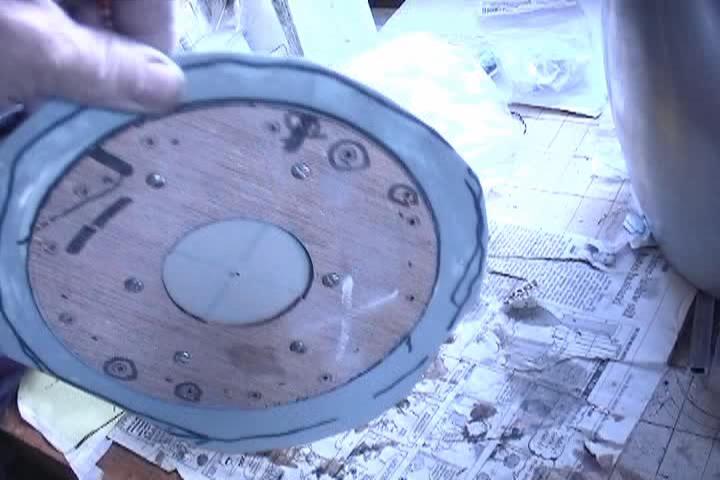
Mold set into cut-out. 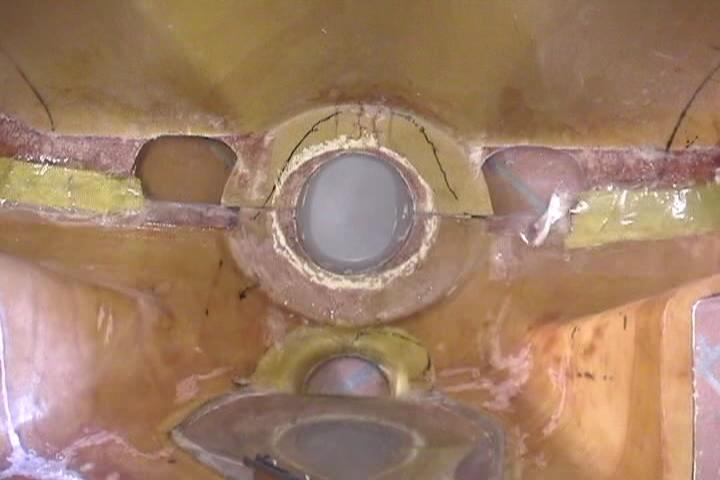
Layed up kevlar on bottom half of recess so that I could make up the lip where the 2 halves meet. 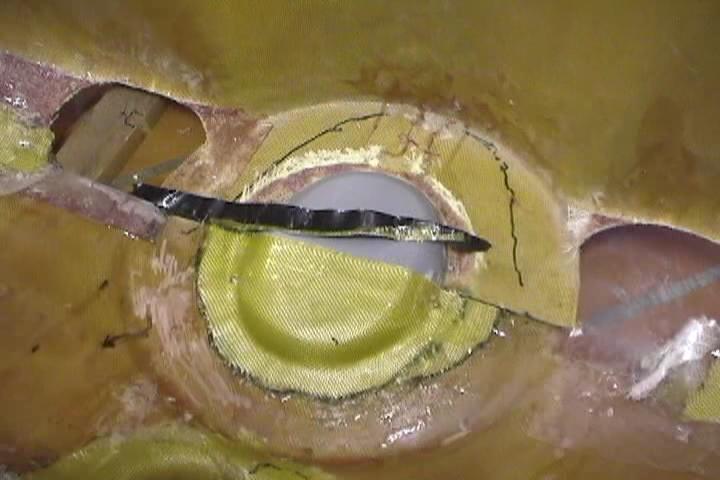
Making up the air inlet out of bondo. 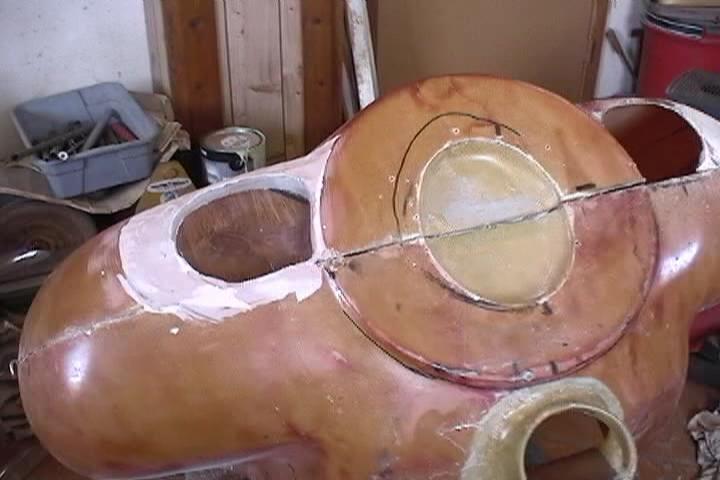
The mold for the inlet duct in place. 
The shape of the inlet duct cut out of a piece of 3/4" plywood. 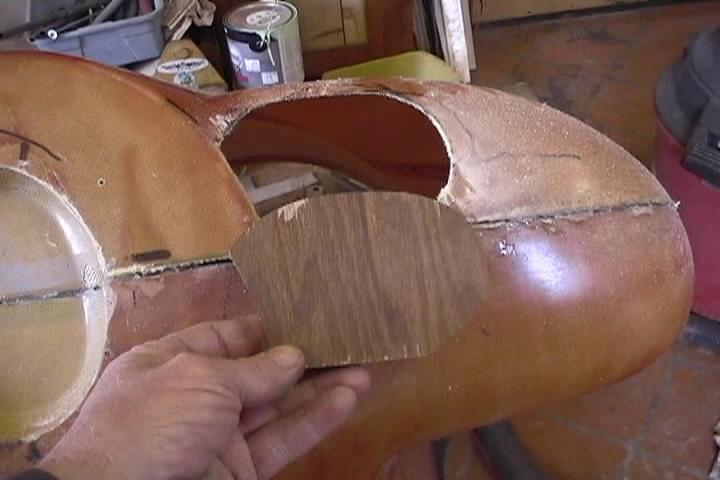
Sanded the edge of the plywood with a slight taper. Then wrapped it with mylar to make the inlet duct. 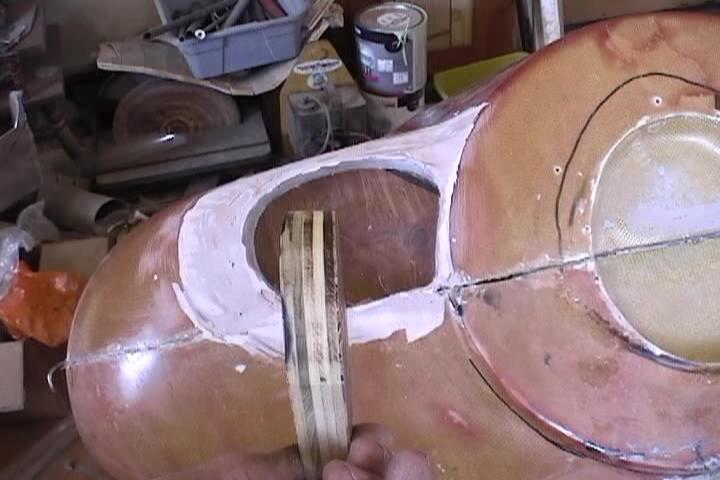
Inlet duct in place. 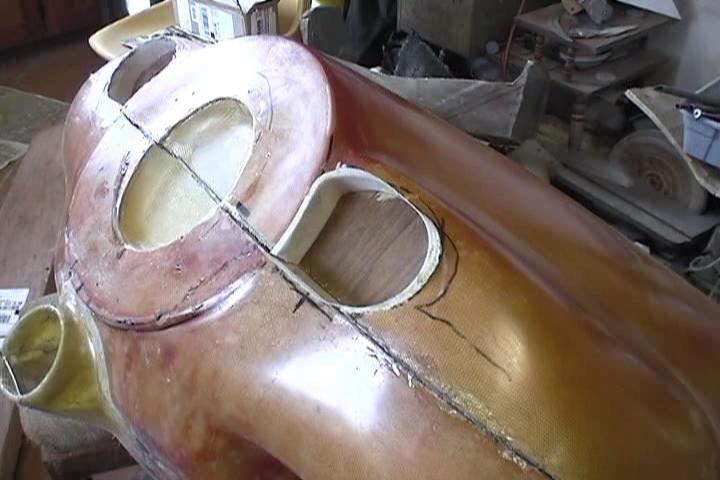
Inlets sanded to shape and primed. There is a lot of work between photos and this is just making up the shape of the inlet. 
Used bondo to make the radius at the bottom of inlet duct. It was very difficult to sand smooth. Should of just used clay to make it up. 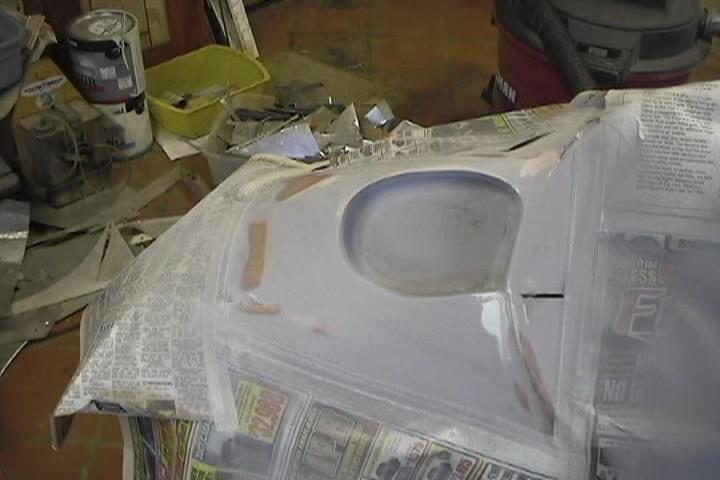
This is where I should of used the clay. 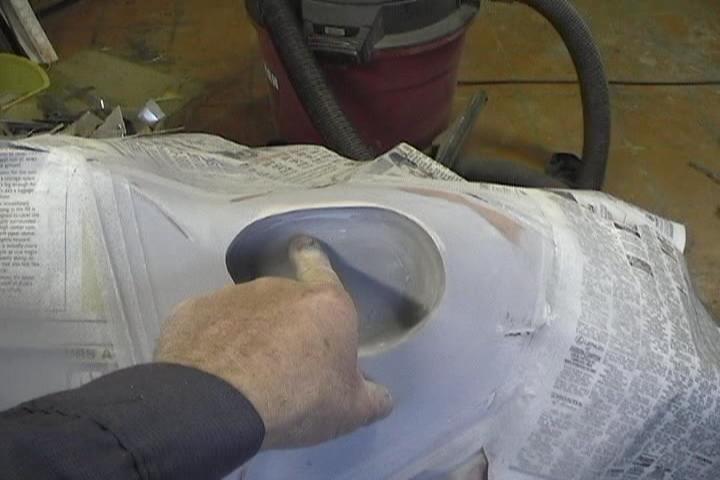
Waxed and mold release applied ready to lay up the female mold. 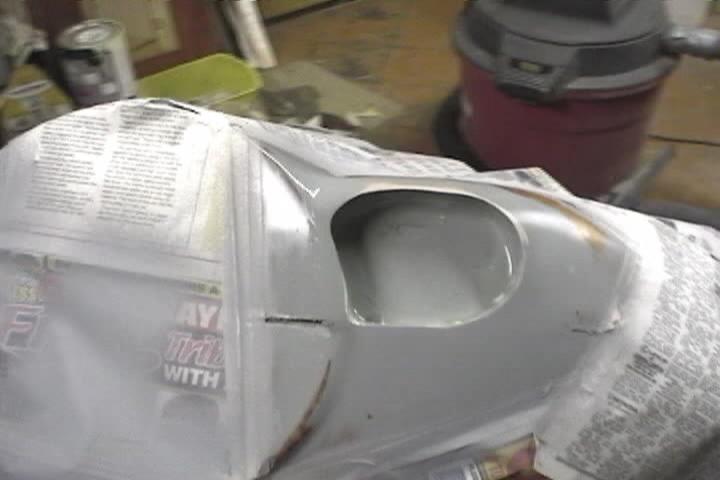
The female mold. Drilled holes for screws so that it could be aligned on the cowl. 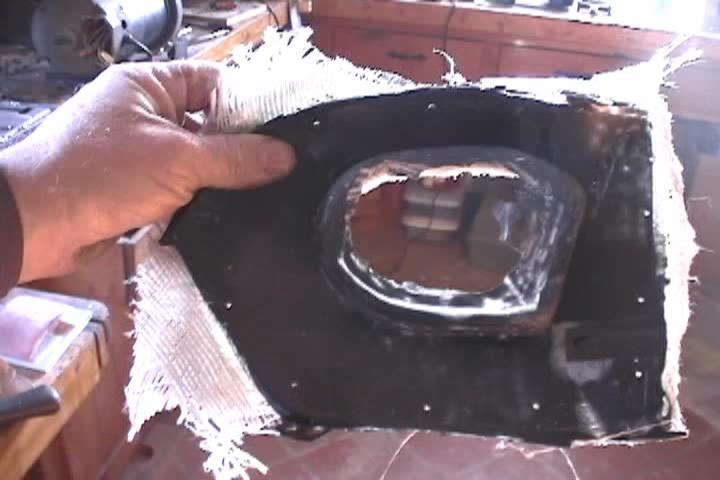
Have to remove all of the male plug from the cowl. 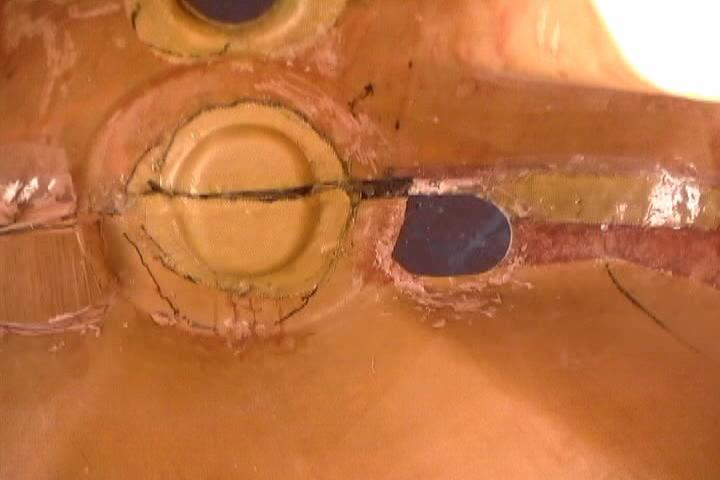
Have to rough up the area where the glass will overlap. Used the dremel drum sander. Ground it down until raw kevlar is exposed. 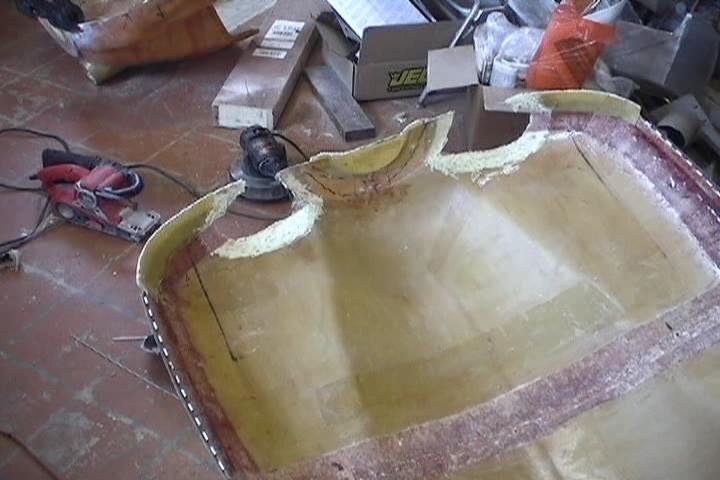
Putting a smooth surface where the upper cowl will lap inside the lower cowl under the inlets. 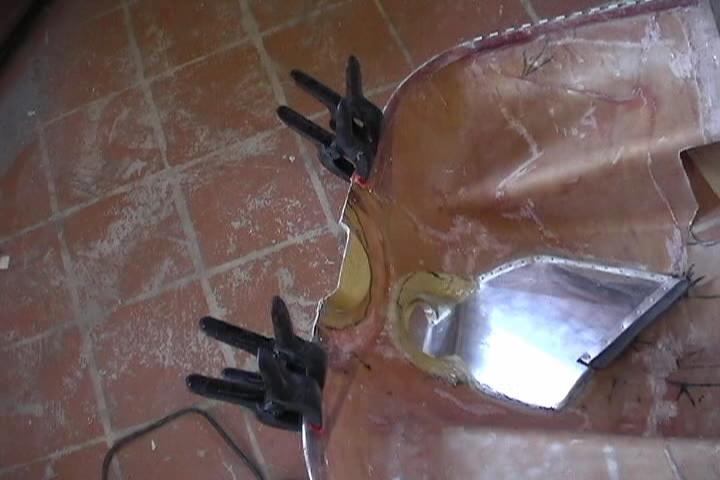
The molds are screwed to the outside of the cowl. Mylar film, that you can't see, is placed in the lap area. Layed up kevlar on the inside of cowl. 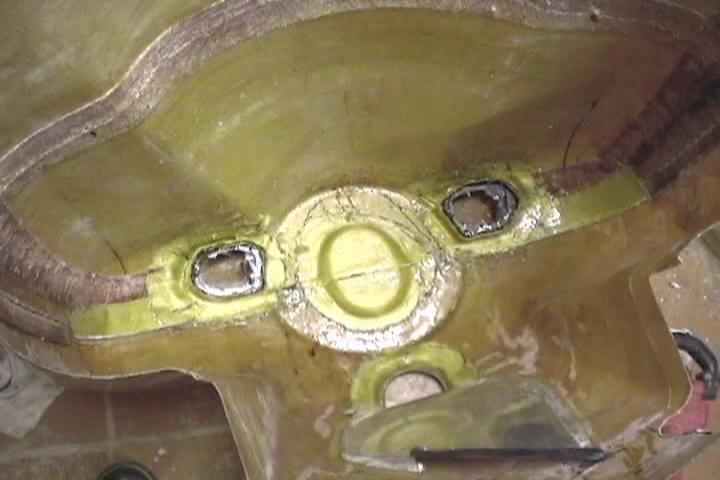
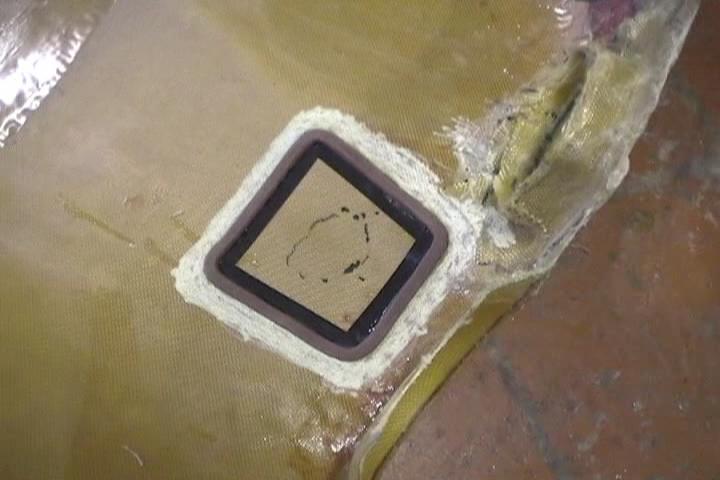
Making up the oil fill access door. Cut out the door location useing a dremel cut-off wheel. Used that piece to make the door. 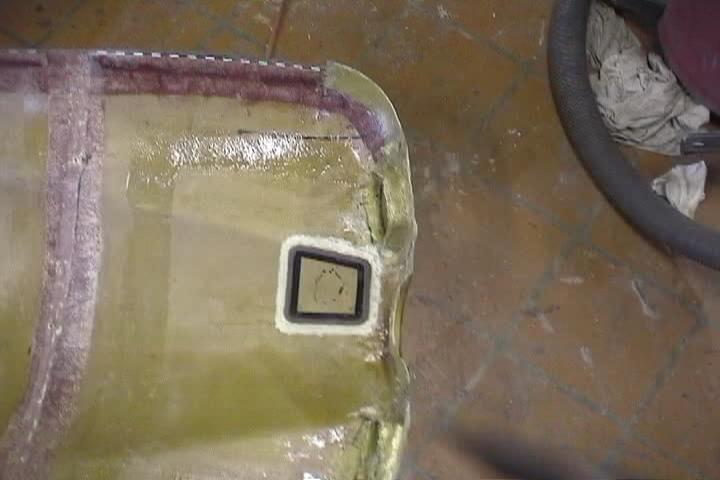
Making the lip that the door will close against. Used elecrical tape on the door as a parting agent. Made the "U" shaped lip out of clay. Drum sanded around openning for the epoxy glass. Did this for fuelcap access door also.