Received the Aero Vee engine kit.
Everything was nicely packaged and labelled. 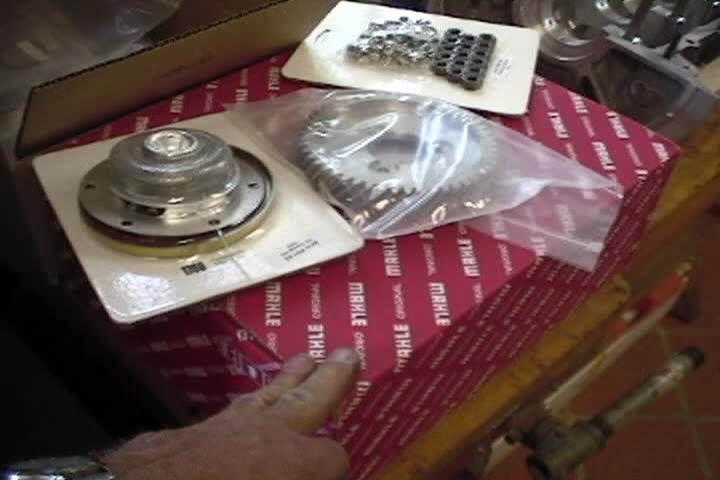
The engine accessory mount. 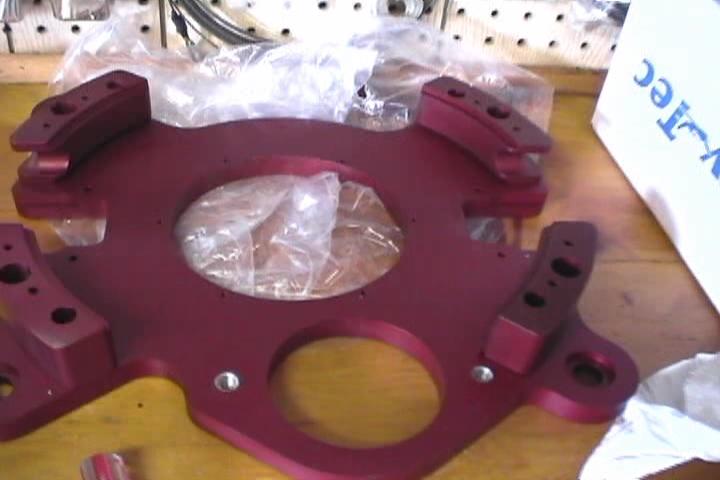
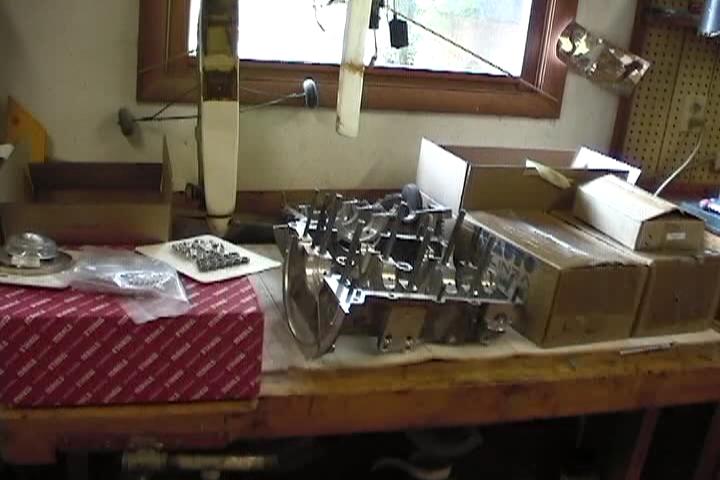
The crankcase halves have been machined and require a thorough cleaning to remove any shavings. 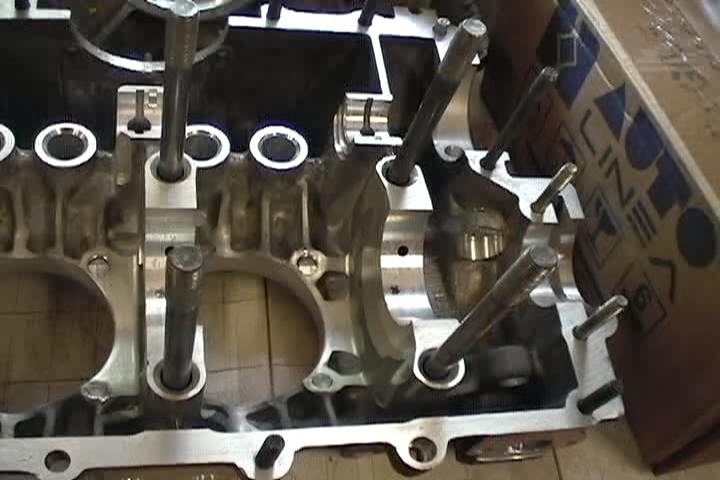
The Rhino Rocker kit. 
The hardware came in labeled baggies. Taped them up on the window in numerical order so they could be easily located. 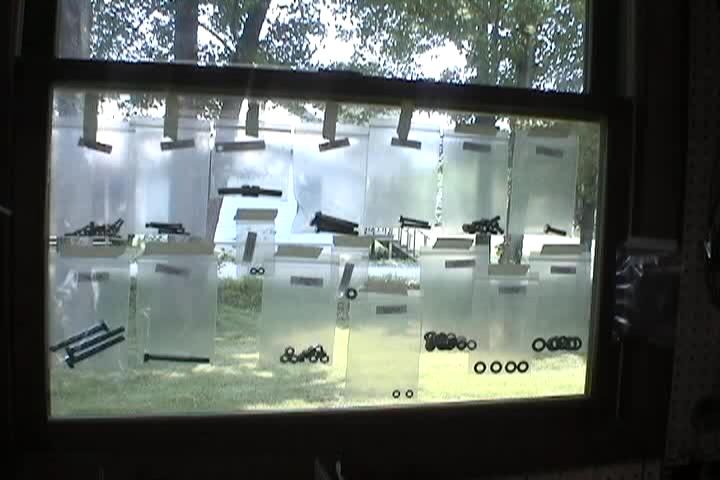
The plugs in the crankshaft oil galleries need removed to clean out the galleries. That was done before assembling the crank. 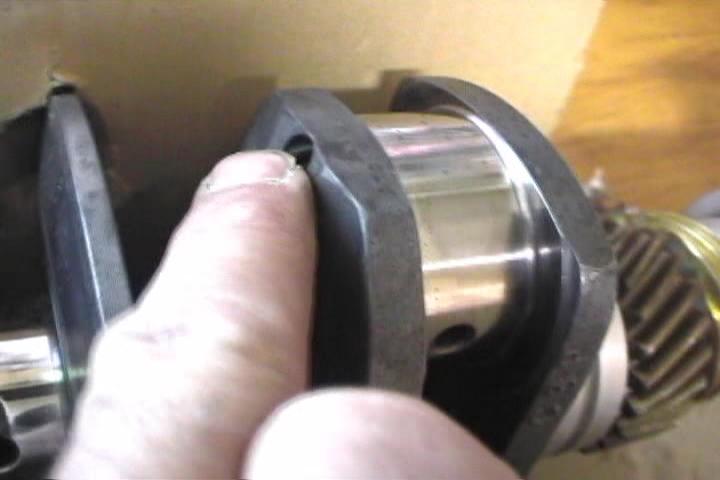
Here is the shrink fit crank assembly. It went together fairly easy. The part that I had difficulty with was the spacer between the cam and distributor gears. The spacer would cool off too quickly as I was putting it on and would bind up. 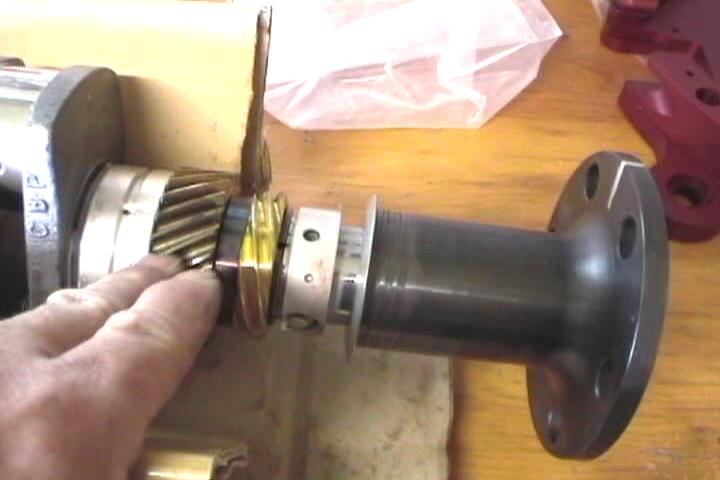
Put the gear spacer on the flat of the vice and heated the vice with a propane torch in order to get it hot enough to easily slip onto the crnkshaft. 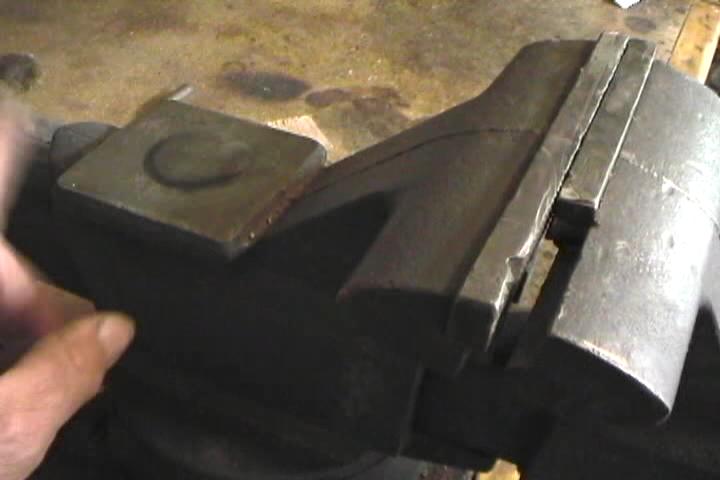
Make sure the bearings are oriented correctly before shrink fitting the parts. 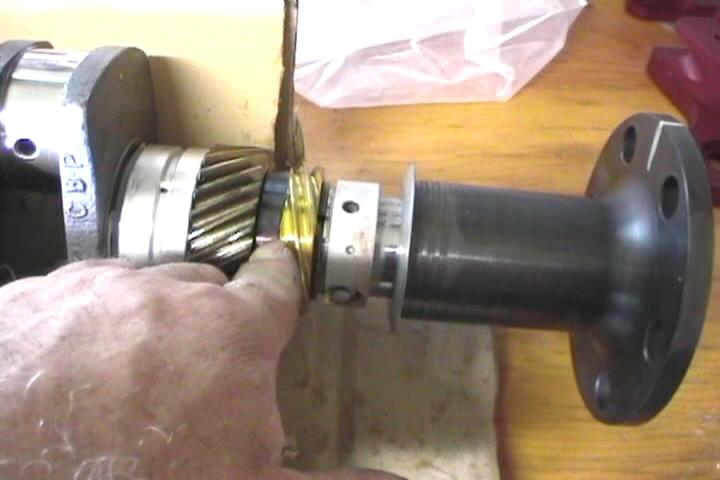
Put magic marker marks on the bearings to make sure bearings were aligned with pins while putting case halves together. 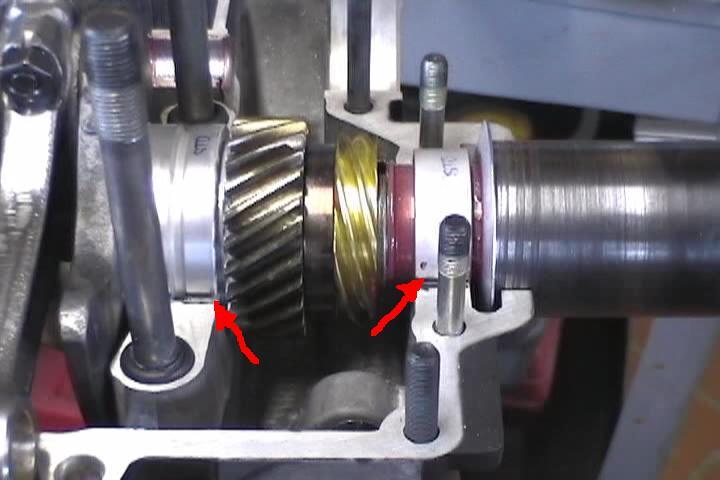
This is how the aditional plug holes are threaded into the heads. 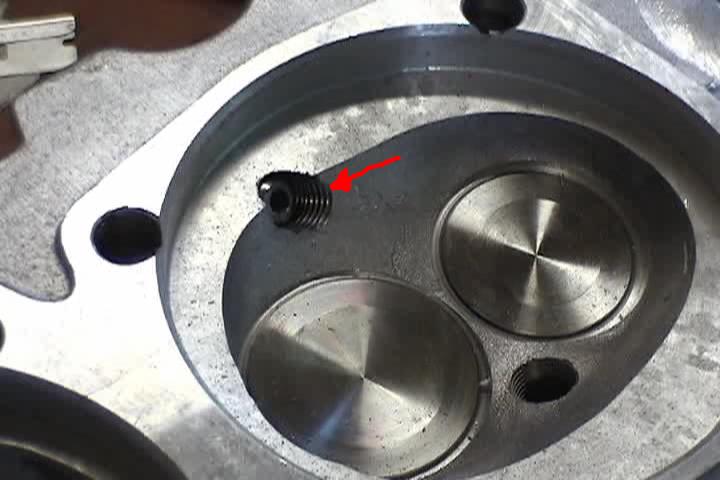
I removed the extra threads from the plug holes. 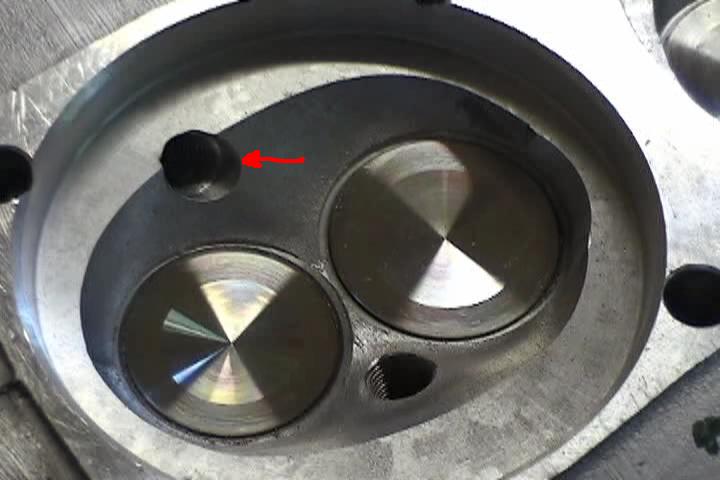
Mounting engine to airframe. Cardboard firewall. Engine mount stand-offs are extra long. 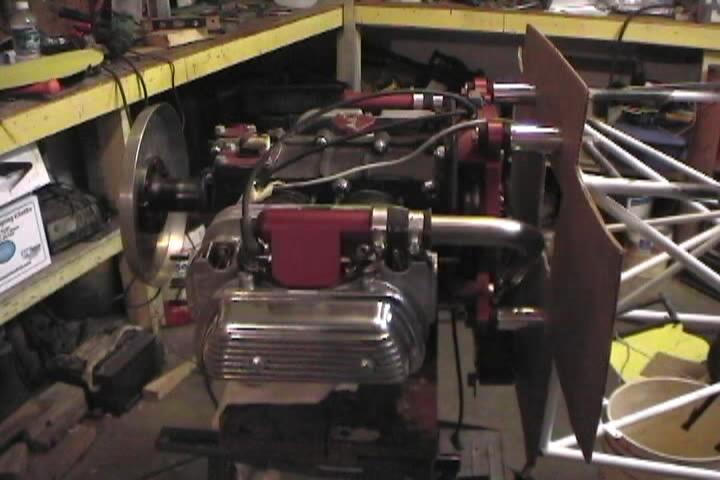
Carb to firewall clearance is nill with the stock Aero-Vee manifold. Have to cut the down tube at the "Y" and angle the tube towards the front to make clearance. 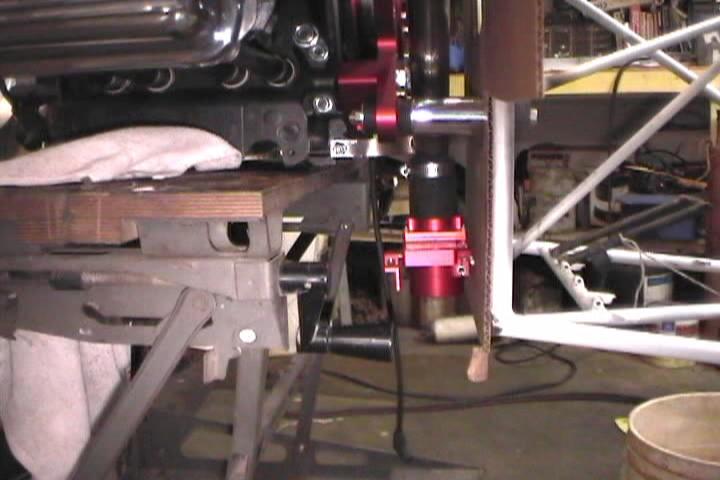
Notched the stock manifold where the downtube meets the "Y", bent it towards the front and rewelded it. Rubber bicycle tube piece clamped on the end is for checking for leaks. 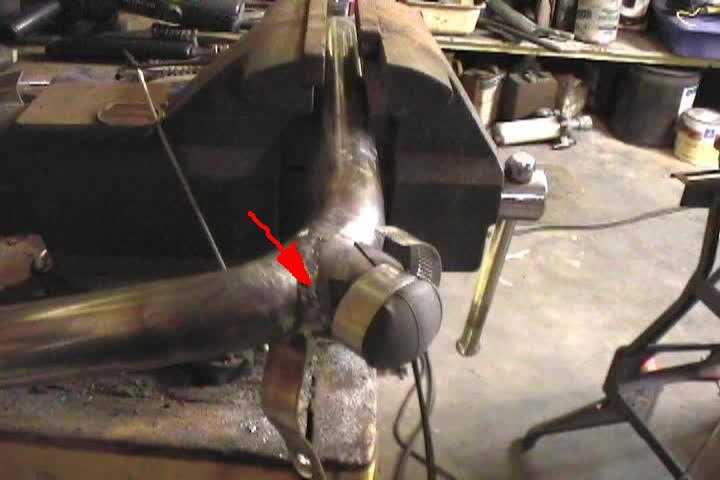
Piece of the bicycle tube with valve stem attached to put air to the manifold. Carefull! It's easy to overdoo the air pressure and blow the rubber plugs apart."BOOM" 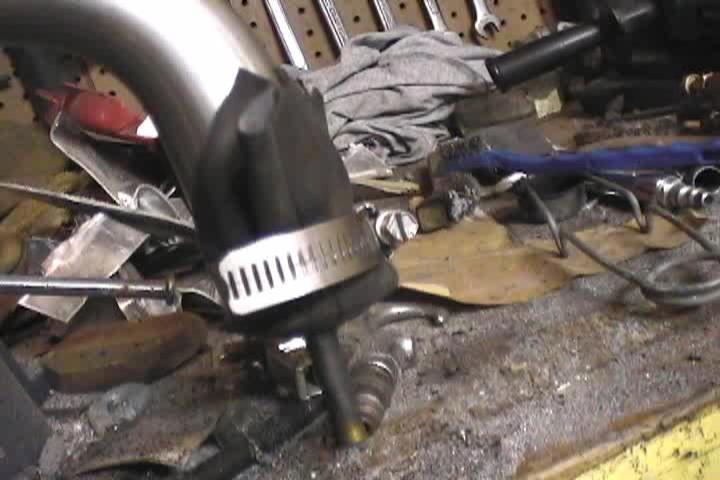
This is how I modified the left diagonal at station "0" to allow room for the Aero-Vee's starter in the 9 o'clock position. Also had to move the bottom engine mount holes to match the accessory case. 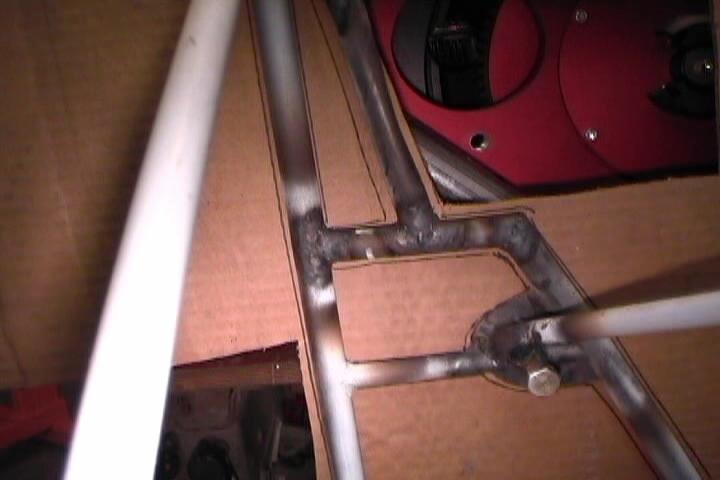
Another view of the station "0" modification. 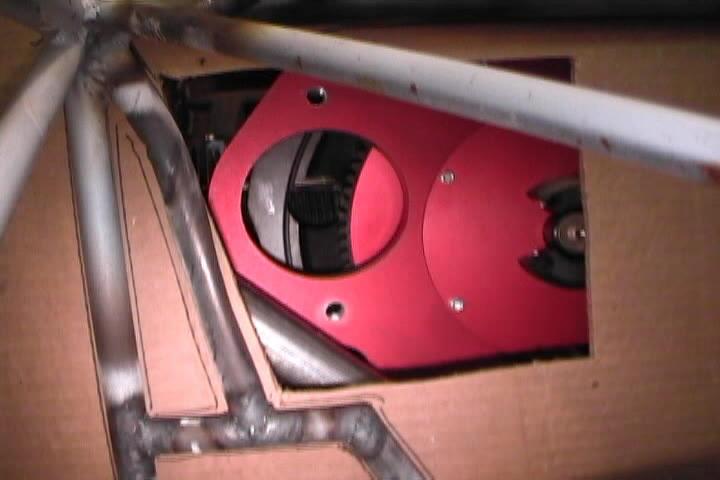
VW oil cooler block off plate drilled and tapped for VDO 1/8" NPT oil pressure sender. 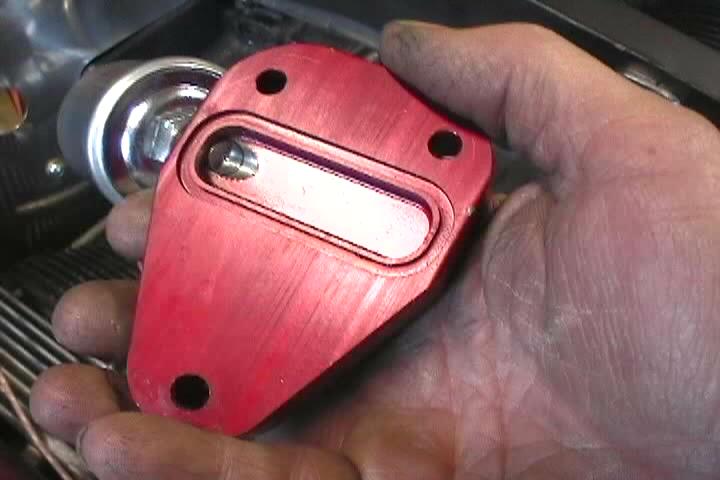
Angled back for more cowl clearance. 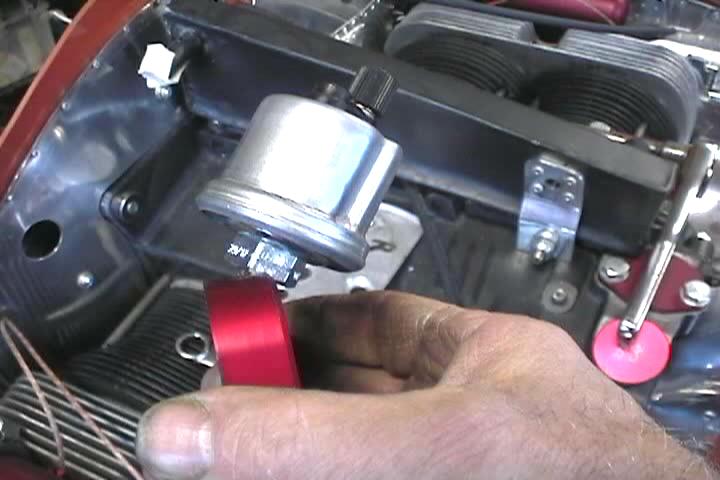
AeroVee screw in CHT probe wires. 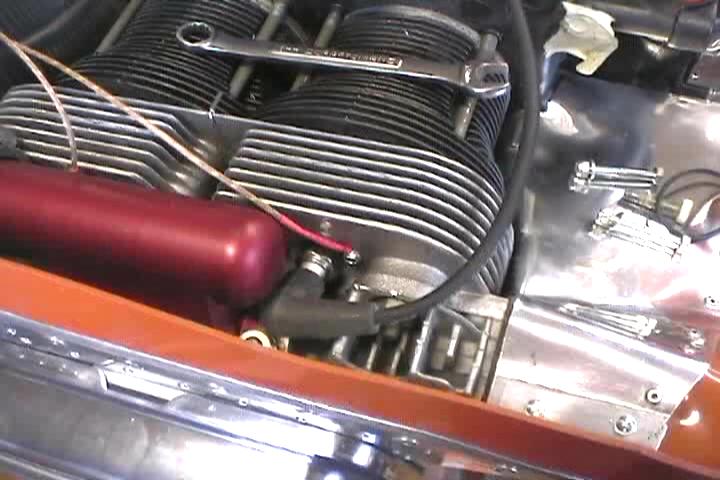
Had to change the plug wire boots for the rear top plugs to get the wire on the plug. The 90 degree boots would not go on right. 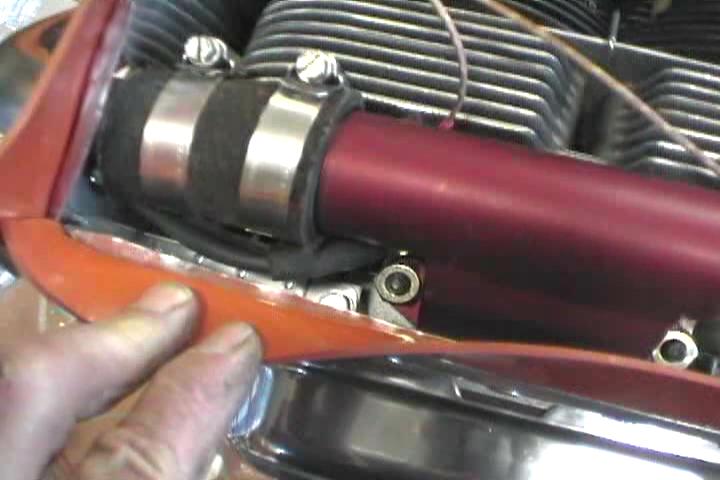
Another view of the close quarters around rear top plugs. 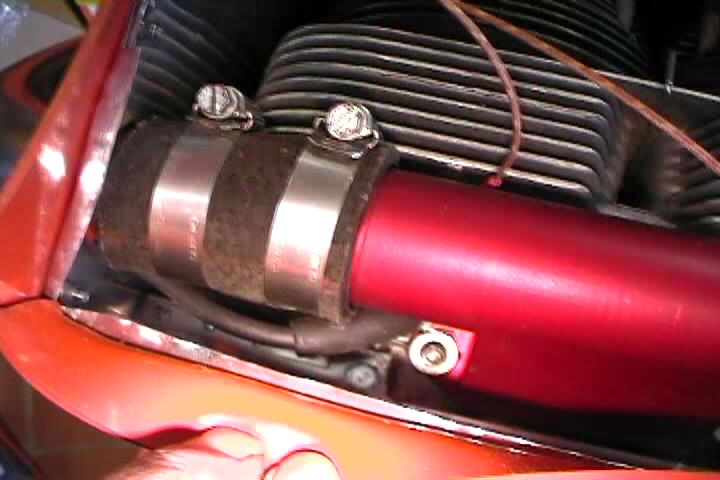
Other side top rear plug. 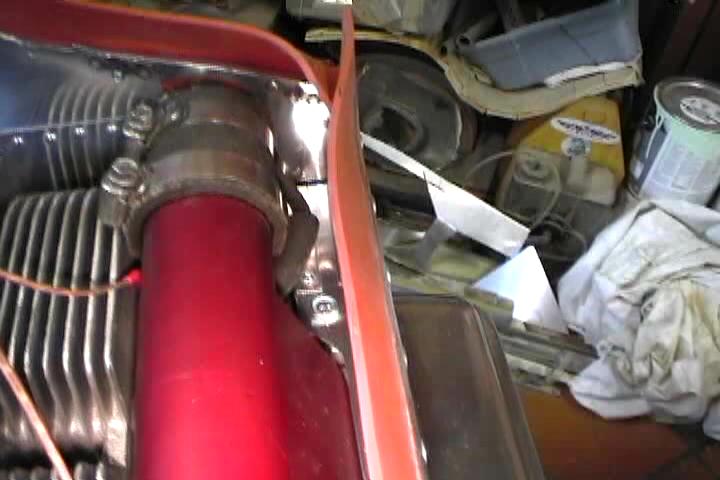
Hole in baffle for 5/8" crankcase breather tube. 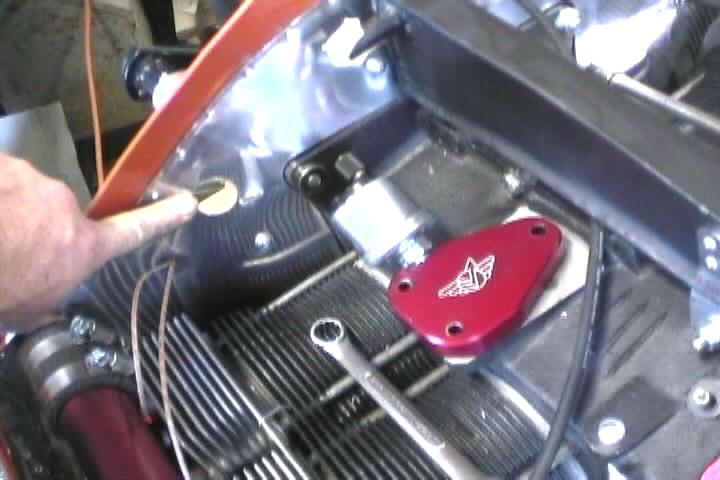
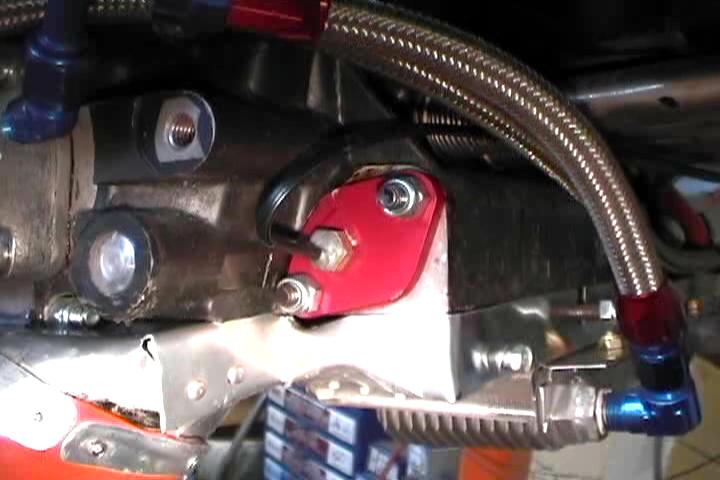
Oil cooler mounted front to rear on left side of crancase. 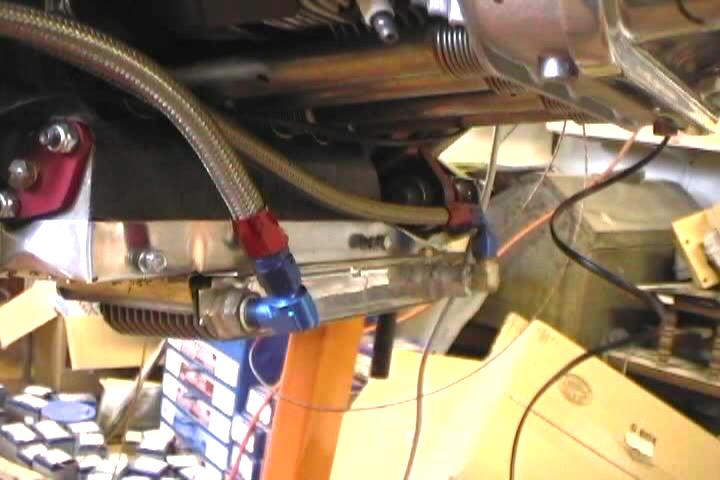
Oil line routing. 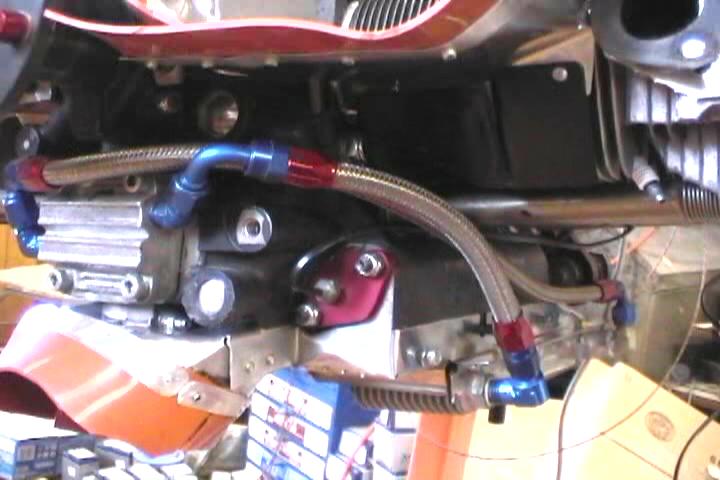
Block off plate drilled and tapped for 1/8" NPT oil temperature sender.