Checking out the fuselage for trueness. Frame leveled on the floor and ran a lazer level down the center line to make sure things were straight.
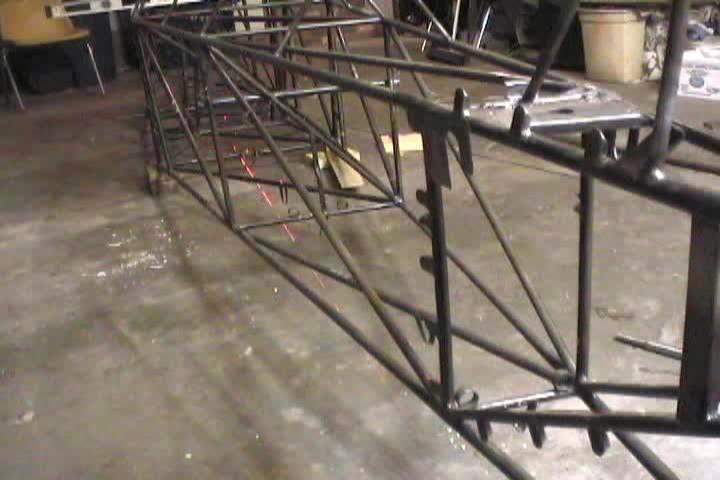
Tailpost was right in line. Lazer level line is slightly visible at the tailpost area. 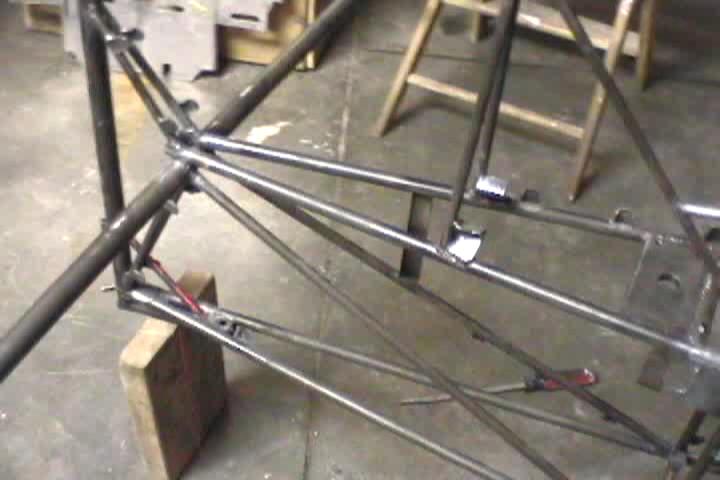
Needed to try and heat and shrink a couple of areas to get the horizontal spar and the tailpost trued up. 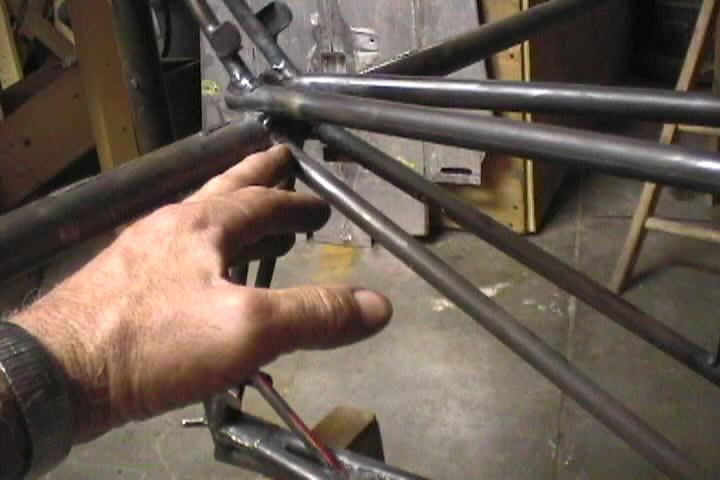
Had a bow in the top longeron between the last two stations. Cut a slot out in the 1/16th 4130 plate the front of the horizontal stab exits through and tweeked the top longeron then welded plate back together. 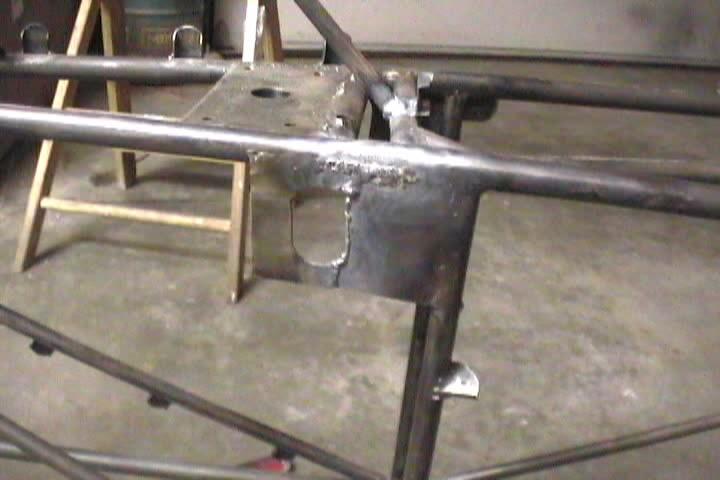
Shrunk the top turtledeck tube at this point to get rid of a bow in the vertical stab leading edge. 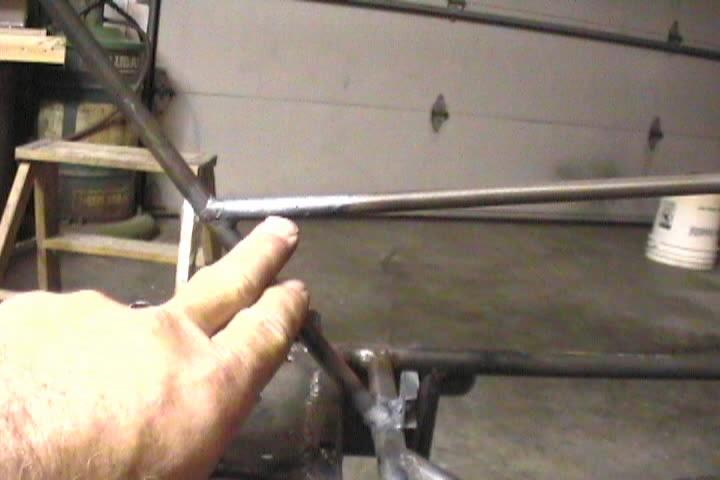
Heated this diagonal to pull over the top of the tailpost. 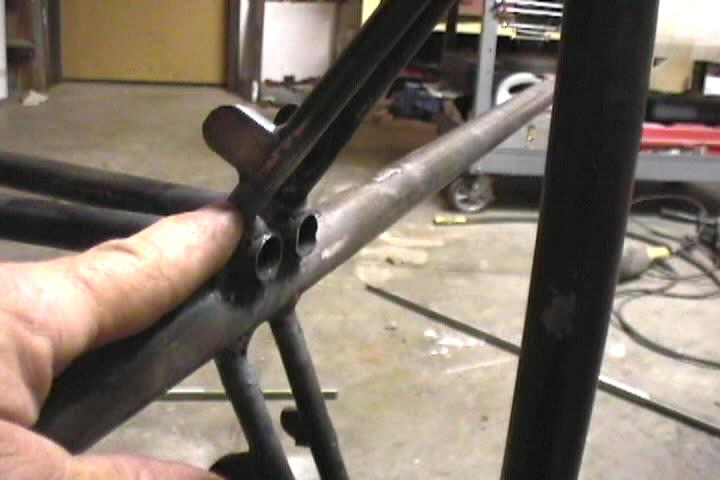
Used angle grinder with a wire wheel to cleanup the welded areas and to clean up any rusty areas on the tubing. Used scotch brite pads to clean up the tubing. Sandblasted the other areas that couldn't be reached otherwise. 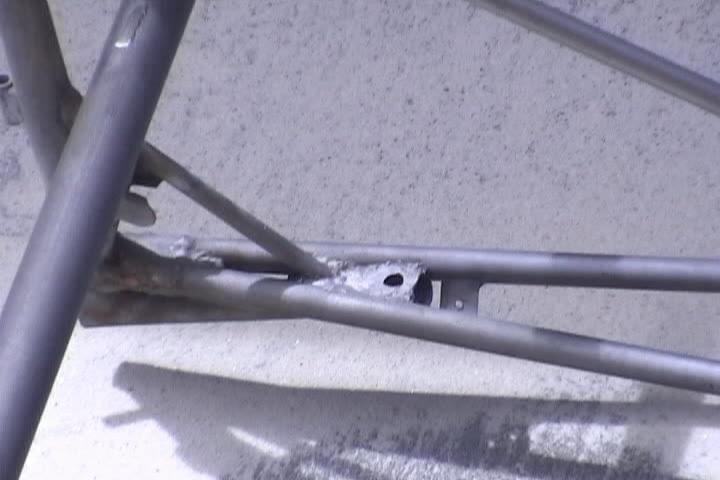
Sandblasting is a messy job but it is about the only way to get into the tight spots. 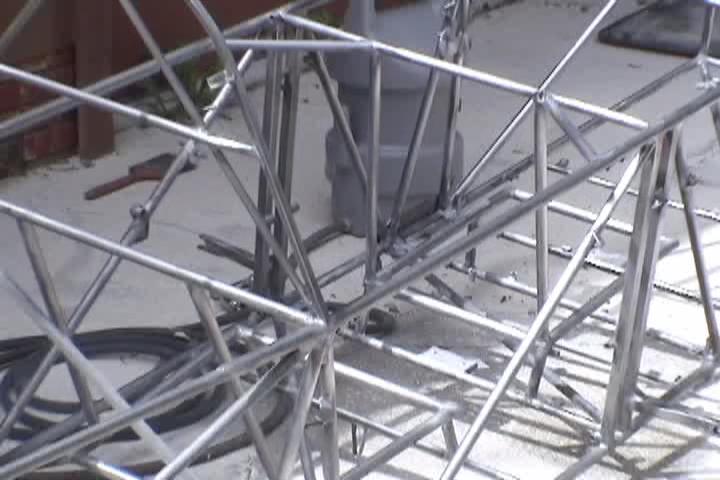
There are quite a few areas that require the sandblaster to get to. 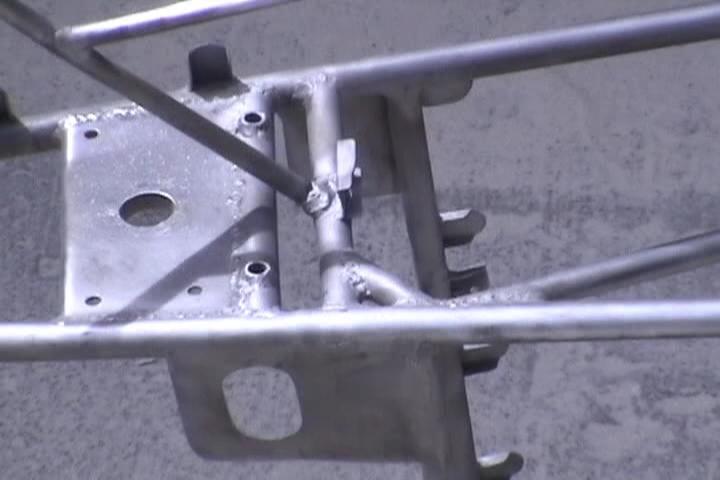
Sandblasting outfit was purchased at Harbor Freight. 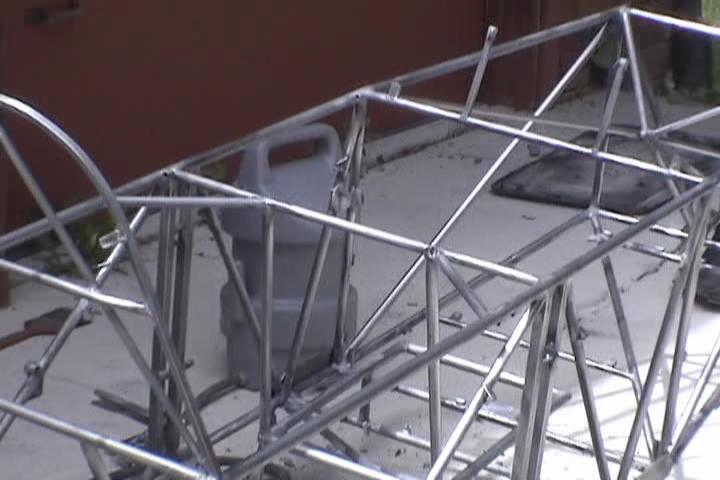
Did the blasting outside to help keep the sand out of my work area. 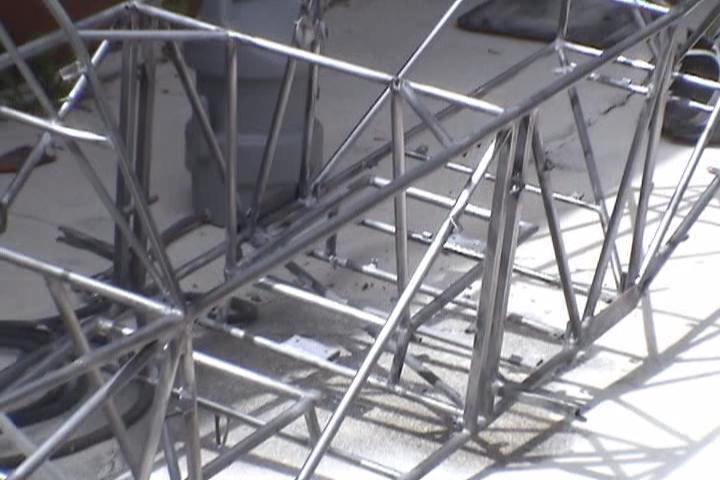
I weighed the fuselage before and after the cleaning. It ended up a pound lighter at 63.5 pounds. 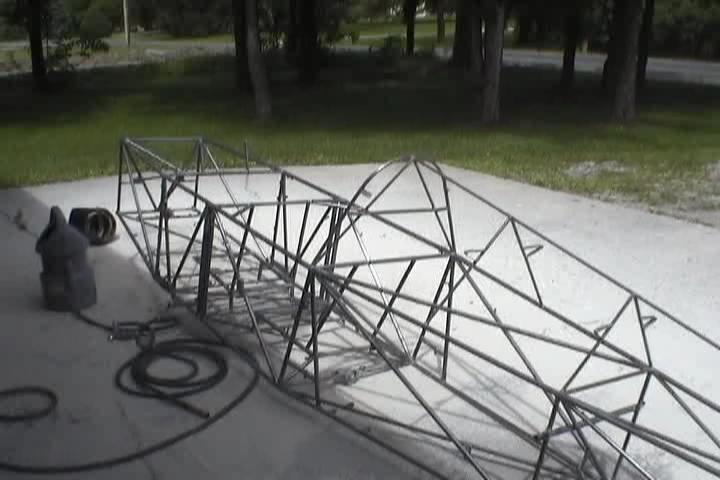
Blasted tail section of fuselage. 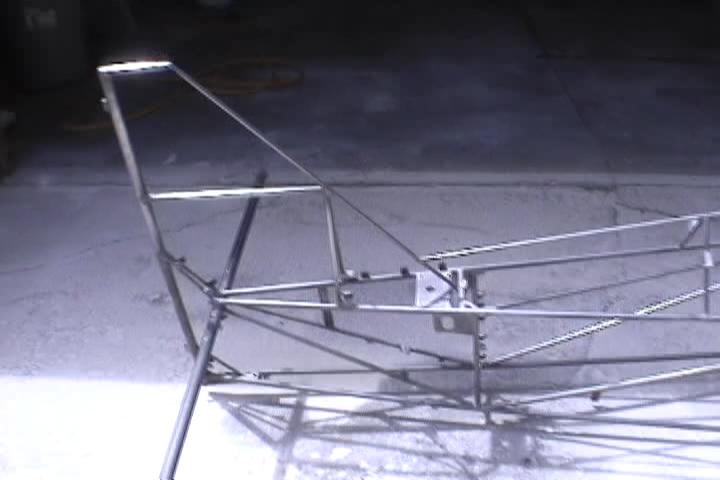
BODY>