Temporary tailpost set into a hole cut in table. Top longerons tacked in place. Welding rods tacked in place to help keep the longerons in position.
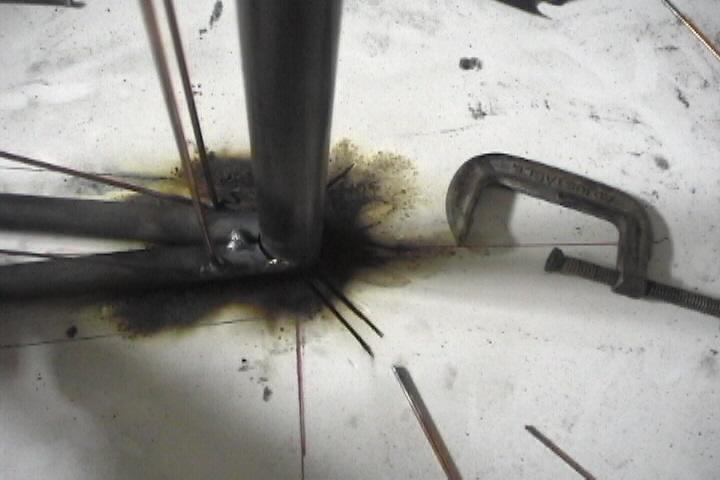
Temporary tail post removed and the actual tail post tacked to bottom longerons. Just eyeballed the notch for the longerons. Got a 1/4" gap. Will have to beef this up when the tube that holds the tailwheel spring is installed. 
Another veiw of gap at tail post and bottom longerons.
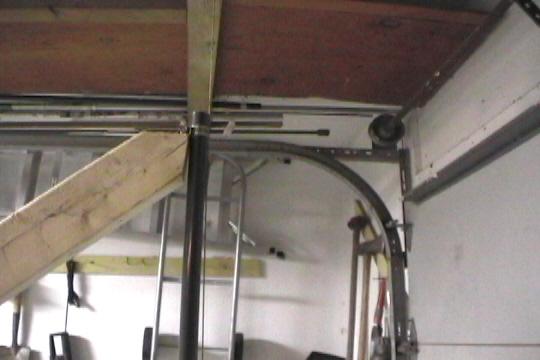
Used thread and bolt hanging from ceiling to make the main carry through tubing plum before making the rudder tailpost plum.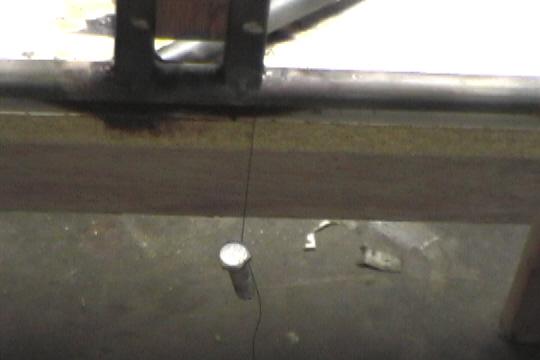
Plum line at tailpost. 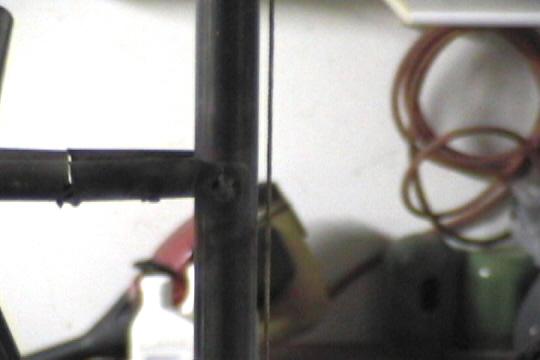
The tailpost is plum with centerline of the fuselage but very difficult to make plum from the side view. You weld it up plum but when the tubing cools on the side it is welded upon that side of the tubing shrinks causing a lean toward the front of the fuselage. Wedged in this 2x4 to hold the tail post past plum. Must have welded and tacked in the tailpost 4 times till I was satisfied.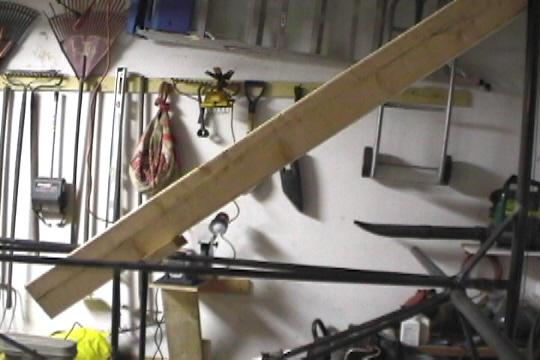
Used a hose clamp at top of tailpost to position 2x4.