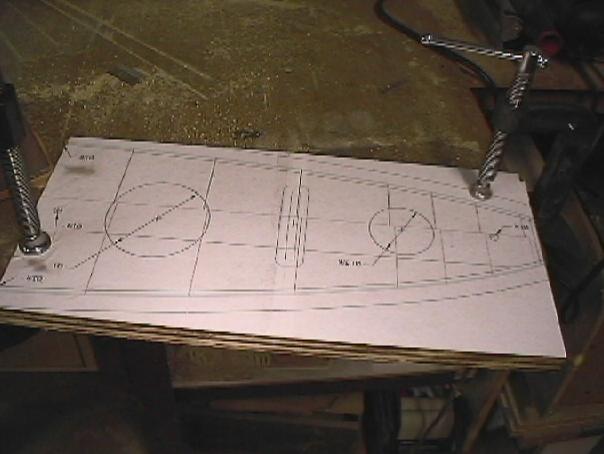
Templates printed out from TurboCad are glued onto 3/4" high quality plywood, cut close to line with sabre saw then sanded up to line with disc sander.
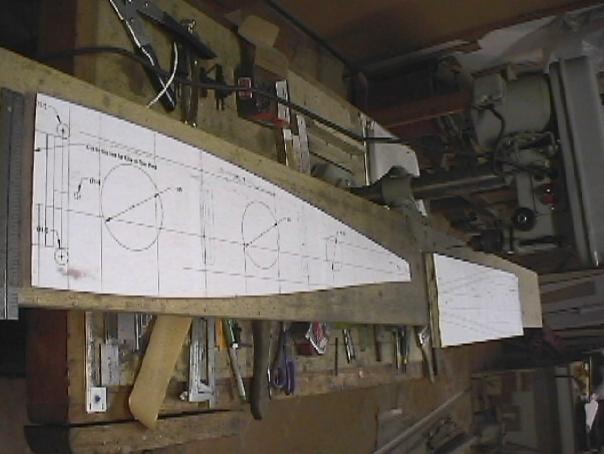
Printed out template glued to 3/4" oak plywood. Clamped down to table for rough cut with sabre saw.
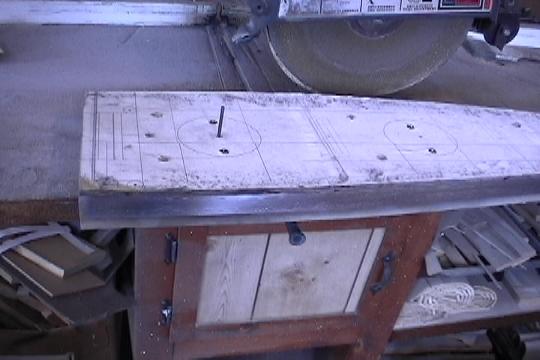
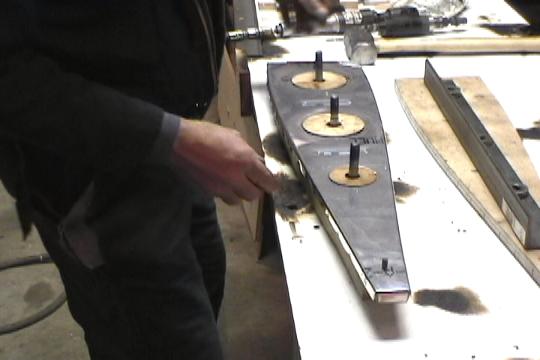
5 sheets of .025 sandwiched between rib blank templates. Drill is used as guide pin to align top and bottom templates. 2 Screws in each lightening hole area holds it together and screws into the 2x4 underneath to hold it in position while being cut with sabre saw.
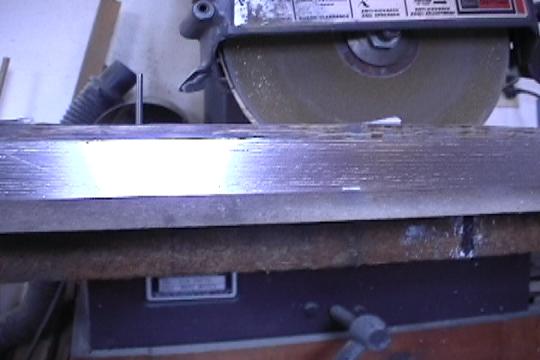
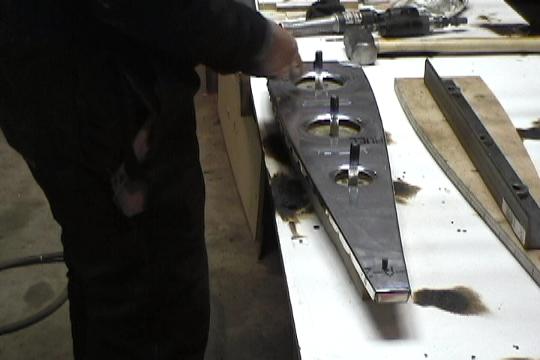
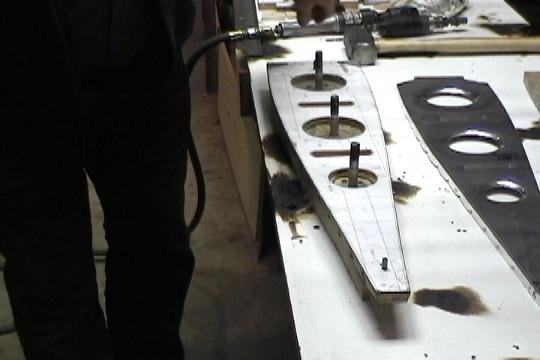
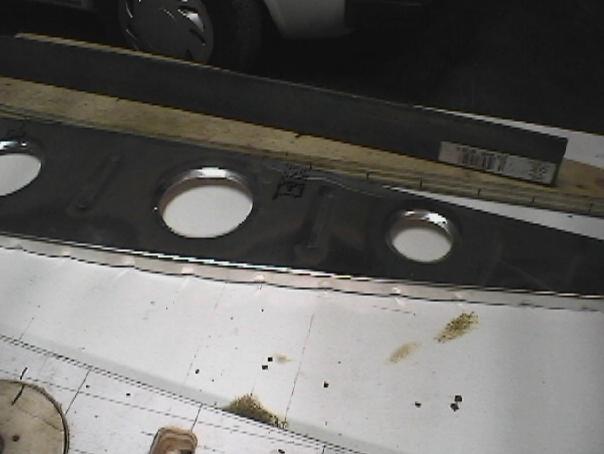
Stack of 22 rib blanks screwed together in between blank templates. Used sanding disk on radial saw to trim cut-outs to the template edge. Still haven't cut out the end of the ribs. Wasn't sure if I wanted to cut them all the same.
Another veiw of rib blanks sand to edge of blank template.
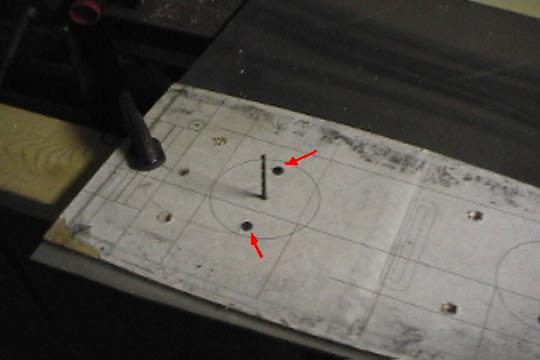
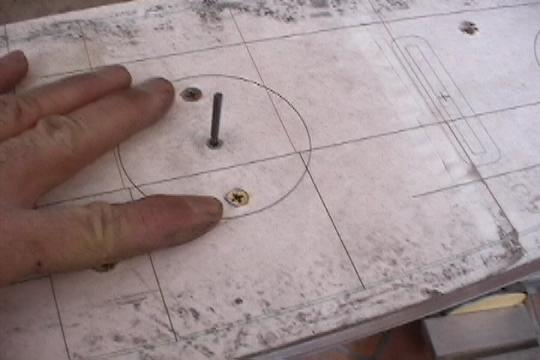
Screws in lightening holes holding stack of rib blanks together. Drill bit in center hole for aligning top and bottom templates.
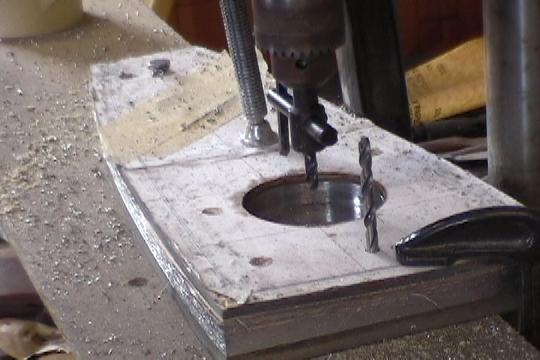
Cutting lightening holes in stack of rib blanks using drill press.
Doing nose ribs first. Didn't try doing flanged holes at first. Did do the rib reinforcment. Former spaced off table with 2x6 cut undersize of former.
Used single edge razor to clean up edge of blanks.
Worked out that when blank was put on former opposite side is exposed for deburring with razor blade. 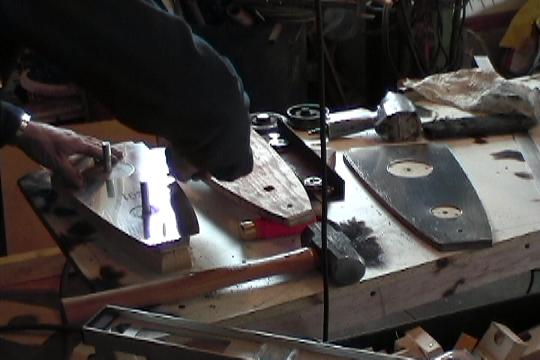
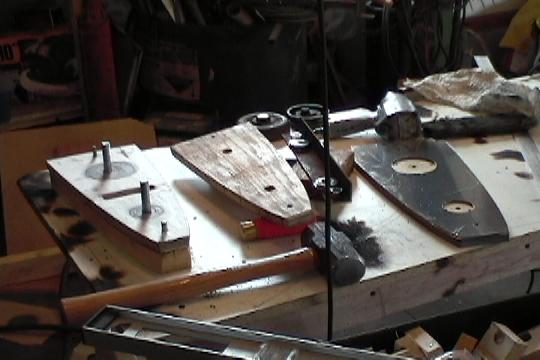
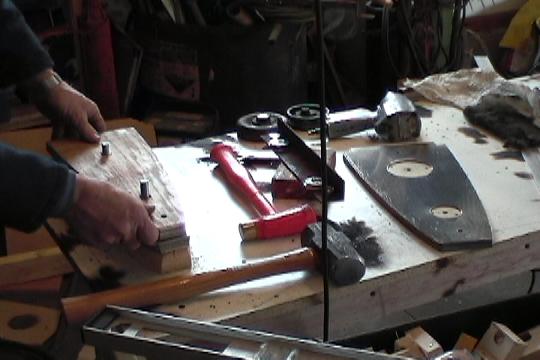
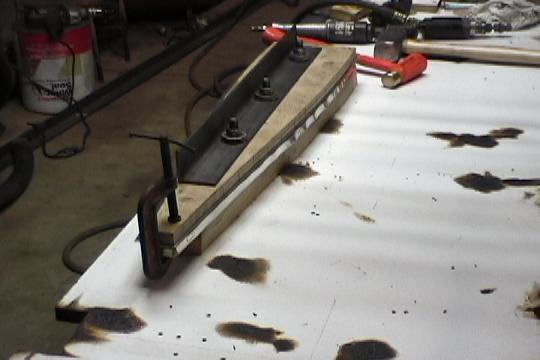
Pointing to die on clamping former to make reinforcing rib indentation.
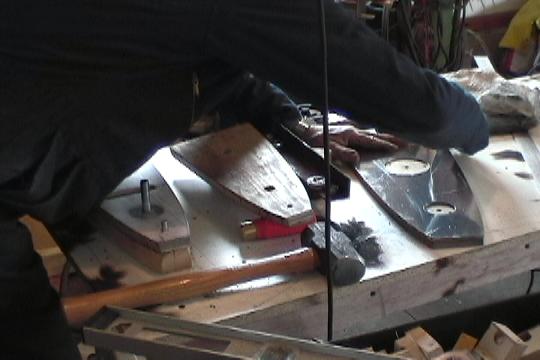
Placing clamping former over blank.
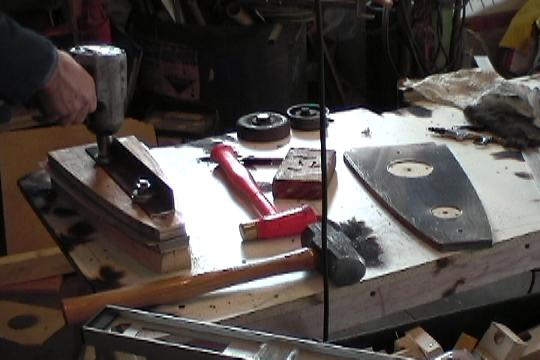
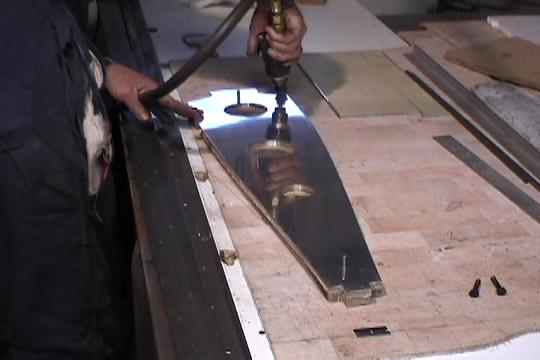
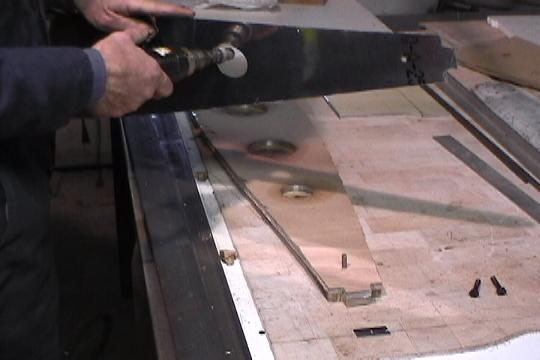
Using impact wrench to clamp down formers. Impact wrench was overkill. Ended up stripping the bolts. Angle iron helped take some of the flex out of the plywood clamping former.
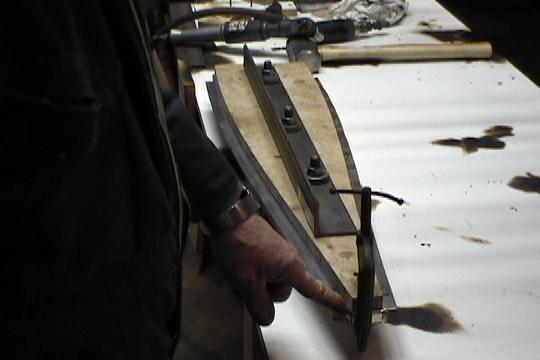
Using plastic dead blow hammer to bend over flanges.

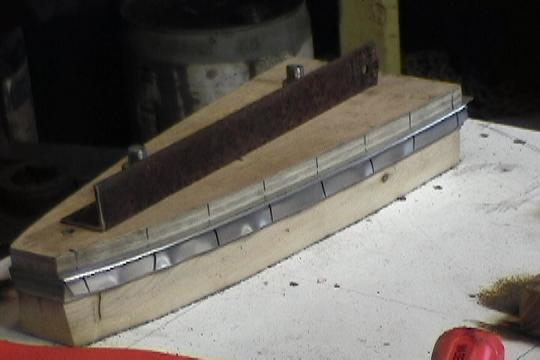
Flanges bent and rivet locations marked. Didn't put flute notches in the nose rib former. Did put a 10 degree taper on the flange edge to allow for springback. Need flutes and a steeper angle to get 90 degree bend.
Edge view of aft former. Notches for flutes are cut in about 1/8" below edge of former. This made it a lot easier to do the fluting and setting the 90 degree flange angle. The form is tapered in 12 degrees to help compensate for springback.

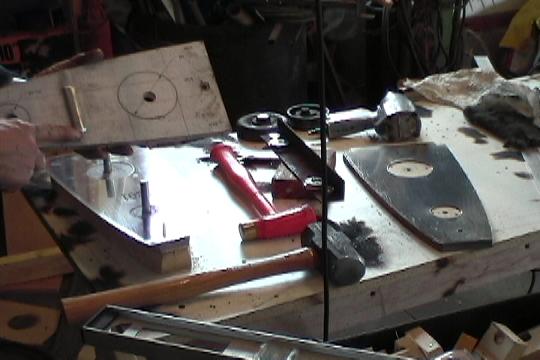
Aft Rib former with cut-outs for rib reinforcements and lightening hole flanges. Flanges are made basically the same as the rib reinforcments are without using special flanging dies.
Got to be sure flanging pucks will not go below the surface of the former otherwise the flange hole will develop splits along edge. I put screws in bottom of holes for stops.
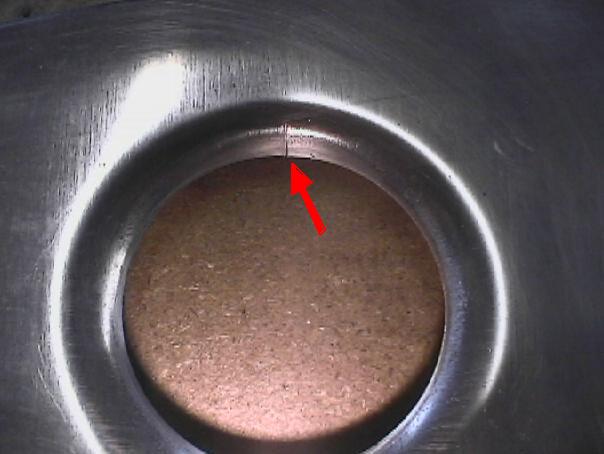
Here's one of the split flanges. Stop drilled the split. This rib could be servicable in my opinion since the rib stiffener mounts right next to it. But since I had enough extra material to replace it, it is setting on the scrap pile.
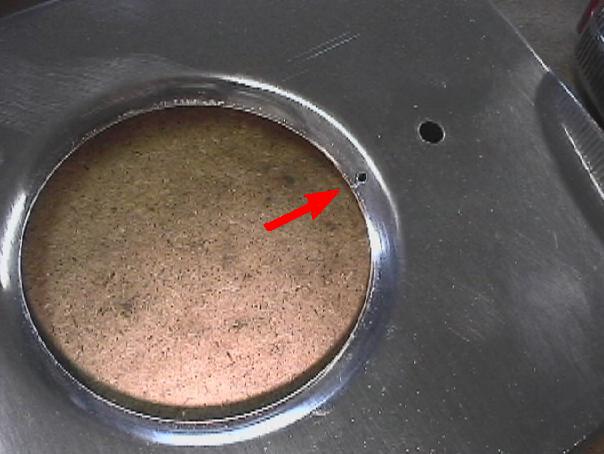
Example of a lightening hole flange split. One of several. Took me a while to figure out what was causing it. This is what happens if the flanging puck is allowed to go below the surface of the former.
Doing aft ribs. Hit edge of blank with razor blade then deburred with small scotch-brite wheel on air grinder. Noisey and expensive. Wheels aren't cheap. Used up 1" wheel doing all the aft ribs.
Deburred lightening holes with scotch-brite wheel. Wheel does an easier job once worn to the edge your deburring.
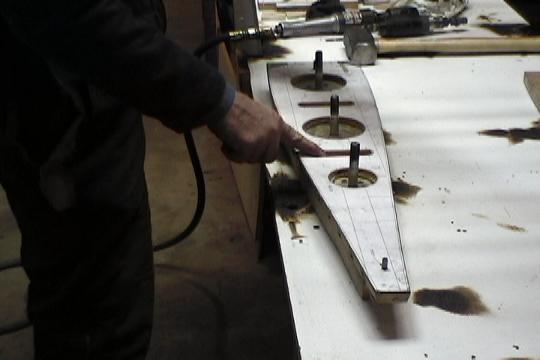
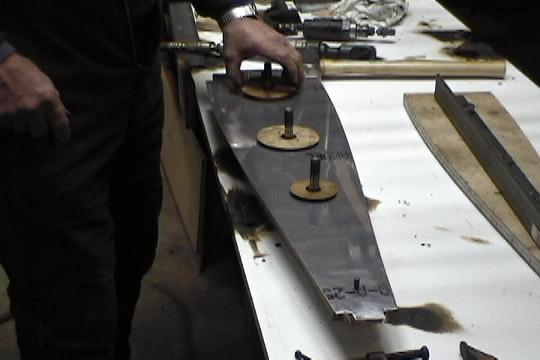
Rib blank set on tooling pins on former. Make sure it's not upside down. Scotch-brite the edges on this side. Place flangeing pucks in lightening holes. If they fit too tight the rib will come out with a slight twist. Fixible but also avoidable.
Clamping block in place with angle iron to stiffen up the clamping operation.
Used air rachet to tighten down bolts. Better than using impact wrench. Could of just used a rachet wrench but the air rachet makes it easier.
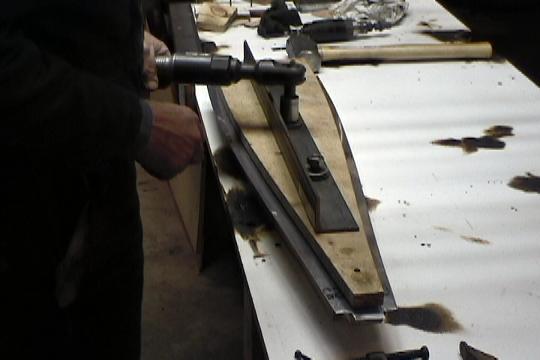
Bent over flange at trailing edge. Place a clamp at this end to hold clamping block and former together, otherwise the trailing edge width will end up slightly undersized. Was lucky to catch this after the first rib.
Edge bent over with dead blow hammer. This former was given a 12 degree taper to help allow for spring back. Still wasn't enough to get 90 degree bend.
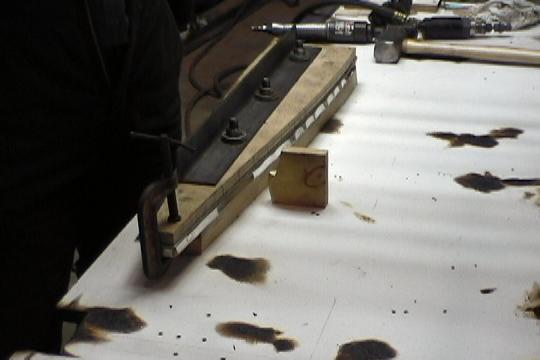
Made up this block of 3/4" pine to put in flutes. Just line it up with the flute location lines on clamping block and give it a wrap with the hammer.
Wrapping in flutes.
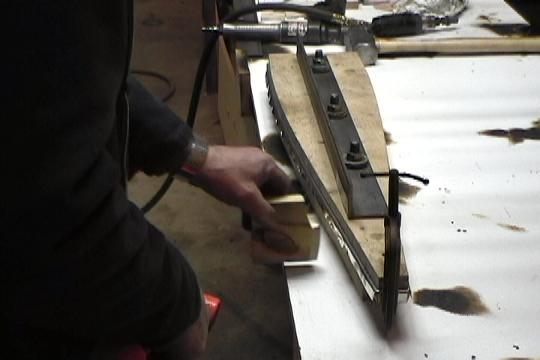
Removed clamping block and taking out flanging pucks.
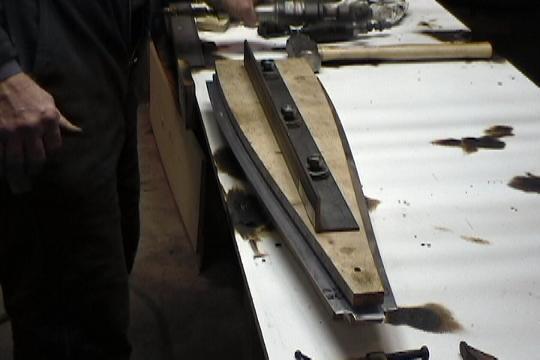
Formed rib ready to come out of die. With the flutes in, the rib has to be flexed a bit to come off former.
Rib comes out with a slight bow in middle.
Rib after going through former. Holes flanged, reinforcing ribs in, and fluted. Comes out with a slight bow in middle. Flanges still need to be set at 90deg. and flutes tweeked so rib will lay flat.
This is the set-up I used to set the flanges at 90 degrees. The rib is setting on balsa wood sheet to help prevent scratches. Rib is held flat and against bull nose edge of 3/4" marlite shelving board. 90 Degree angle is pounded in with dead blow hammer then the flutes put in to get rib to lay flat on shelving board.
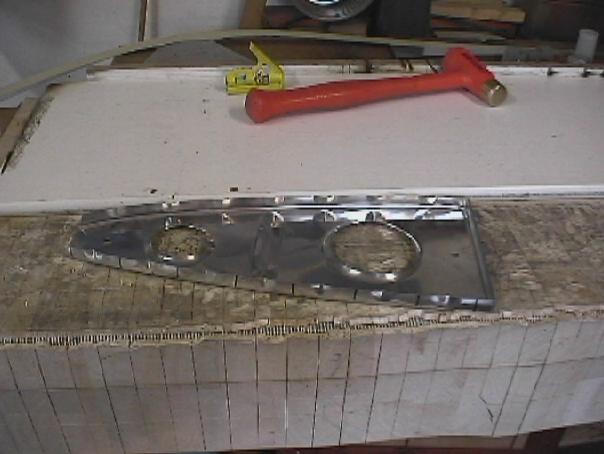
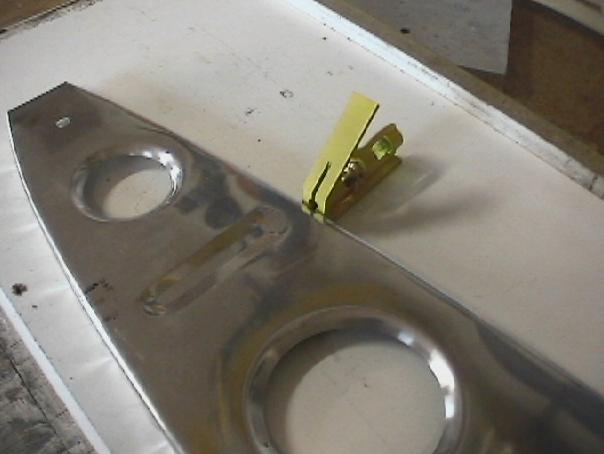
Ran this square along edge of rib to make sure flange was at least 90 degrees so the wing skin would lay against airfoil shape.
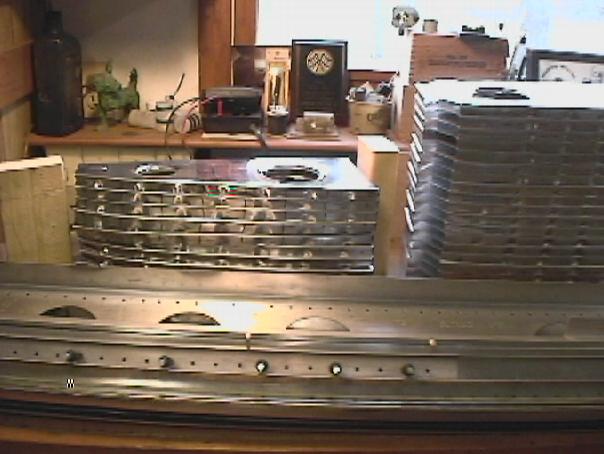
Stack of aft ribs. Made them as identical as I could. Had to make up 4 extra ones to make up for the ones I scrapped with split flanges.
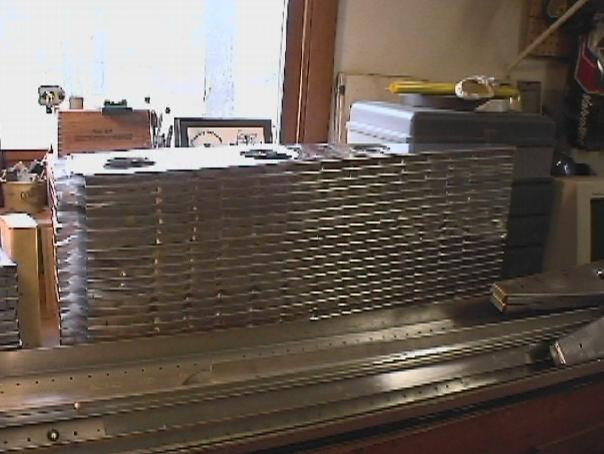
Stacks of ribs, trued up and ready for cleaning, alodine and primer. Spar parts in foreground.
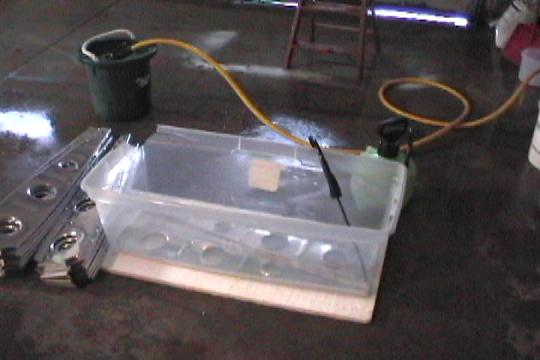
After washing all the ribs in soapy water I started prepping with MetlPrep 79 in pump sprayer. used an old plastic storage container as a tub. Spray and soak, then wipe down with household scotch-brite sponge, then a final thorough rinse with hose. Wiped them dry with rags.
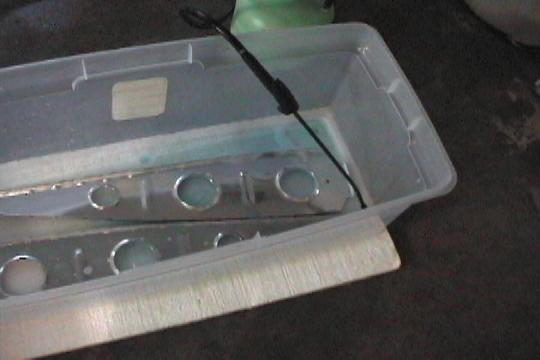
Ribs soaking in MetalPrep #79.
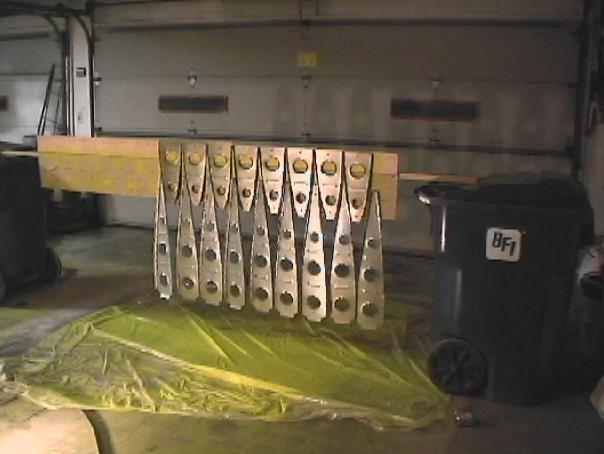
Ribs hanging waiting for a mist basting of zinc chromate primer.