After an investment of a lot of time and money my spar channel solution was to buy a set from GPA. Nice crate. Lined it with plastic and used it to submerge the ribs and spar parts in alodine. Oh, and the spar channels where dead on accurate.
6" reinforcement angle sitting in GPA spar channel. Nice sharp bends. There is only a 1 degree difference between the top and bottom angles. Took a while to decide which one was the top.
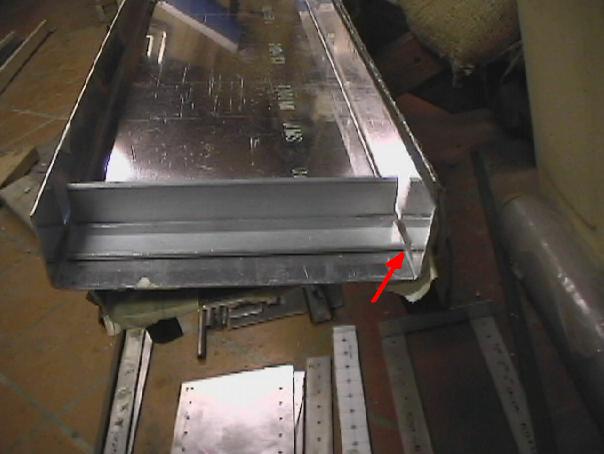
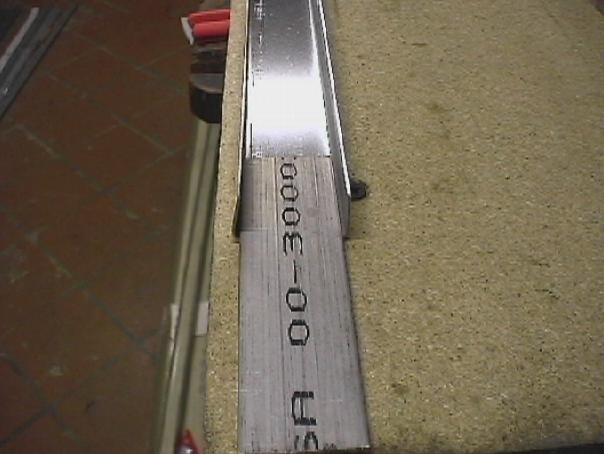
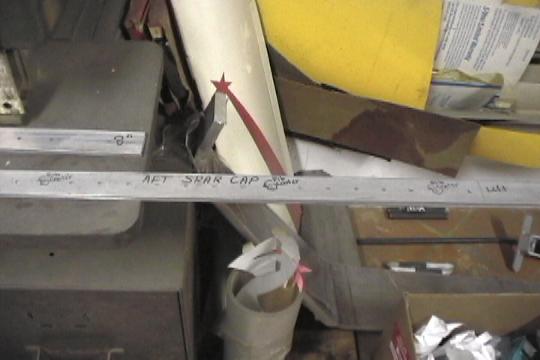
Aft spar channel from GPA. A lot easier to spot which side is the top on these. Spar cap only required a slight radius on edge to allow the cap to lay flat in channel.
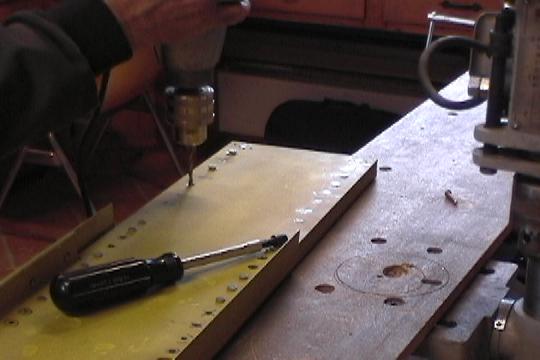
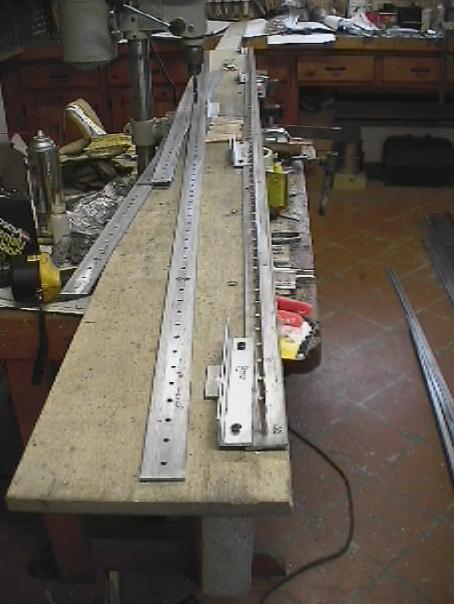
Used a piece of 1/2" x 10" x 8' particle board reinforced with a 2x4 underneath. Put a couple of peices on the edge for a fence and set drill to center of caps.
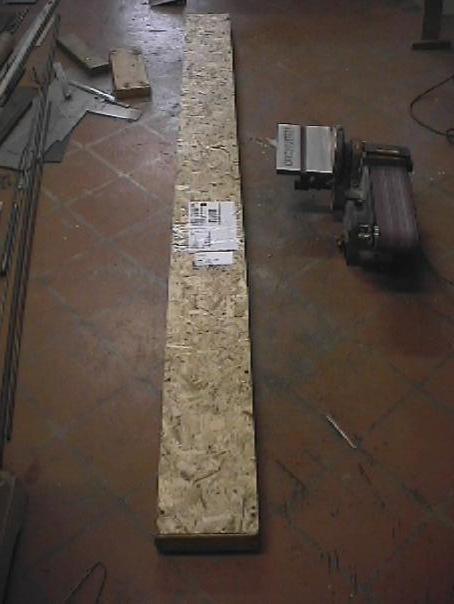
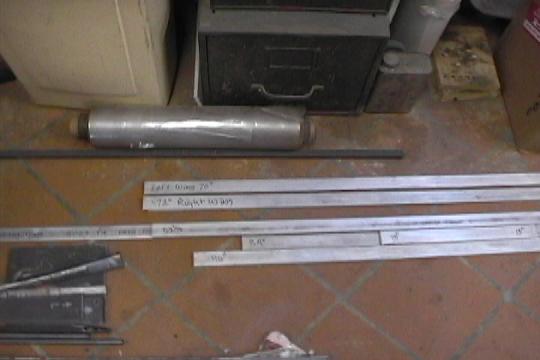
Spar caps cut to length.
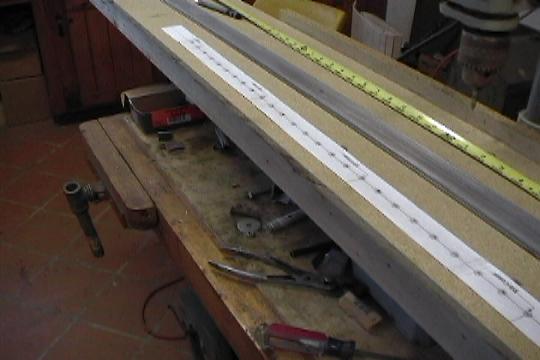
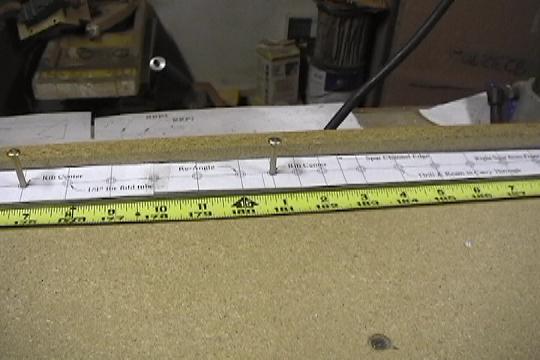
Printed template for rivet spacing. Made it up so that there is a rivet at the center line of each rib. Hopefully this will make it easier to assemble the ribs to the spars. Old broken tape measure tacked down to table to double check rib spacing.
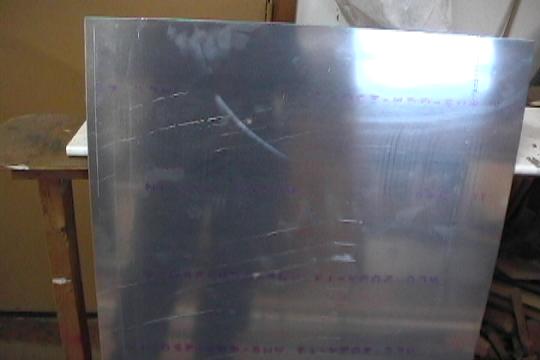
1/8"x2'x4' 2024 aluminum sheet for making spar center section plates. Sheet came with scratches. Not bad enough not to be used. Aircraft Spruce warns you that there cut sheets might have scratches.
Drilled the holes for the rib centers first using a #22 drill. put in rivet to help hold template in place.
Did the easier aft spar caps first.
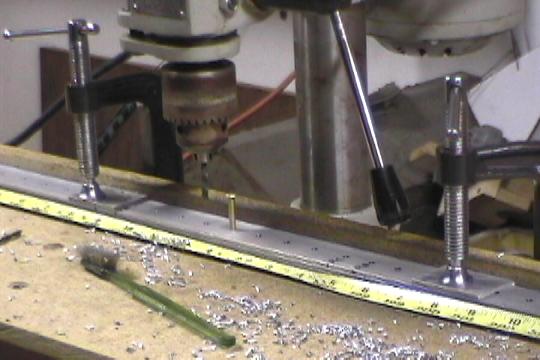
Drilling a spar cap using the printed template. held a washer on the hole to keep shaving from getting under paper template.

Drilling a spar cap using the original cap as guide. put in rivets frequently to keep alignment.
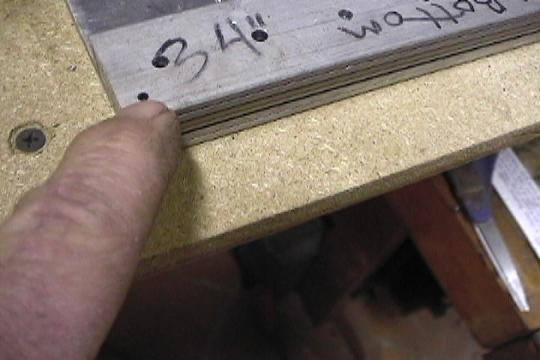
Gave up trying to use magic marker to keep each set of spar caps together. I put the set of caps together in the correct orientation and drilled a 3/32" hole at a random spot at the end of each stack.
This is how I cut my rivets to length. Put full length rivets into spar cap holes clamped it down to the table and used cut-off wheel on angle grinder to cut them off.
Here is the angle grinder with the fence installed to cut the rivets off at 15/64". This set-up worked pretty good until you had to put the rivets through more than 3 spar caps. Then it was hard to get the rivets in and out because the holes where only drilled out with a #22 bit.
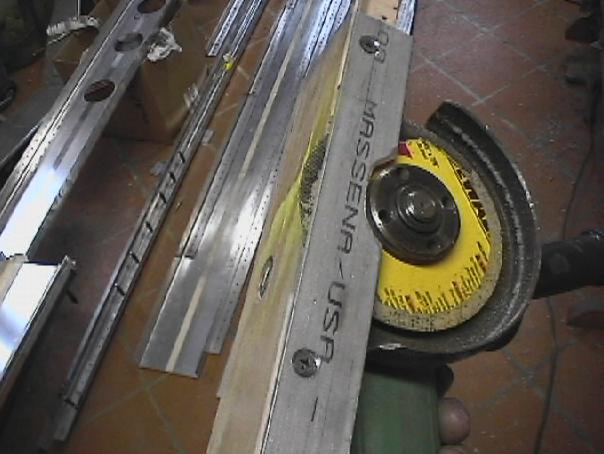
Rivet cutting with cut-off wheel on angle grinder. The homemade fence on the angle grinder allows for the required 15/64" protruding length plus the .040" thickness of the spar channel.
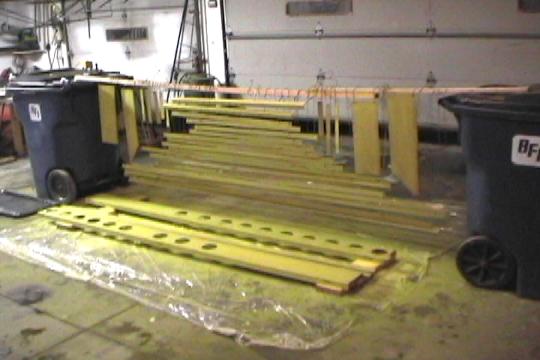
Lightly primed all the spar parts before assembly. Figure on adding at least 20 hours to your construction time if you prime all the interior wing parts.
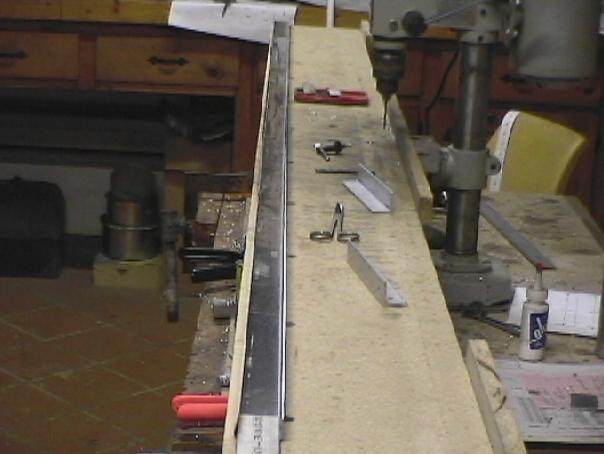
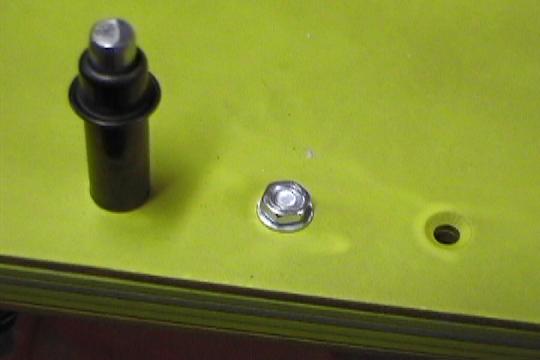
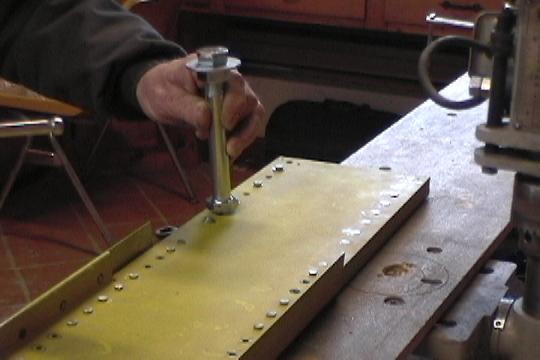
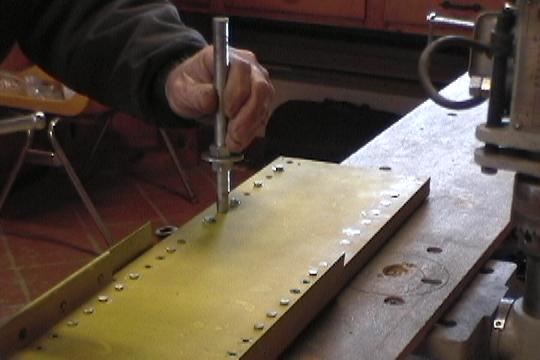
Drilled a hole in the top of a 2' peice of railroad rail to accept the shank of a rivet set.
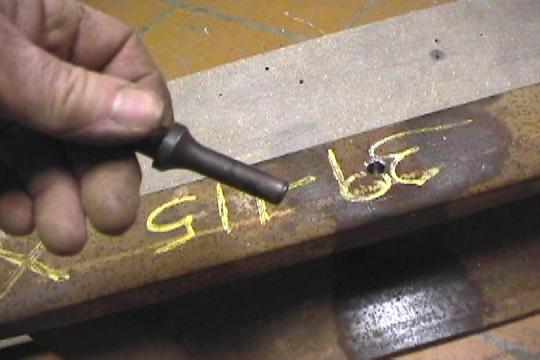
Heres a 5/32" AN470 rivet set in rail. Made use of the 8' drill press table to support the spar at the desired height. Turned the top of the drill press 90 degrees so it wouldn't be in the way.
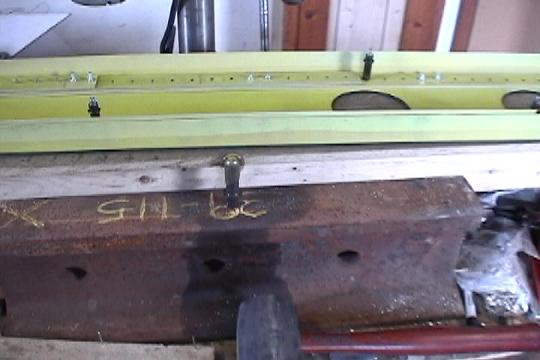
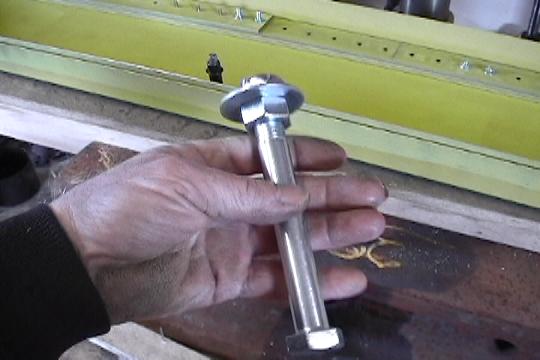
Used a 5/8" x 6" bolt to make the shop head of the rivet. Washer is at the hammer end of the bolt to protect your hand from a misguided hammer.
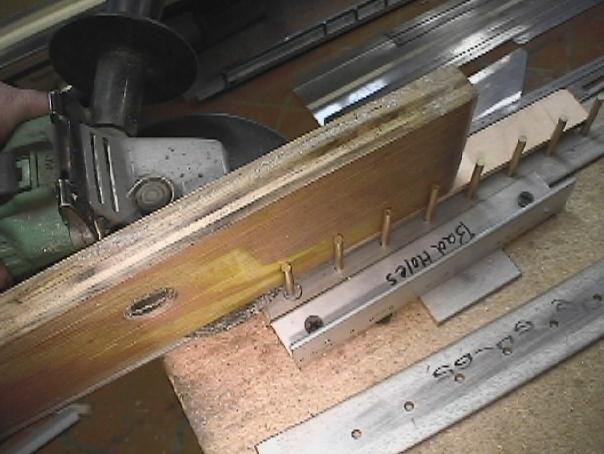
Putting the stacks of caps together. Clecoes wouldn't reach all the way through so put one on each side to help get them aligned to put in some 4mm bolts in to clamp them together.
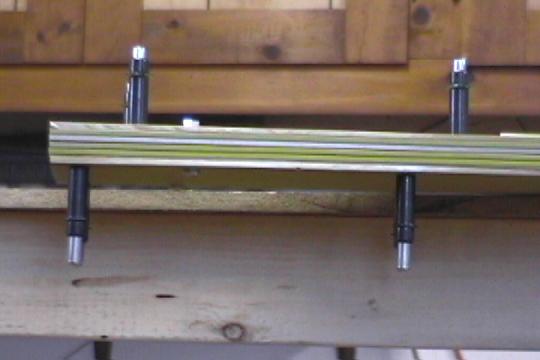
4mm x 25mm bolts just reach.
Marked the holes where the rib centers and reinforcing angle go. This is where the 4mm bolts were put to clamp things together and to keep me from putting rivets in prematurely.

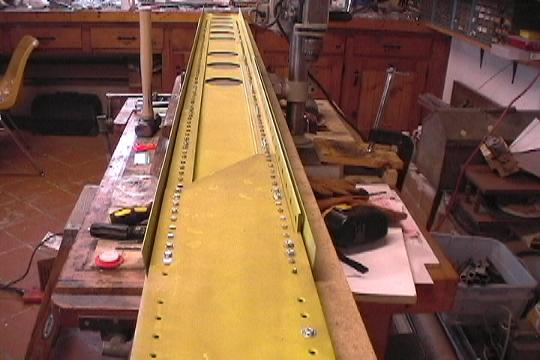
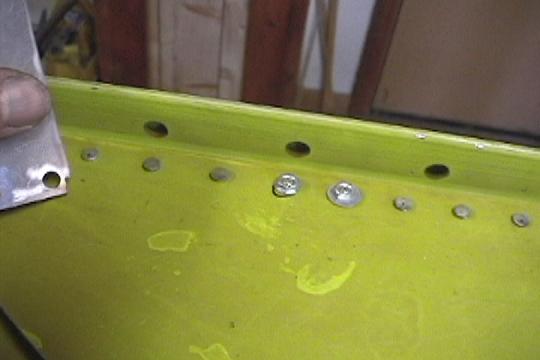
This is the left spar because it has one less lightening hole in it. All the AN470 rivets are in except where the rib centers and reinforcing angles go.
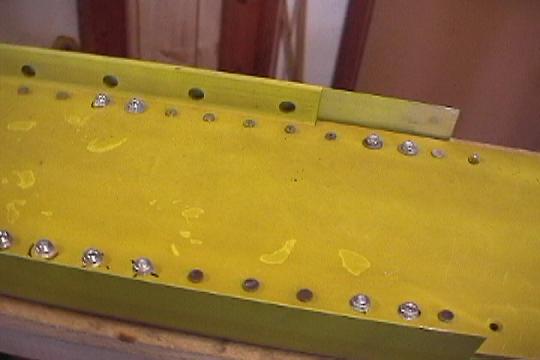
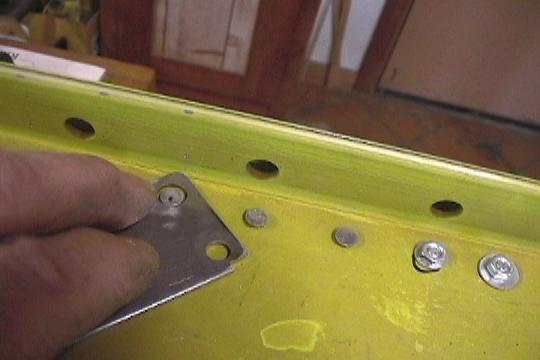
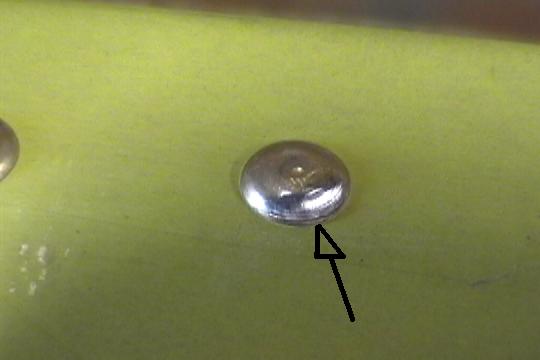
Went over and checked and graded my rivet job. A couple where obviously bad. Some were questionable. Overall I drilled out and replaced 9 of them. The questionable ones didn't look too bad after they were knocked out.
Made this rivet checker out a peice of scrap 1/16" 4130. Drilled a hole for the minumum diameter and a larger hole to slip over the rivet to check the thickness. 1/16" is the minumum thickness for 5/32" shop heads. Notch in corner is to check if unset rivet protrudes at least 1.5 diameters through surface.
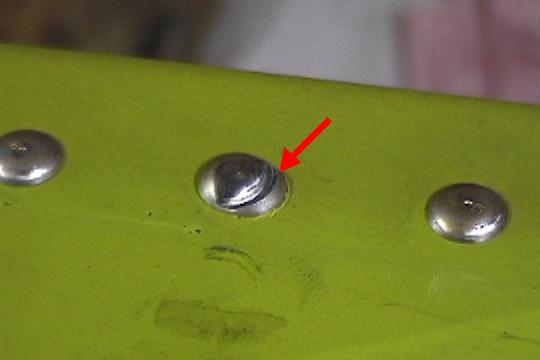
This rivet felt short on one side. Caused by overdriving the rivet. Needed to take it a little easier with the hammer.
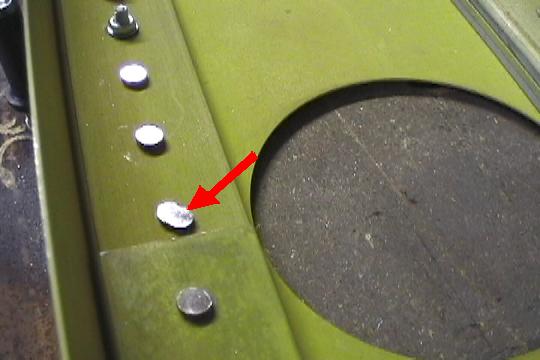
The ones with the black dots are the questionable ones. Too close together to have a bunch of questionable ones, so they got drilled out and replaced.
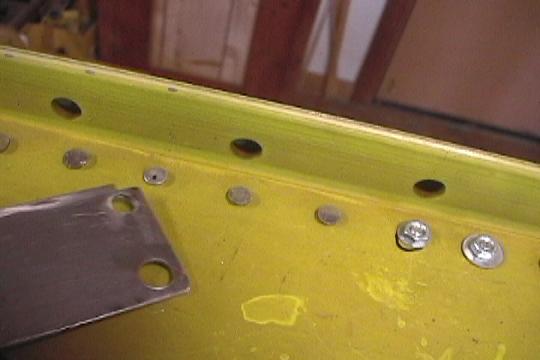
This is an obvious bad one. Happened a couple times in this area where there was a step in the caps. Must of been caused by how I held the driving bolt on the rivet. Was more carefull the second time around.
Another obvious one. Put a smile on this one. shouldn't happen with this set-up unless your careless. I either didn't check that the head was in the rivet set right or I didn't have the spar clamped down good enough and it jumped out of the rivet set.
This one is more of a grin than a smile. Not sure if I replaced it or not. Don't think it really needed to be replaced.
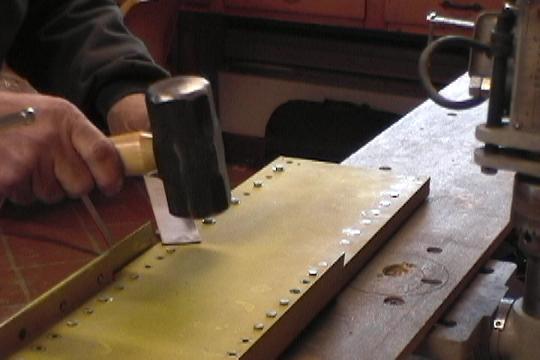
Doing the AN426 rivets. Put a flush rivet set in railroad rail.
Used the 5/8" driver for the first 2 hammer strikes then used a 1/2" bolt with tip ground down to 3/8". If 5/8" bolt isn't held perfectly plum it would put a mark in 1/8" aluminum plate.
Sent the rivet home with a scrap piece of 1/16" 4130 sheet and the hammer.
Cleaned up holes with a #21 bit if the rivet didn't go in easily.