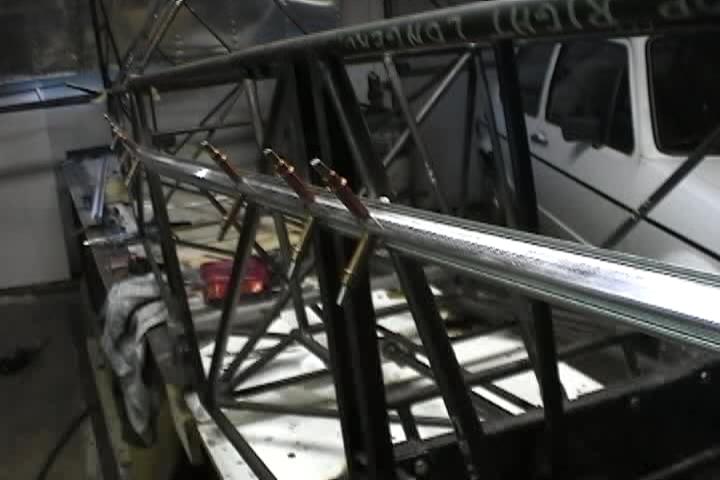
Right stringer clecoed in place.
Welded in tab for attaching hat section stringer. 
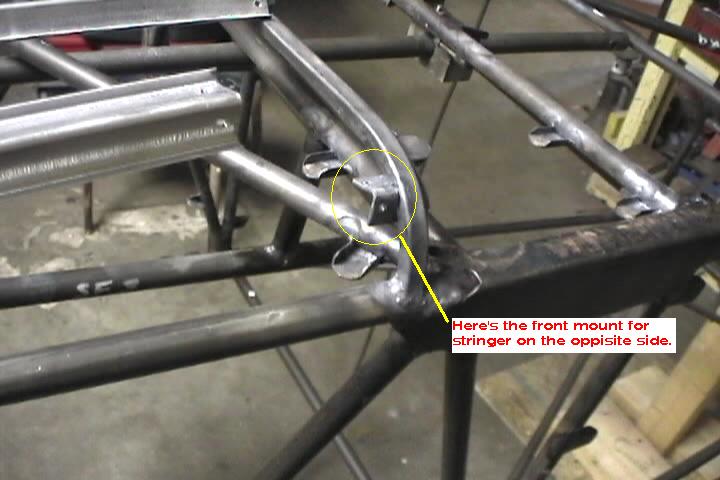
Welded in tabs wherever stringer crossed over a fuselage upright or diagonal. 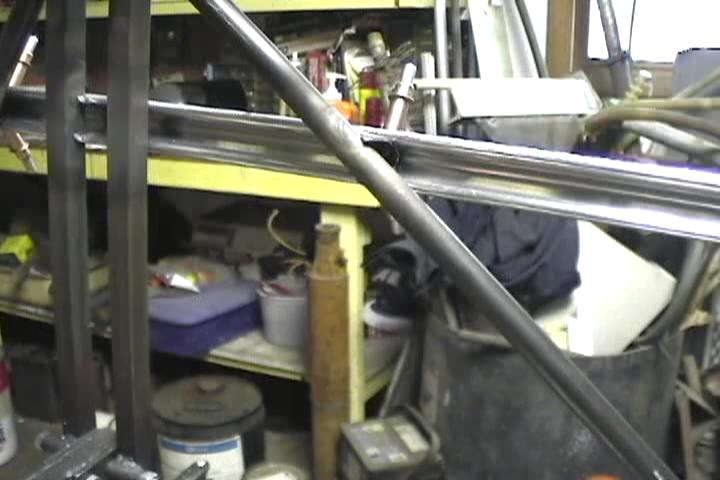
Used stencil board to make-up tab templates. Cut the .035" 4130 oversize so that they were easier to handle. 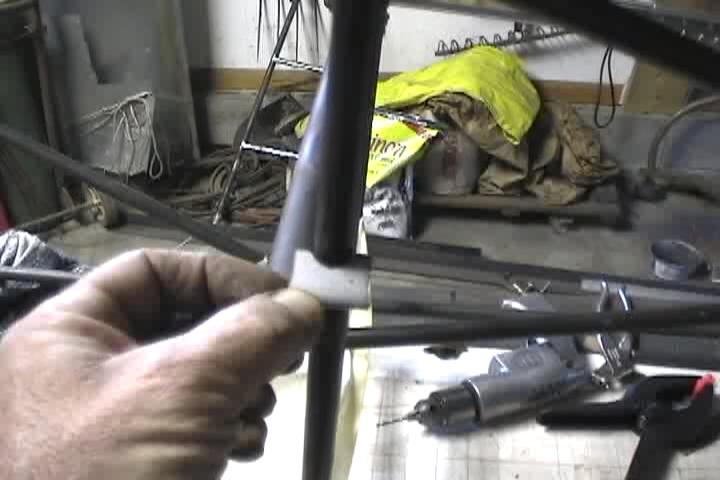
Tabs on the diagonals are a bit trickier shape. 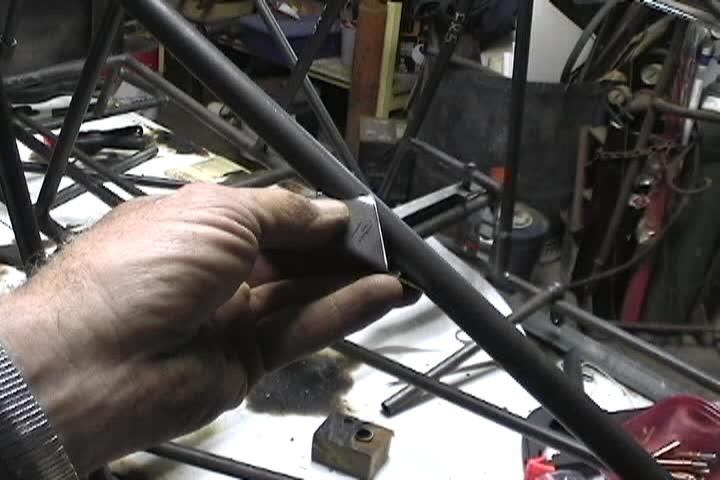
Another tab. 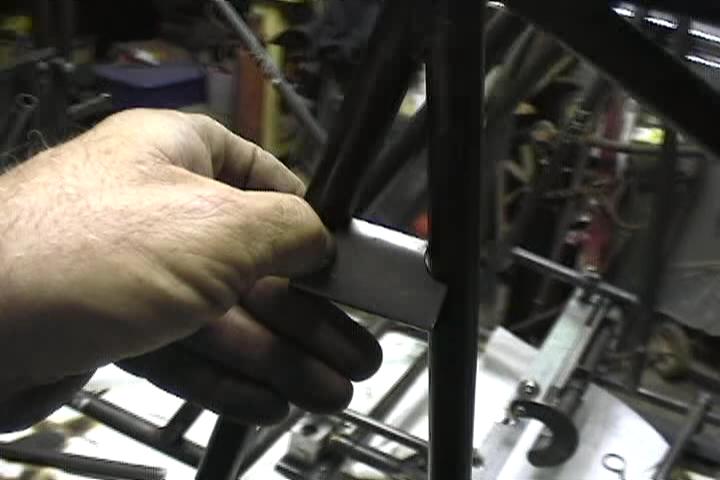
Tab welded in, trimmed and drilled for stringer. 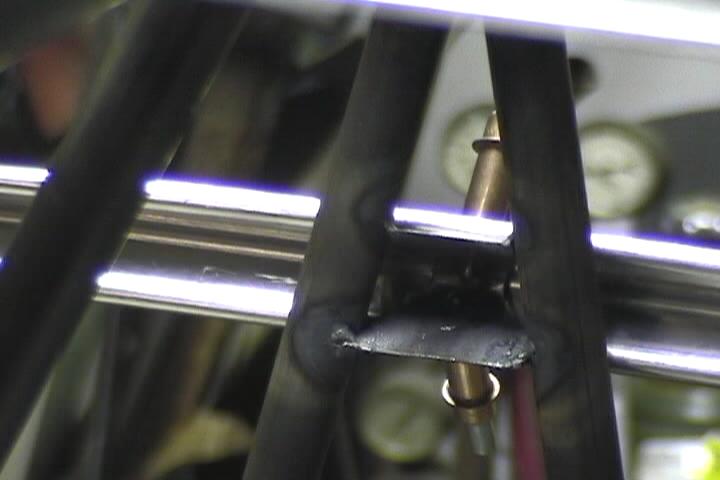
Tab welded to diagonal. Still needs to be trimmed. 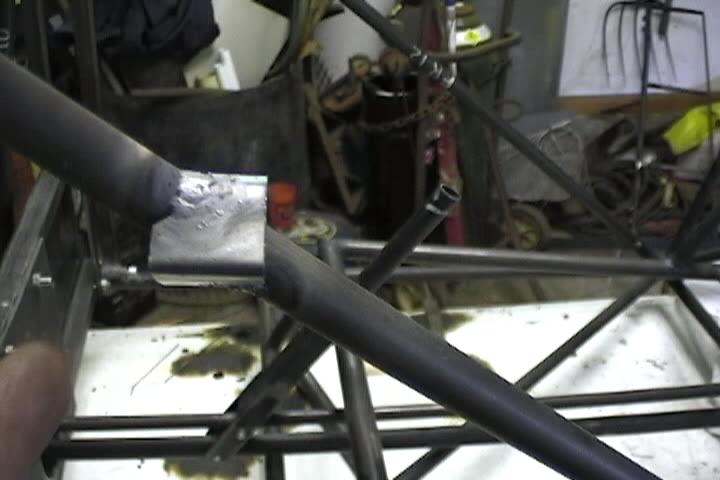
Tab marked for trimming. 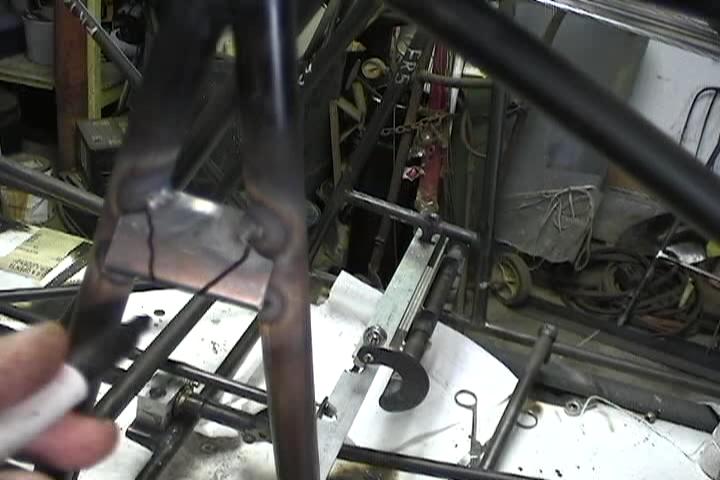
Left stringer clecoed in place. Clamps and string are what I used to lay-out the routing for the stab trim cable. 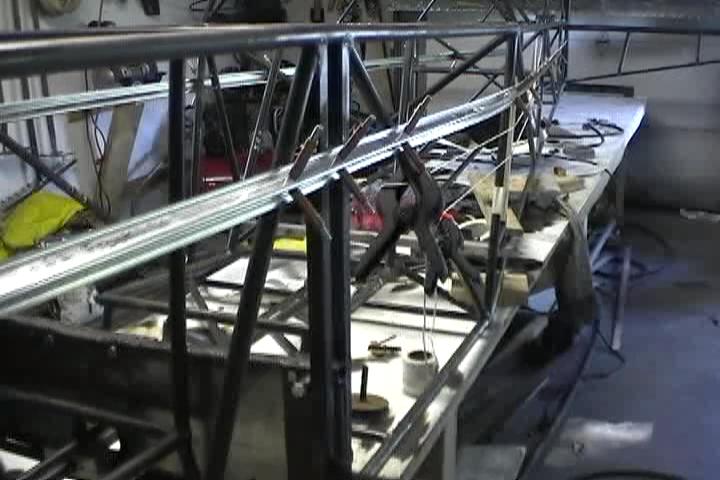
Disassembed 16' workbench and made it into an "L" shape. Done working on fuselage on the bench. Needed to work on bottom of fuselage to install stringers. 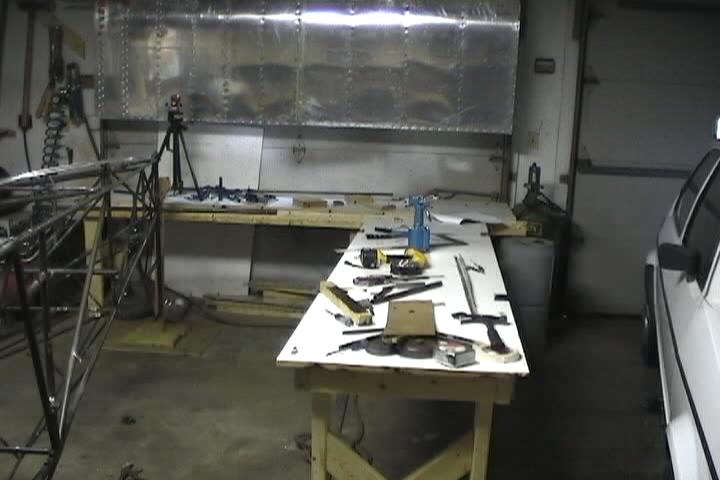
This is the rotisory mount at the fuselage station "0". Nothing to elaborate. Just enough to hold the fuse upside down. 
Rotissory mounted at tailpost. 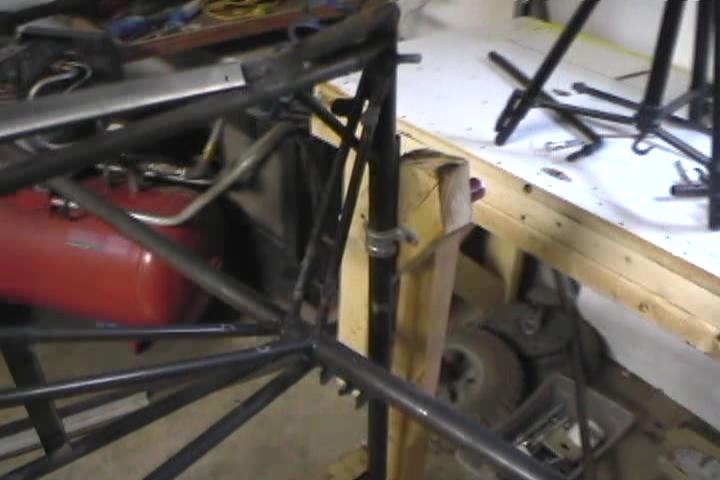
This is where I terminated the center bottom stringer, just in front of the tailwheel spring mounting bolt. 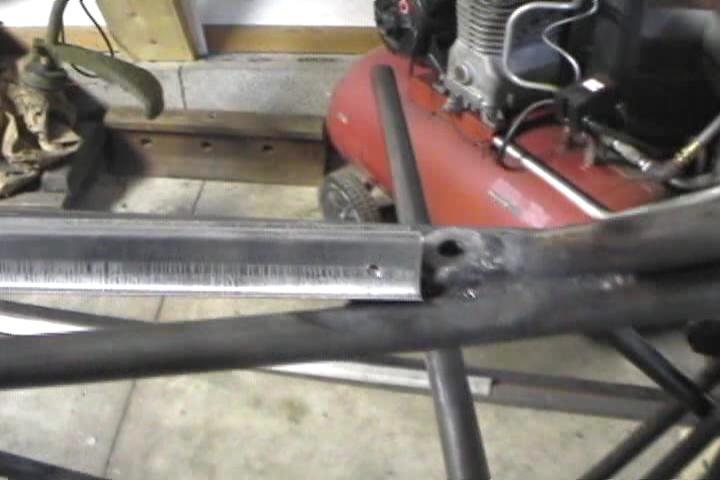
Here's the mounting tab. 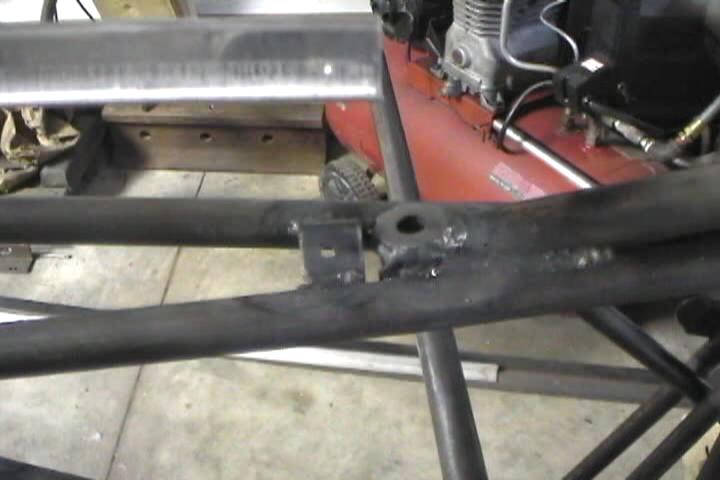
Installed a couple of hard points where the stringer passed over the bottom diagonals. 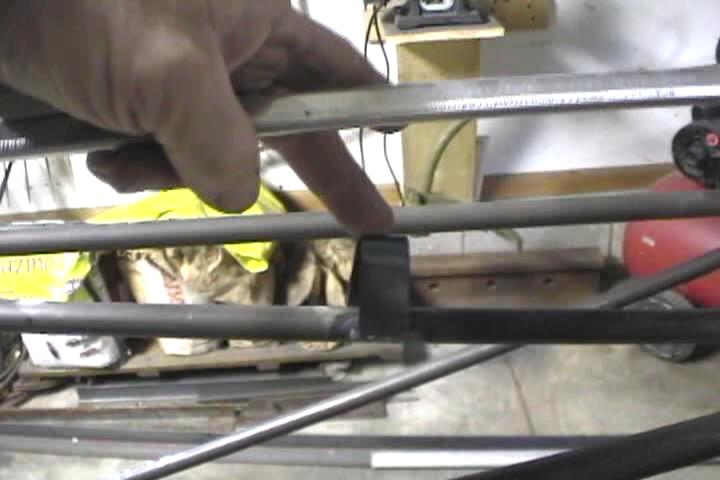
Used hat section for stringers. This one that runs under cockpit along longeron had to have a taper cut in it so that it would merge nicely down to the longeron. 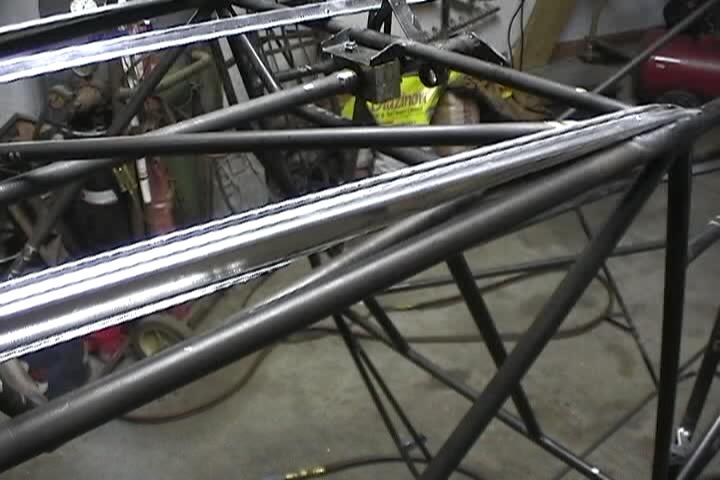
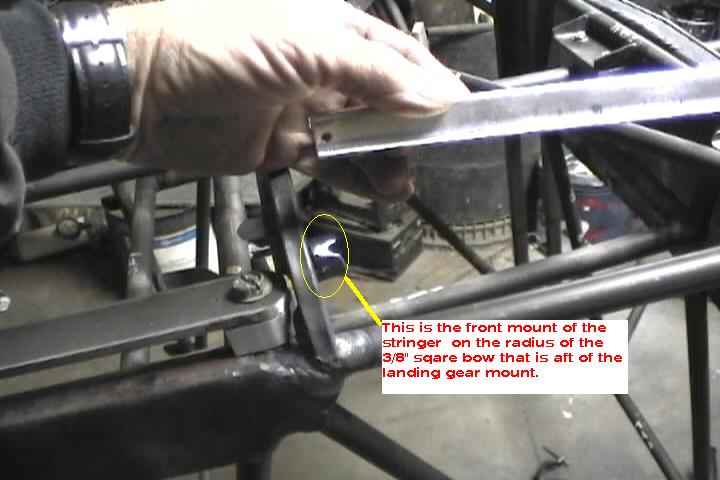
This is the tab where the tapered end of the bottom side stringer mounts. 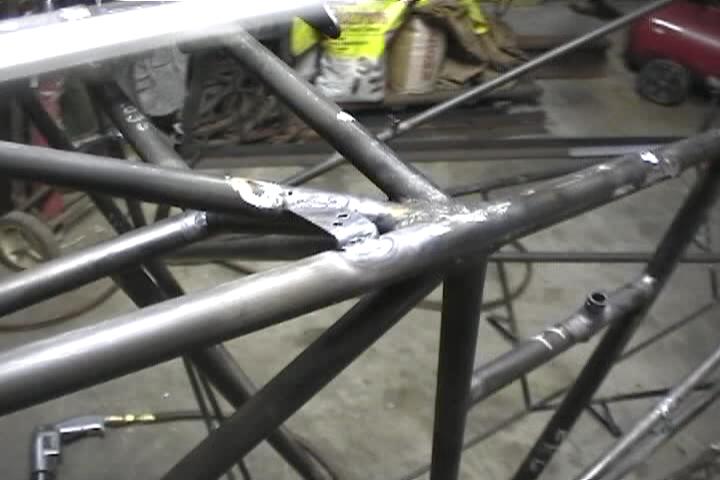
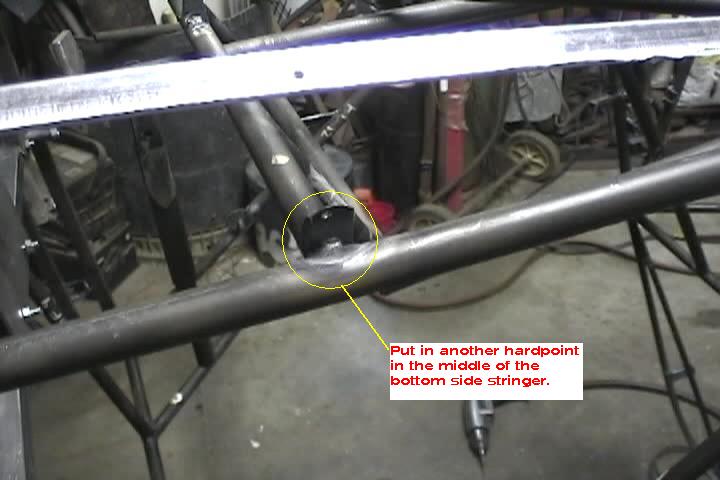
The midpoint tab for the stringer. 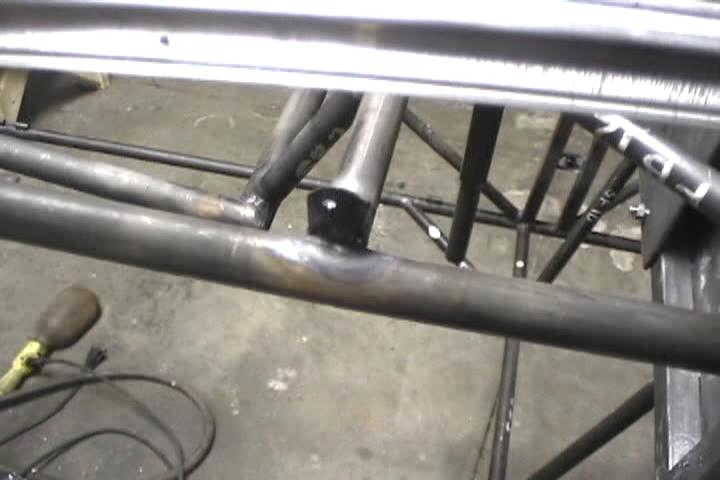
The rear mounting tab. 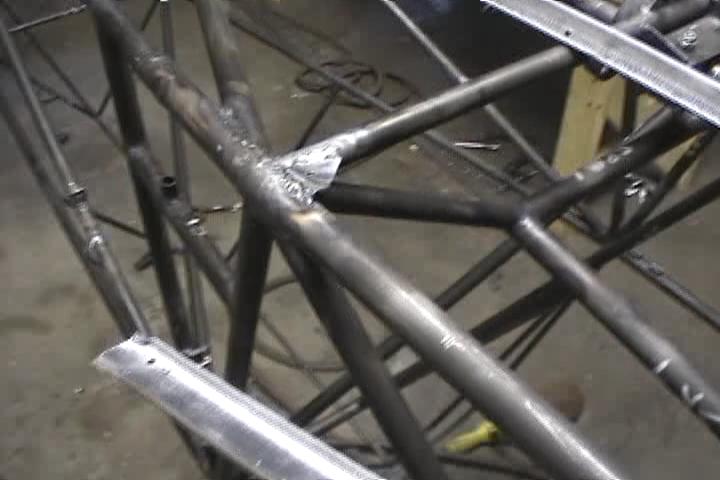
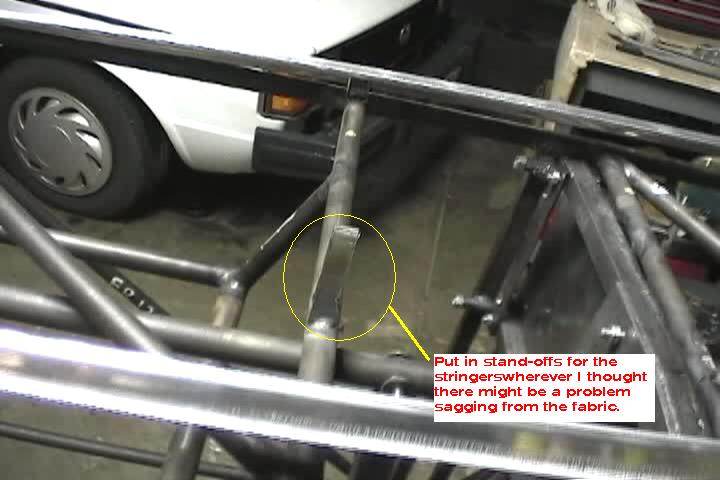
Put in this standoff to keep fabric from pulling in stringer when it is shrunk.