Used 20ga sheilded wire for the mag kill wiring. Installed a spade connector on a bolt drilled and tapped in accessory mount. I removed the anodized finish under the screws to get a good ground. Extra hole above spade is for holding a broken tap.
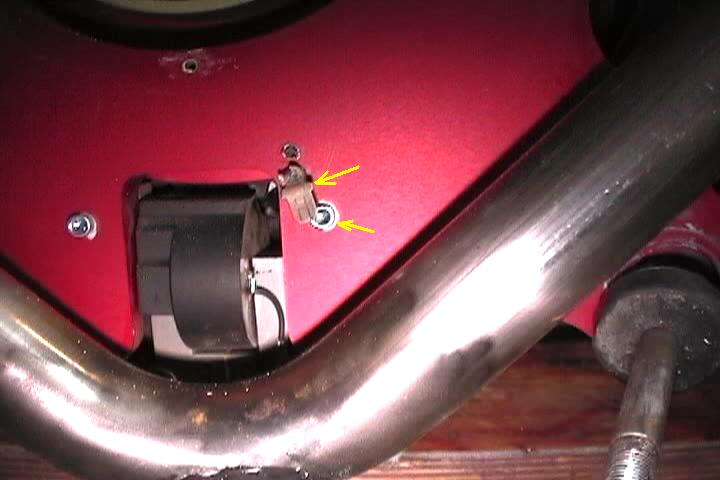
Another view of spade connector. 
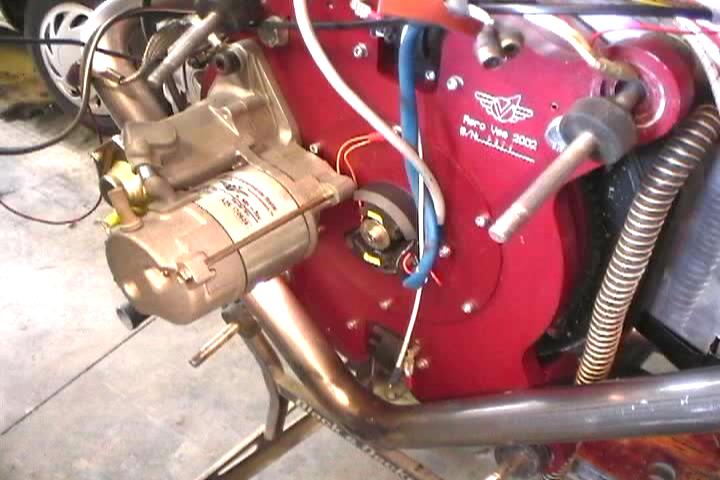
Mag kill connection with sheilded wire. Notice alternator housing removed to check for stator clearance per AeroVee's AD. Mine was OK. 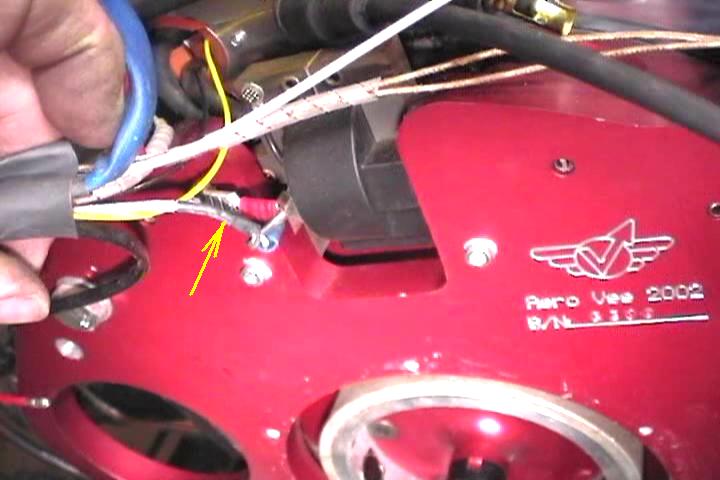
Ground connection for pick-up coils. Anodized coating removed under screws. Checked ground connection with ohm meter. Marked coils for making sure they fired 180 degrees apart. Had to enlarge one of the hold down tabs to make it happen.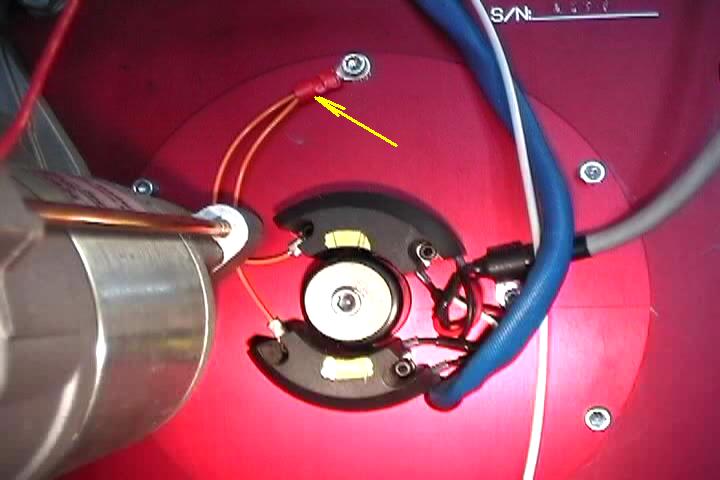
Markings on pickup coils to help with alignment. 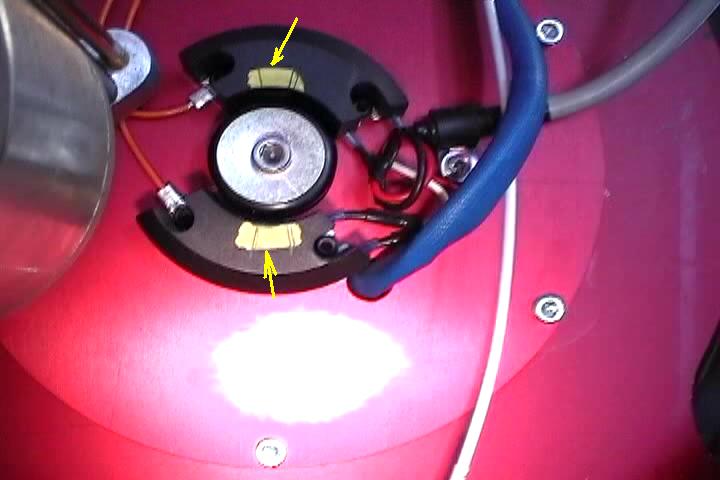
Marked alternator plate to show which way to move the pickup coils. Can get a little confusing. Set the trigger for 27 BTDC on one pickup coil then move the other coil so it fires exactly at 27 BTDC also. 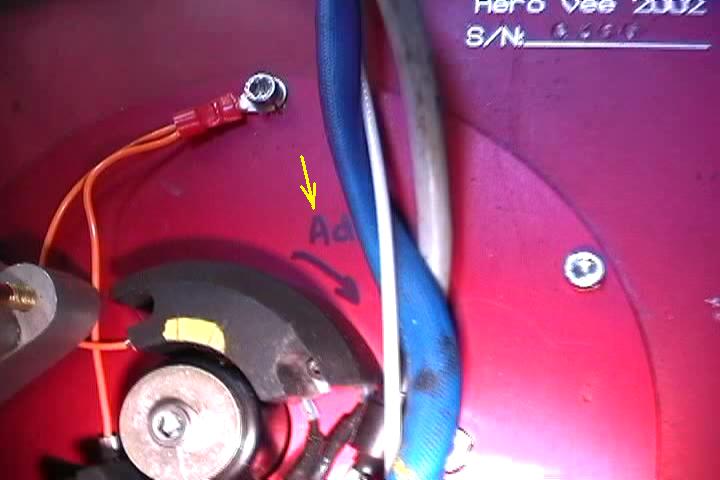
Made up a degree tape for size of the flywheel using TurboCad and glued it on flywheel to check timing away from prop. Put a mark on the bellhousing mounting surface, put engine at TDC and glued tape at 0 aligned with mark on crankcase. 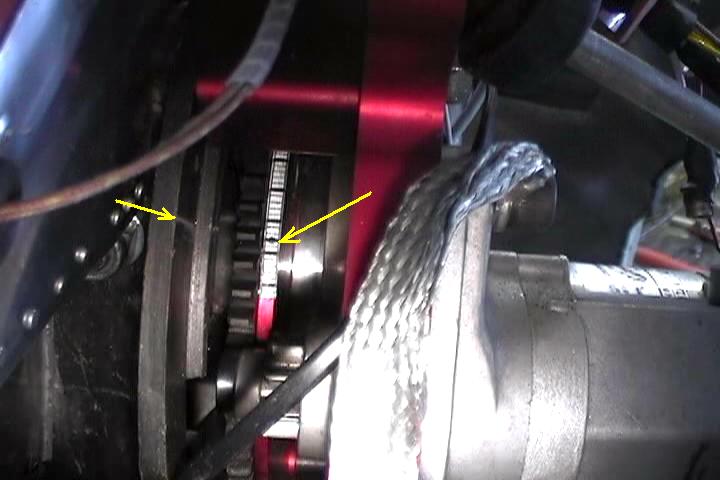
Made up a degree tape for the prop hub also to set the static timing. 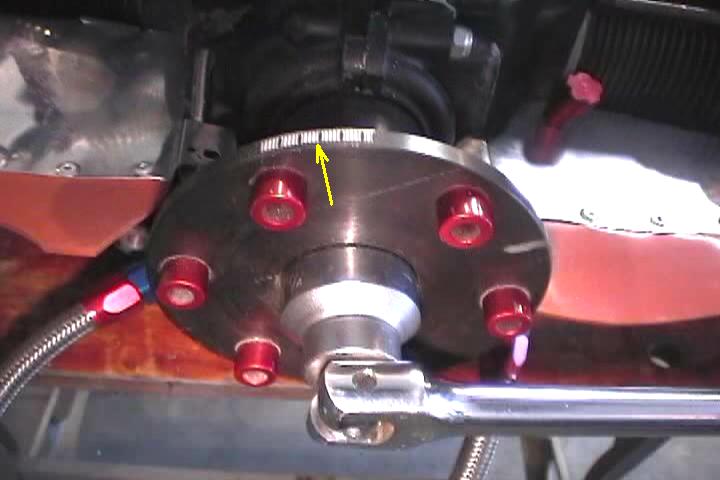
Bent a coat hanger as a pointer to the degree markings. Just for static timing. Not secure enough on a running engine. 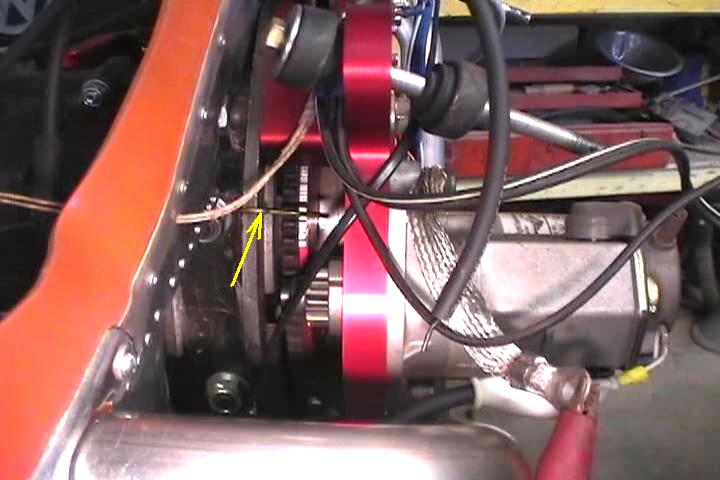
27 BTDC aligned with split in crankcase. 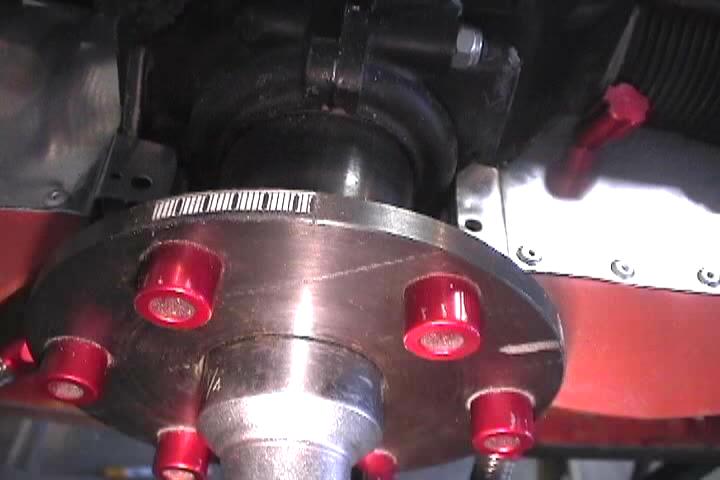
Hot wired the coils so that I could set the timing with the engine off the firewall. With the plugs out the secondary coils will fire the plugs. Set the trigger magnet to fire the plugs at 27 BTDC. Don't leave the power on between checks. The coils will get hot. 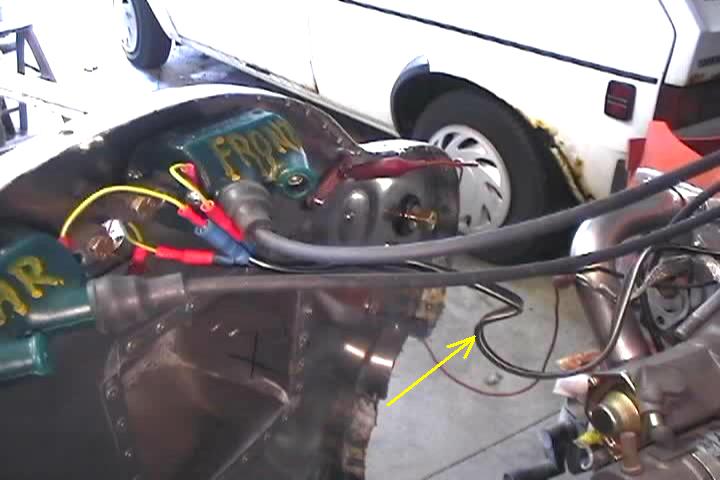
With engine off firewall access to the trigger magnets is a lot easier, especially on my Sonerai.