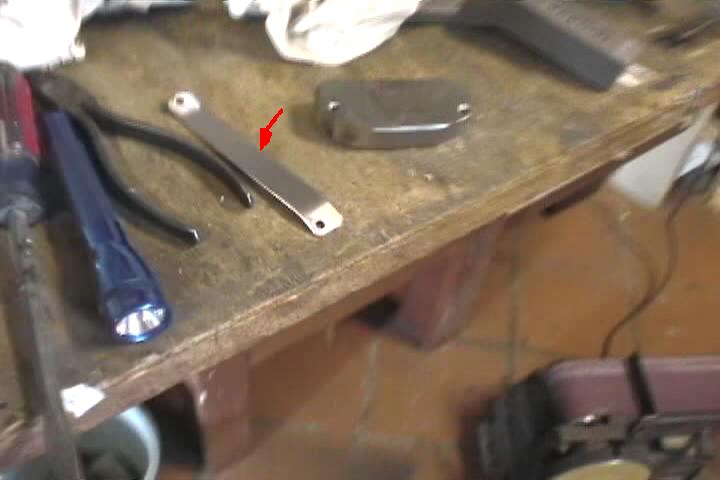
Pittney Bowes Punch had to be ground down in order to match punch the center of the flange of the front and rear ribs. 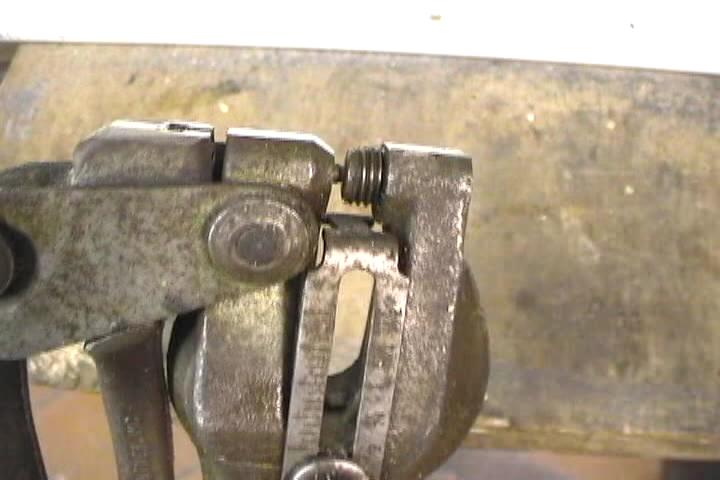
Another view of the edge ground off the punch. 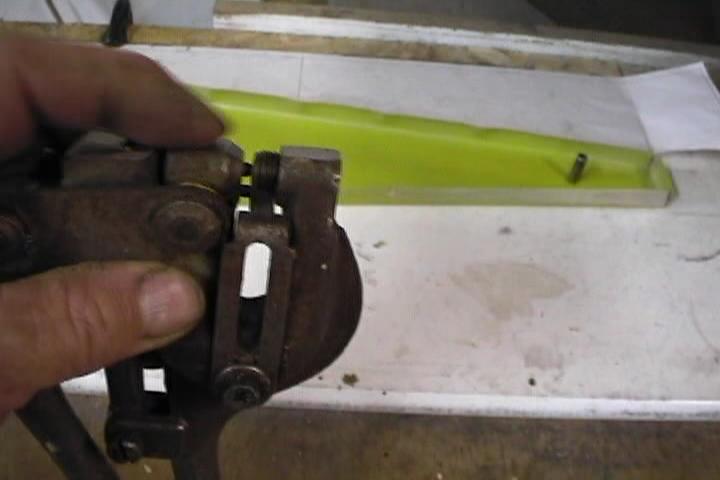
Set-up I used for match punching the nose and main ribs. 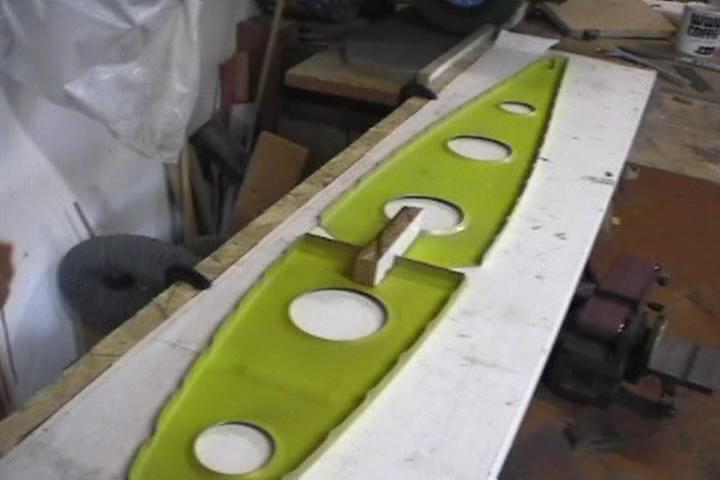
Held punch against this block of wood which is setting on the tooling pins in the ribs. 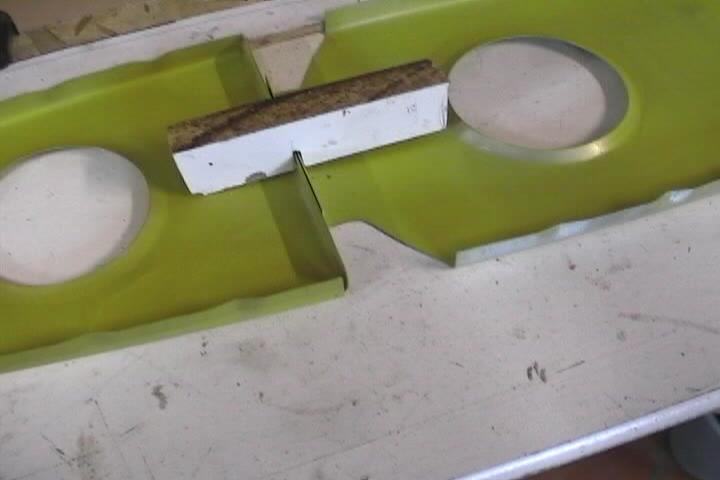
Put the ribs on the tooling pins, put on guide block, punch the holes. 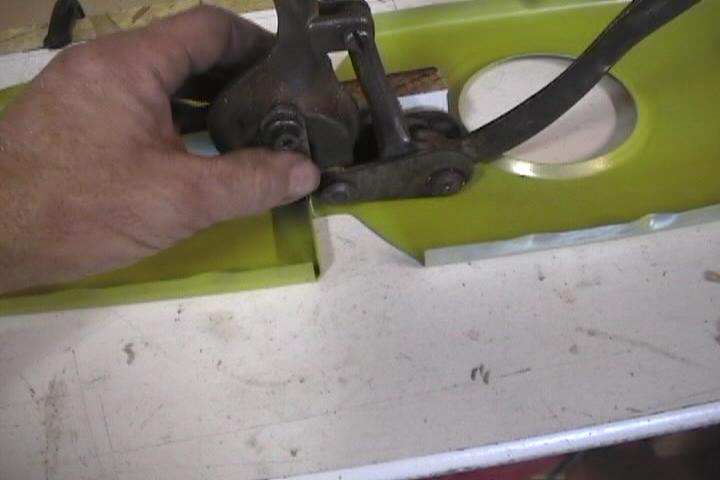
Another view of match punching ribs. 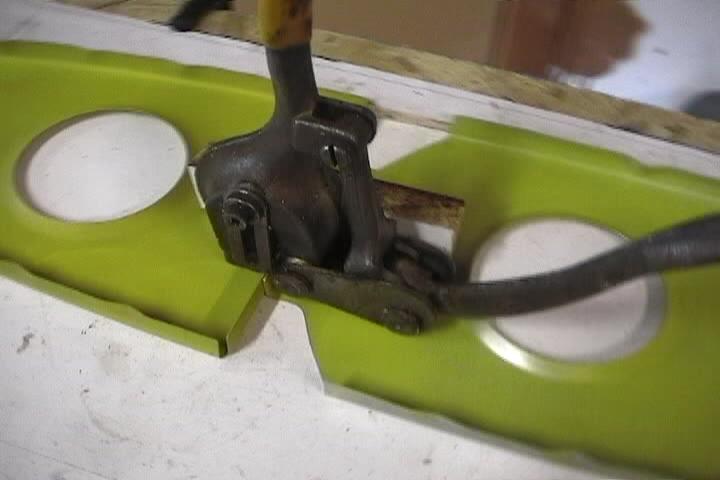
Match punched holes. 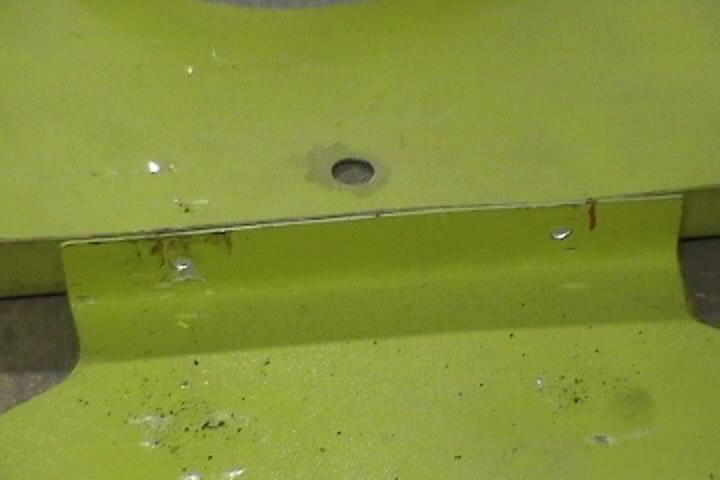
The rib flanges toward the wing spar need to be cut off on the ribs that mount to the inboard section of the wing spar. Used the same jig with the guide pins to hold the ribs and cut them off with the radial saw. 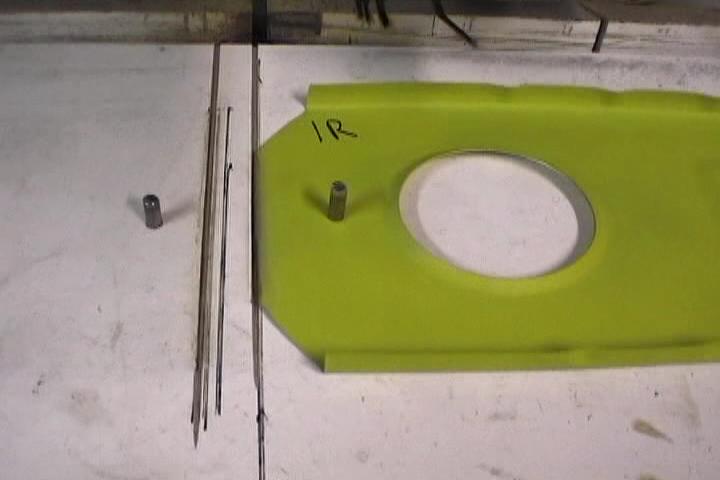
Made up a template for drilling the holes in the reinforcement angles that attach the ribs to the spar. Made the mistake of making all of the legs that attach to the ribs the same. Ooops! Didn't catch the mistake until the angles where attached to the spar. 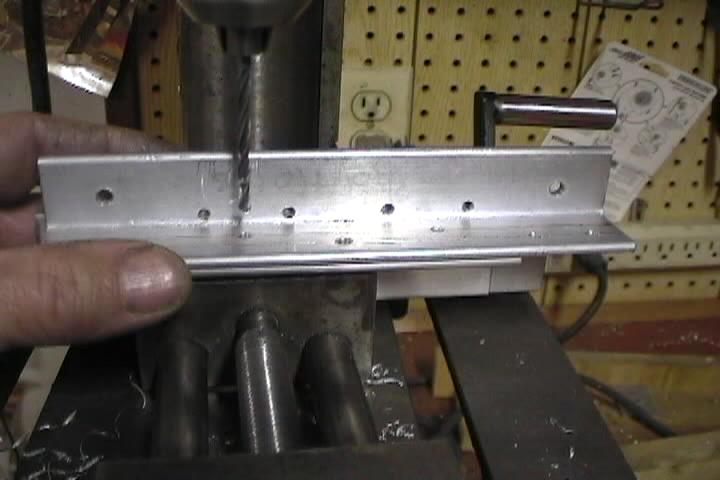
Cutting out the clearance for the spar caps in the reinforcement angles. Stations B & C angle 2A, holes got tooo close to edge. Had to make up 4 more. 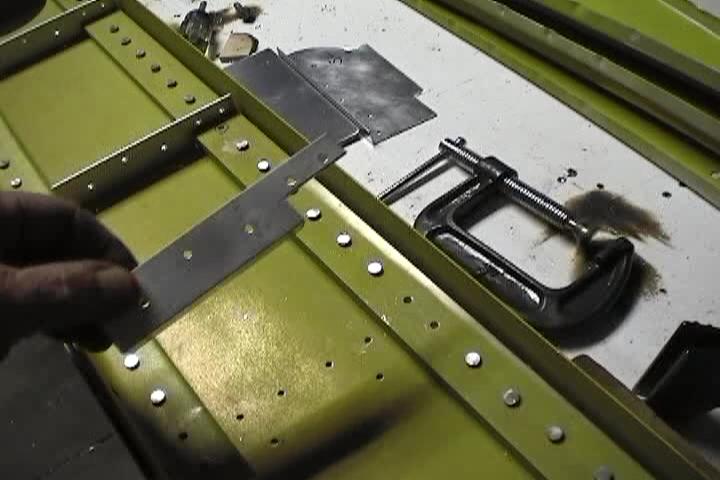
The slide tube guide needs to be spaced 1/8" off the spar to clear the reinforcement angles. 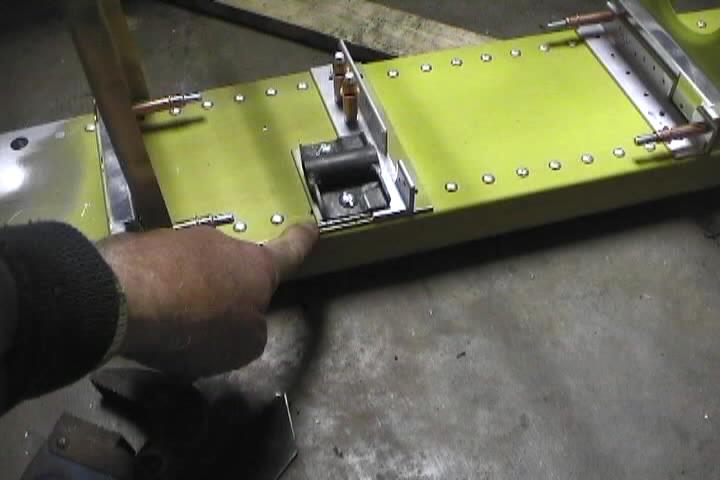
Cut-outs in ribs, reinforcement angles and stiffeners for slide tube. 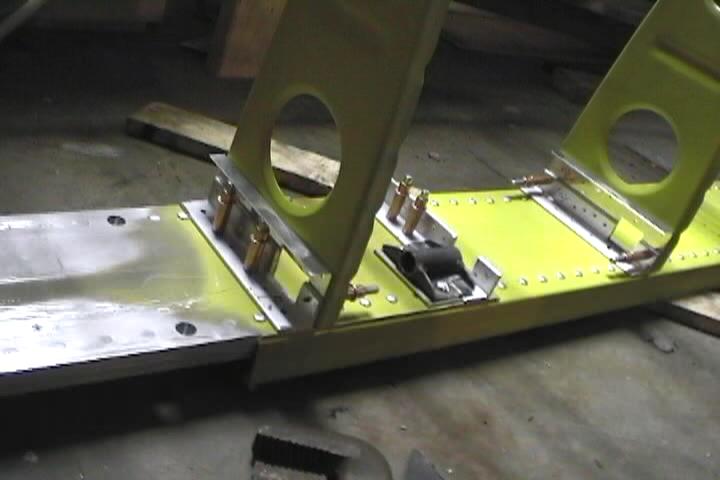
Positioning aft rib with reinforcement angle and stiffener for drilling. 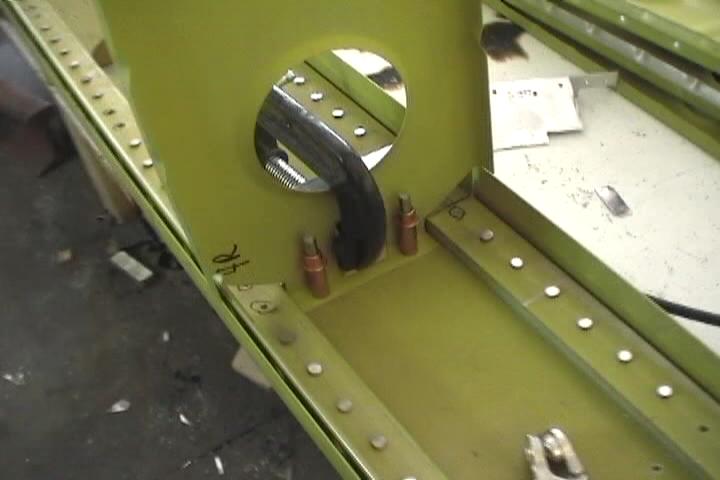
View from other side of rib. 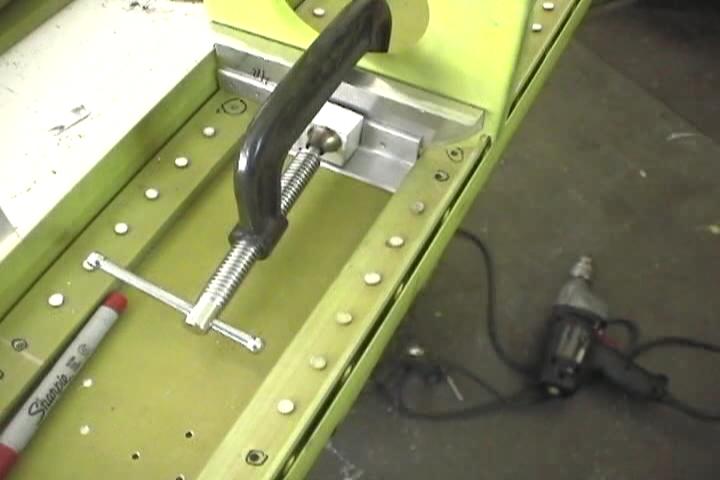
Very close quarters to get the drill in to. 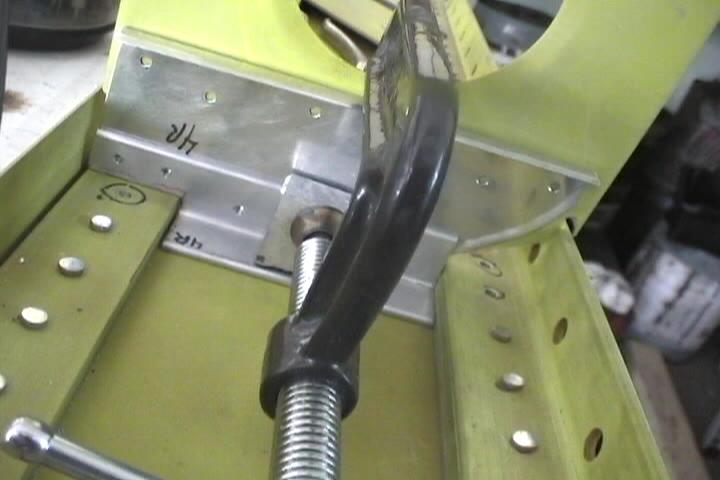
Used a dremel tool with a 1/8" bit to drill a couple of guide holes in the assembly. 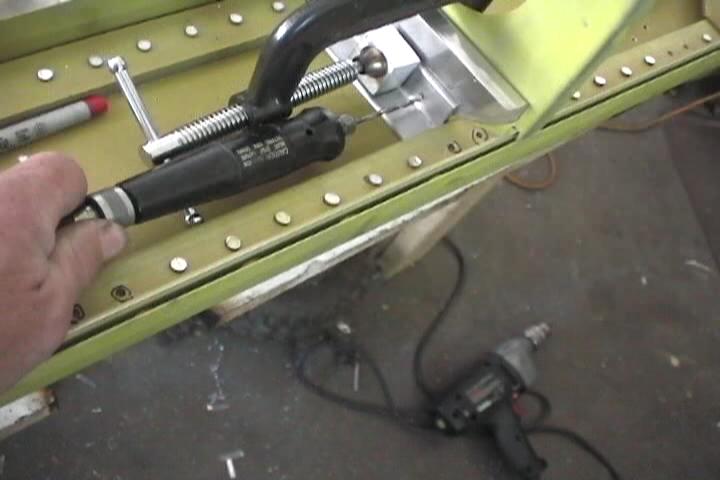
Put clecoes in the guide holes, removed the assembly and drilled the rest of the holes on the drill press. 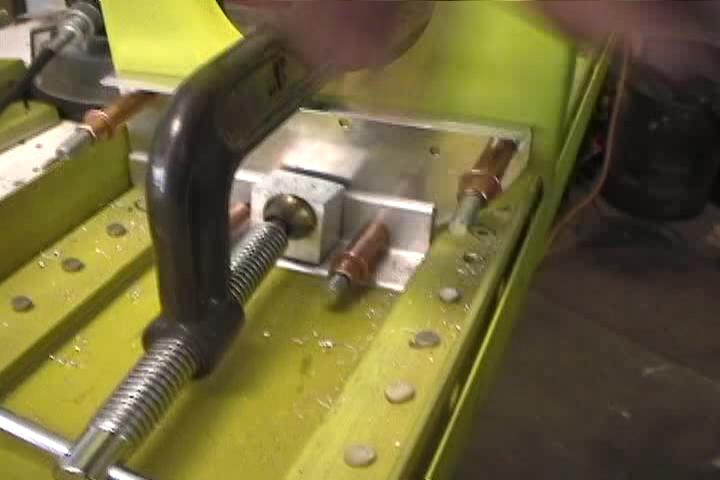
Drilled holes in spar using holes in reinforcement angle as a guide. 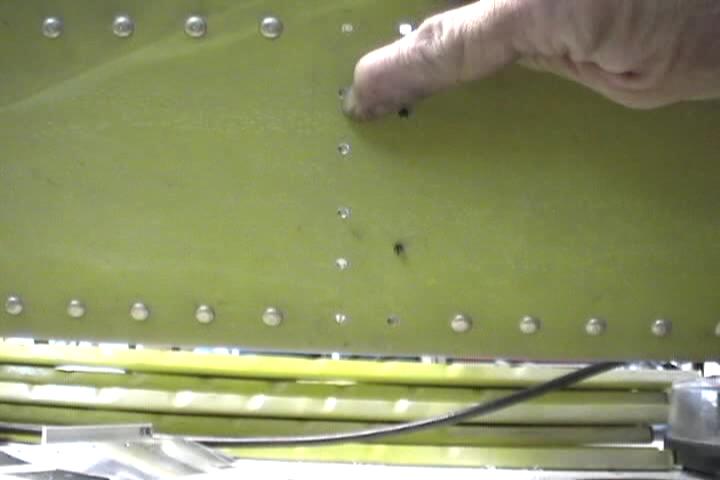
Main ribs attached to spar. 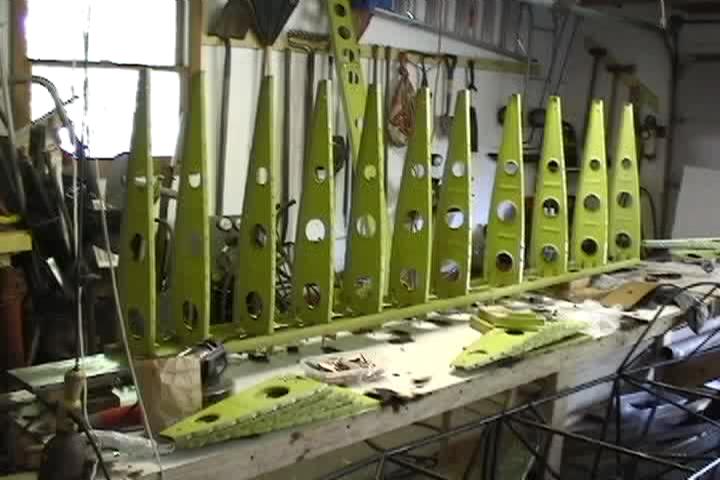
Preparing for aft rib placement. 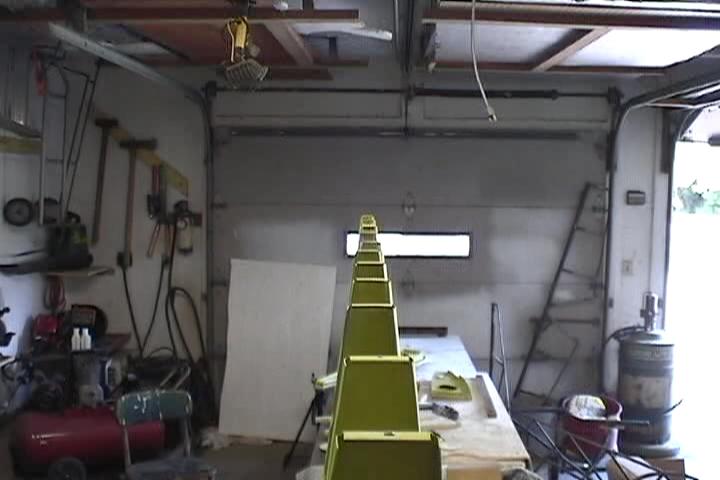
Positioning ribs at Station B on inboard section of spar. 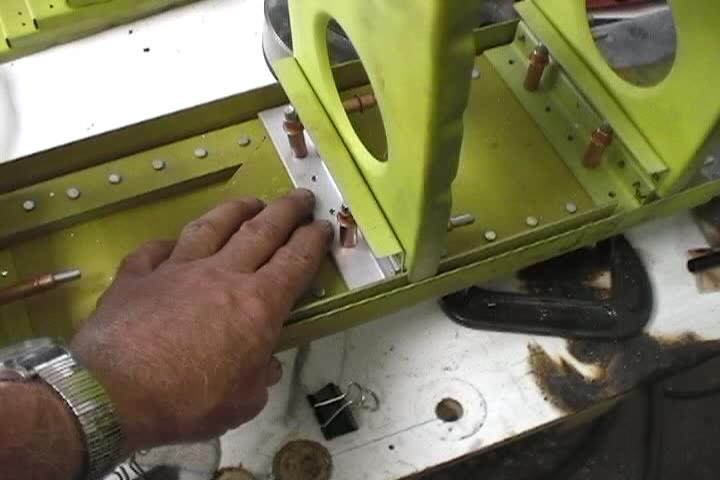
Positioning wing fold tube on spar. 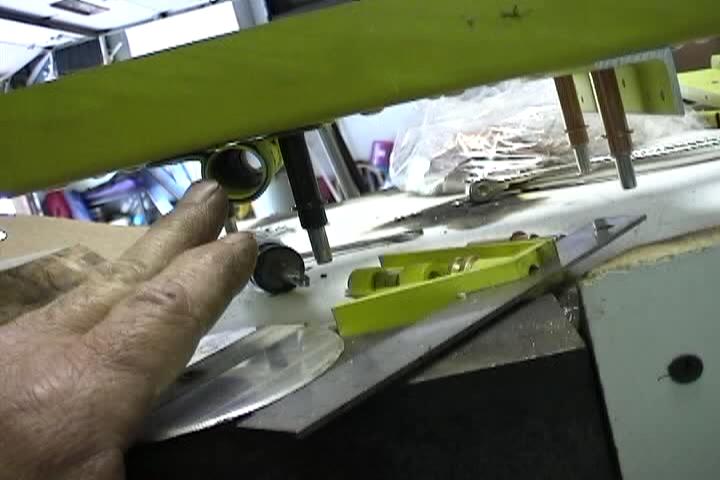
Used AN rivets to attach ribs to spar. Wanted practice using rivet gun before using AN rivets on wing skins. You may notice the rivet spacing on the reinforcement angle is not per plans. This was my solution for incorrectly drilling the angles. 
Auto body block drilled and countersunk for dimpling ribs and stiffeners for flush rivets. couldn't drill the bucking blocks that came with the rivet gun kit. They must be surface hardened. 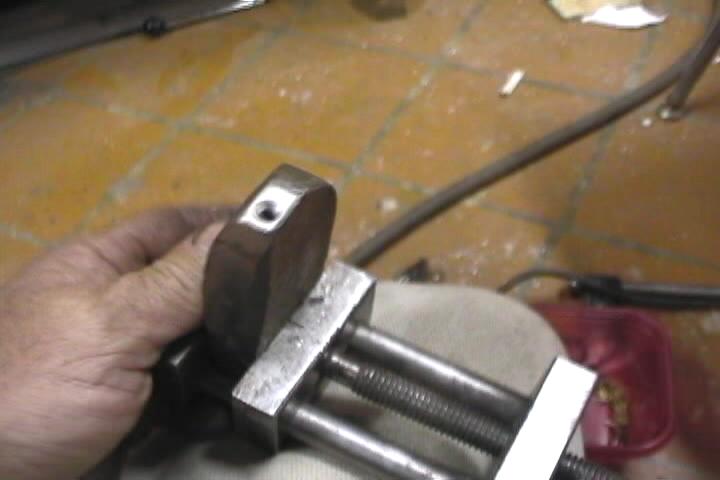
Rib and spar assembly waiting to go in wing jig. 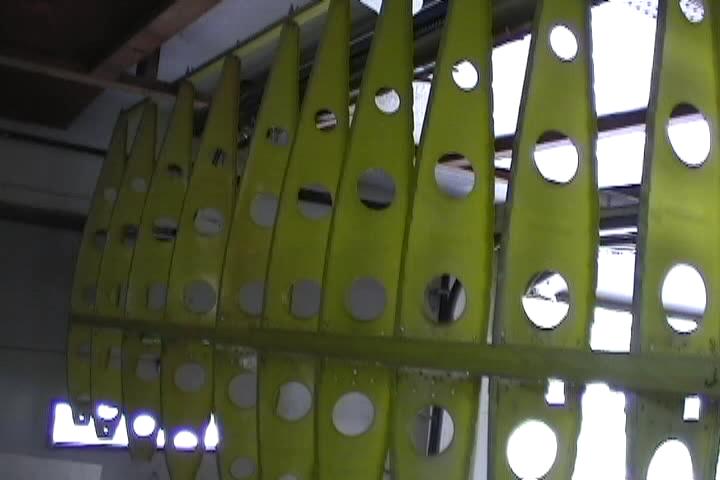
Station A&B nose ribs rivetted in place. Holes for slide tube in ribs. 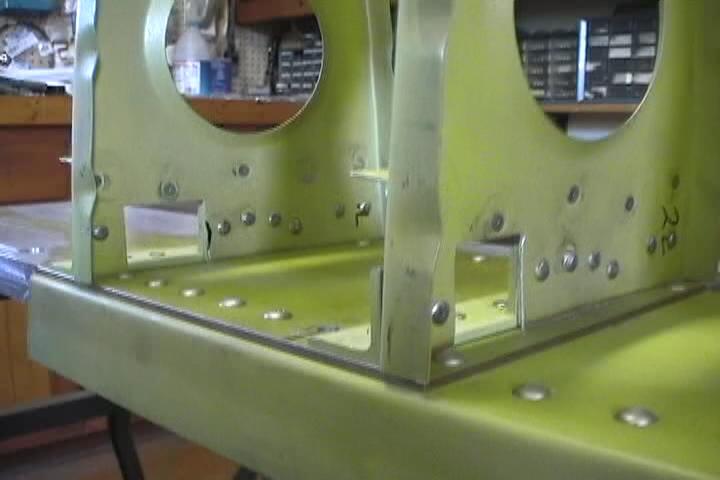
This is where I discovered that I had incorrectly drilled the nose rib reinforcement angles. Hole was too close to guide pin holes in rib. Black marker at slide tube hole needs to be ground away for clearance of slide tube pivot point. 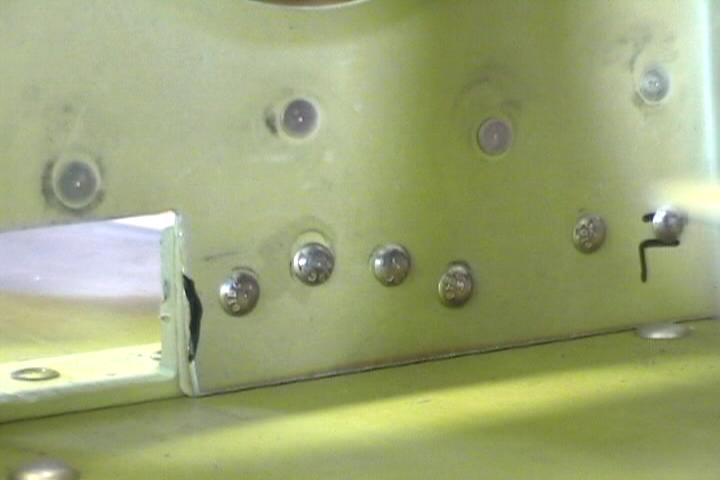
Reinforcement angle rivetted to spar using AN470AD rivets. 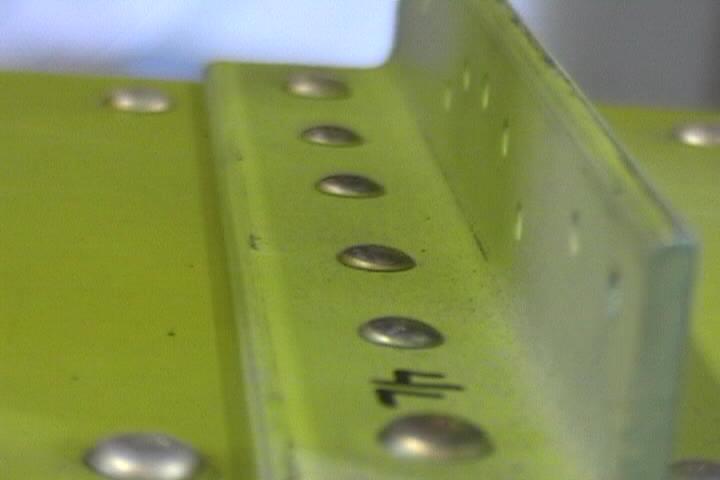
Blue arrow is the rivet too close to the guide pin hole. Red arrows are the 2 additional rivets to correct my mistake. 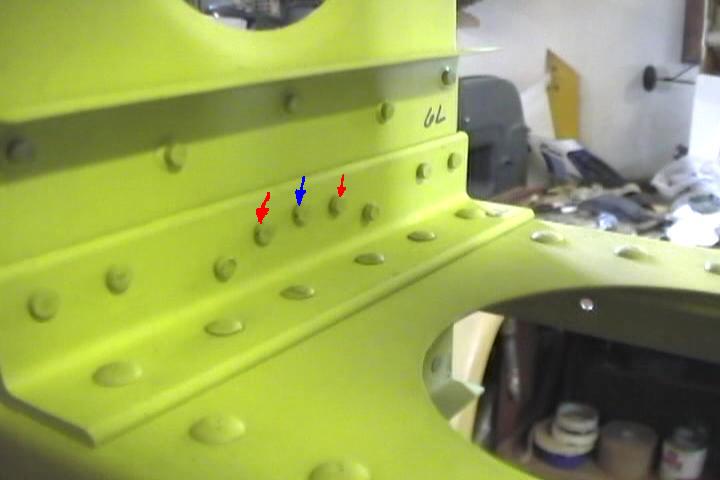
Homemade rivet checker.