Getting ready to put in leading edge bend in wing skin.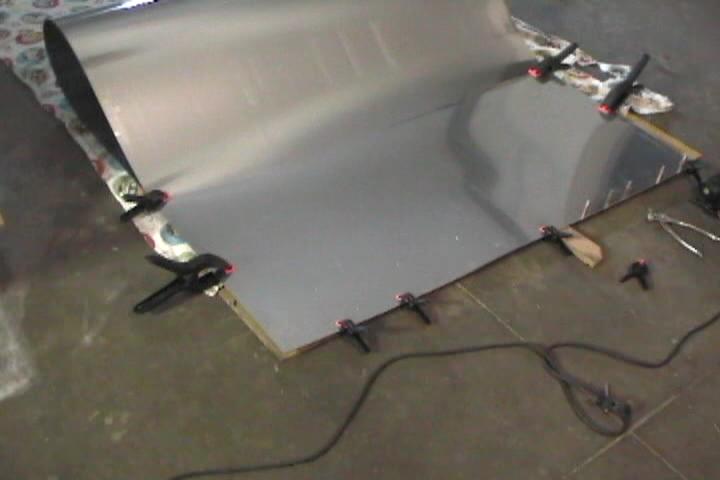
Clecoed the trailing edge flush together. Got carried away with the clecoes. 8" apart should be plenty.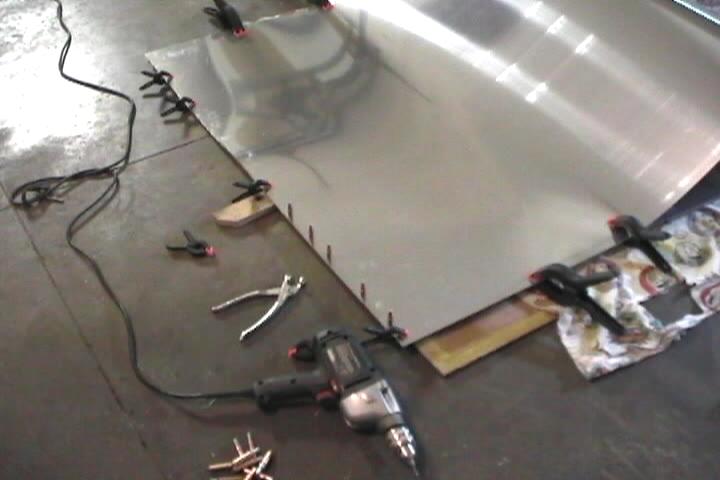
Leading edge teardrop formed. 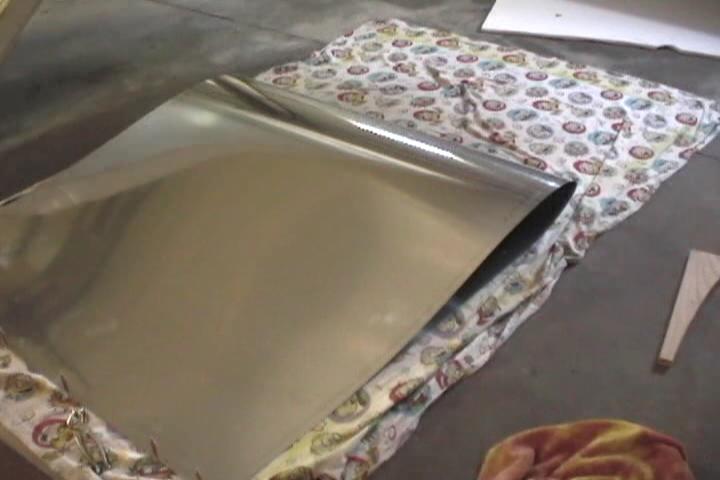
Formed leading edge. 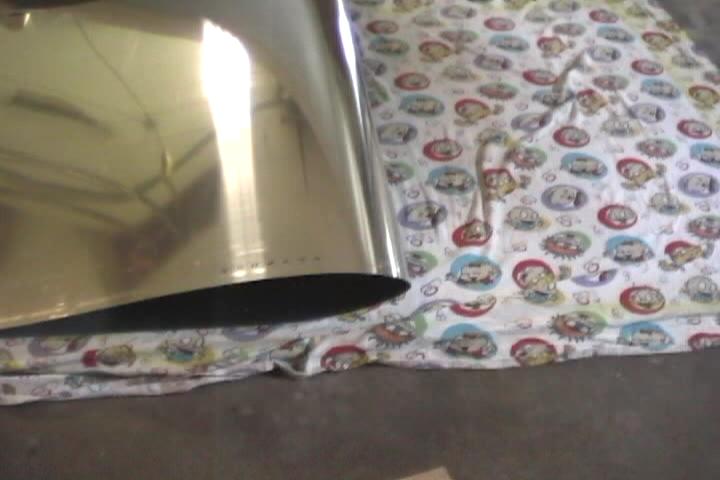
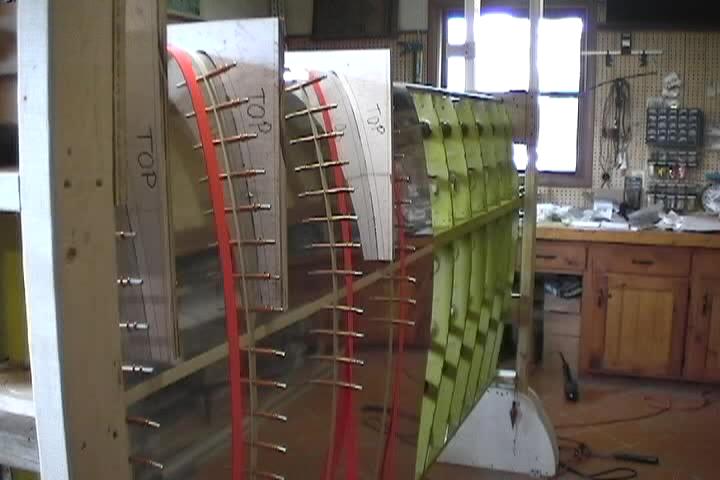
Got to keep the edges of the skin flush to make sure the bend is perpendicular to edge. Putting on the outboard wing skin.
Dimpled and set AN426 rivet in the skin. If only all 700 came out this good. 
This one is plenty good but not as pretty as the other one. Didn't dimple as nicely.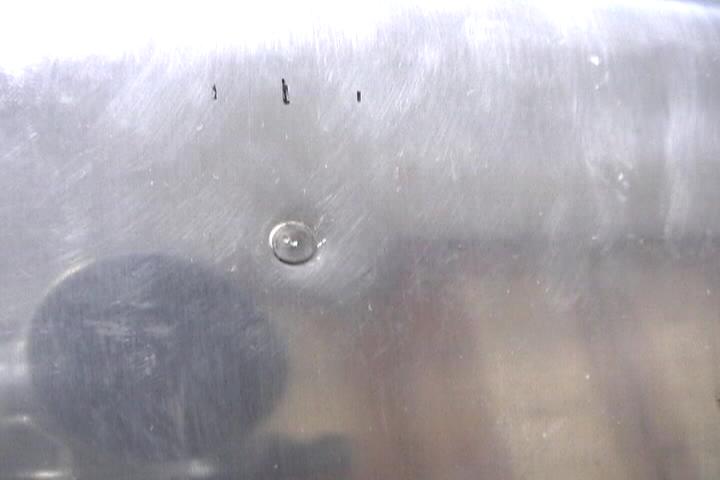
Made up this rivet checker for making my shop heads were within spec.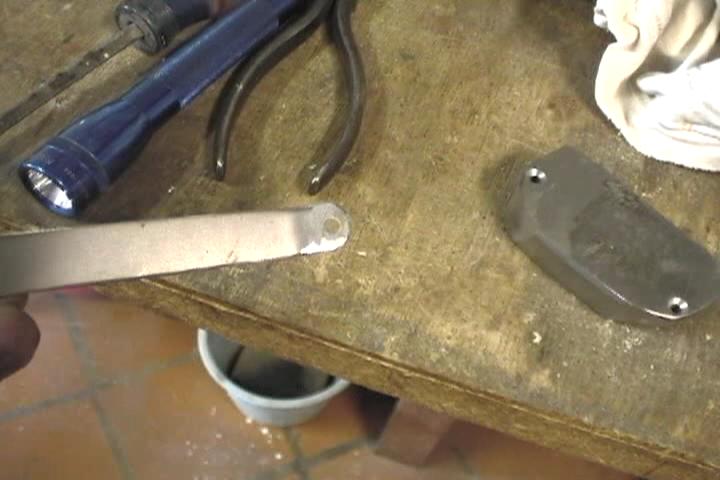
Checking a shop head. 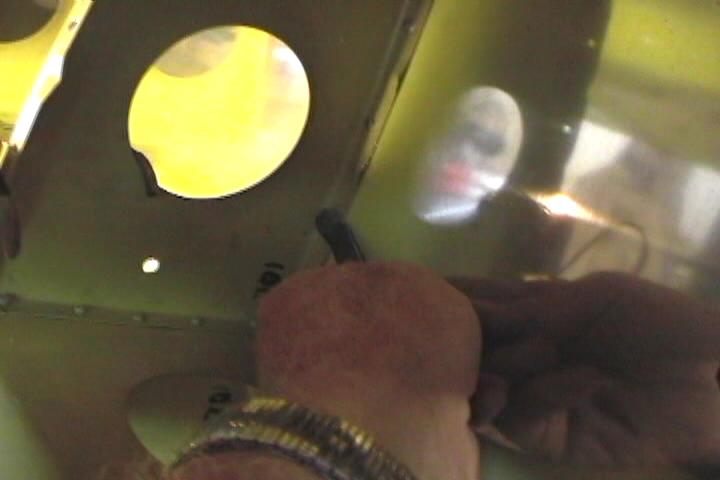
Made up this dimpling tool. Put your rivet in the skin and rib hole, put this on the inside then use the rivet gun to rap the head of the rivet flush with skin. Doesn't take much gun to set the dimple. Got to take it easy on the trigger because the gun is set for setting the rivets which takes more pressure. 
Made up this dimpling block from an auto body block. Couldn't drill the bucking bars that came with my rivet gun kit. Too hard. This didn't do as good a job as the bolt dimpler but came in handy in tight spots like around jig pipe and on the aft spar channel.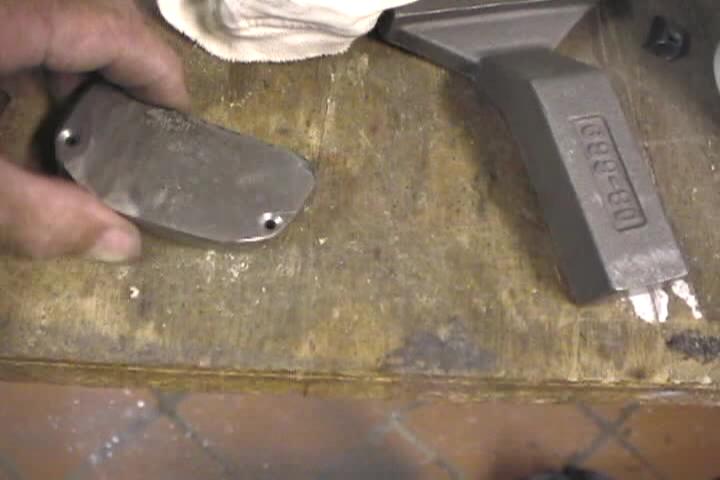
Put in dimpling die holes on several different spots on block. Used a countersink and microstop to make the die. Got to play with the depth of the countersink to get a good looking dimple.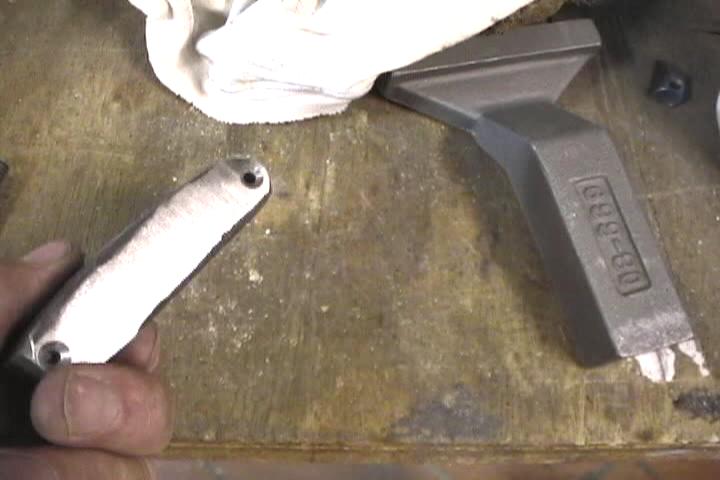
Had to put a slight bend in the bolt dimpler to get into the wing flange. Also wrapped tape on the other end and wore a leather glove to help protect the palm of my hand while dimpling. 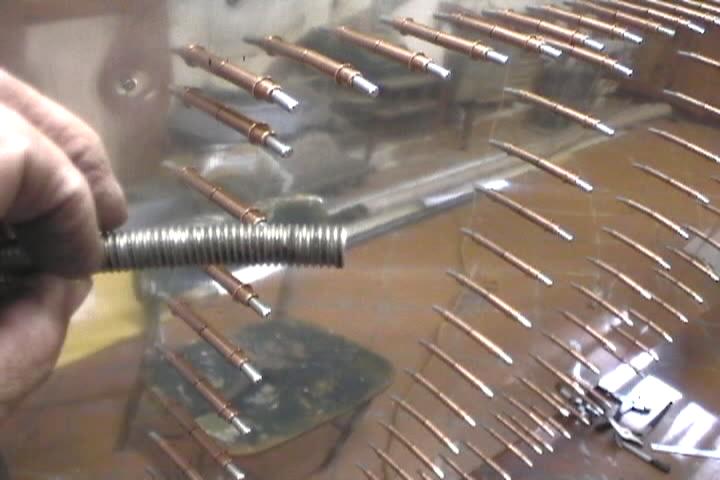
Couldn't get to the backside of these holes. Pipe and end of jig in the way. Had to remember to get these when the wing comes out of the jig. 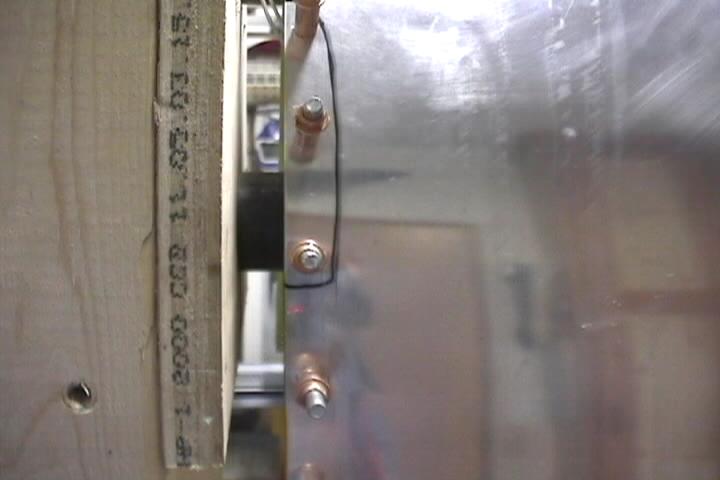
Gun walked off this one and put in a smile. It happens. Got to make sure you are in a good position. No slight reaching. You won't be able to control the gun good enough. 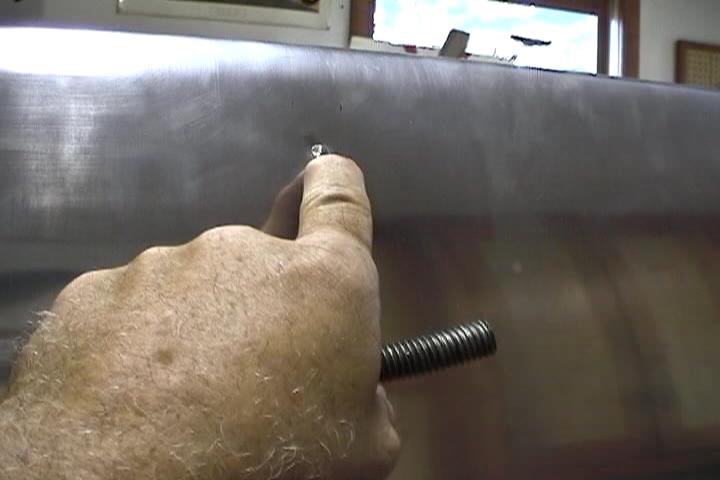
Using the bolt dimpler inside the wing.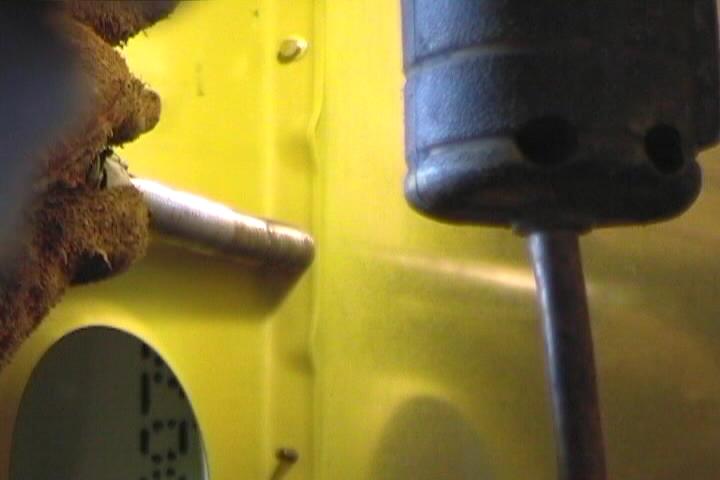
2 man job. Helper running the gun to make the dimple. 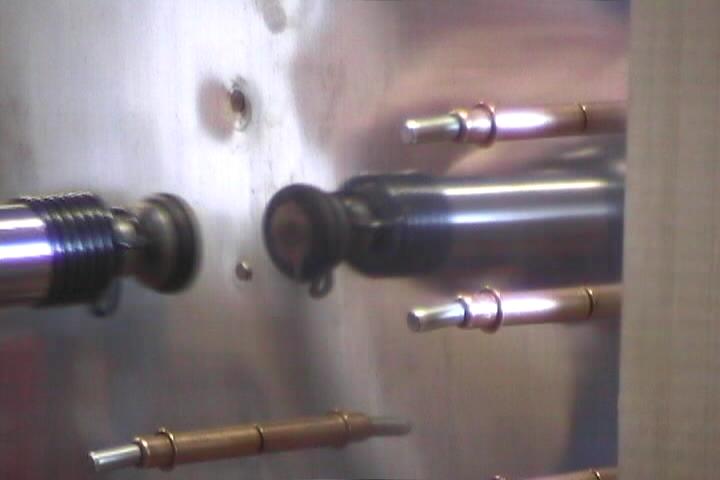
"BRRRRRRRIP" Takes a little practice to get used to how much trigger to use to get the rivet set. 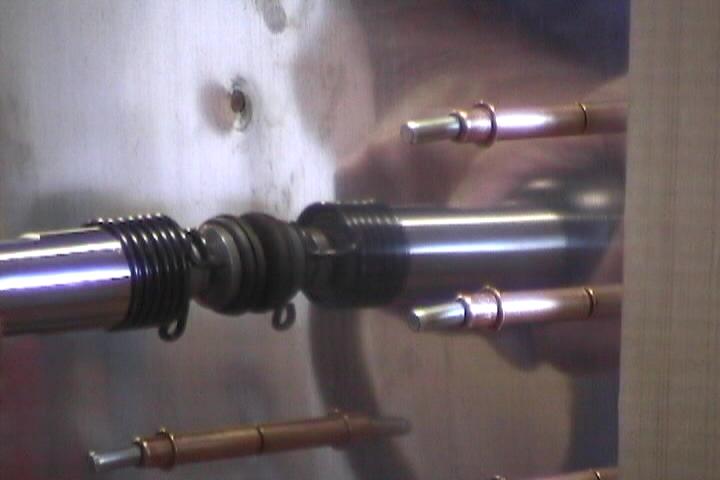
Outboard skin positioned in place using racheting straps.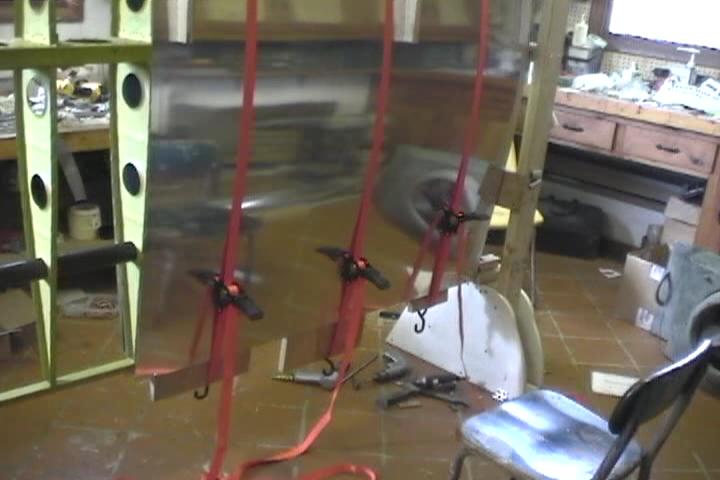
Outboard skin flush with tip rib. 
My measurements for the centers of the ribs. 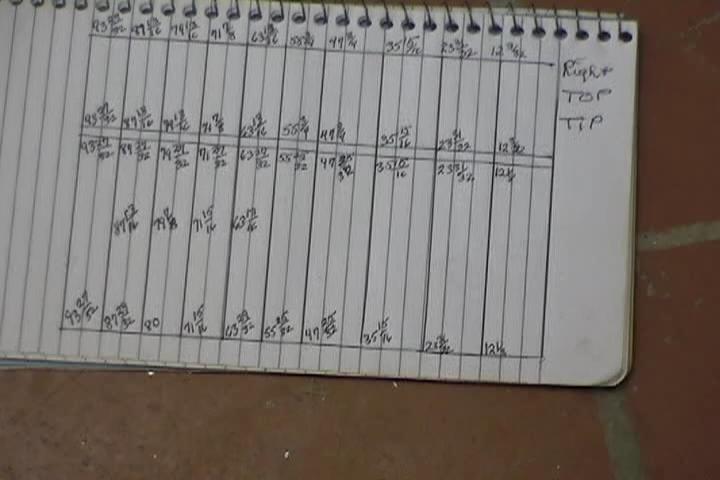
These holes were located and drilled in the spar reinforcement angle for access to dimple and set the skin rivets.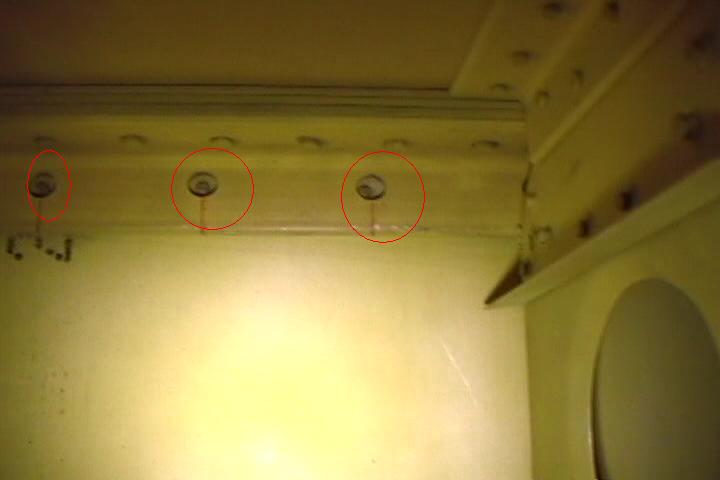
Pitot tube mounting block and wiring installed prior to wing closing.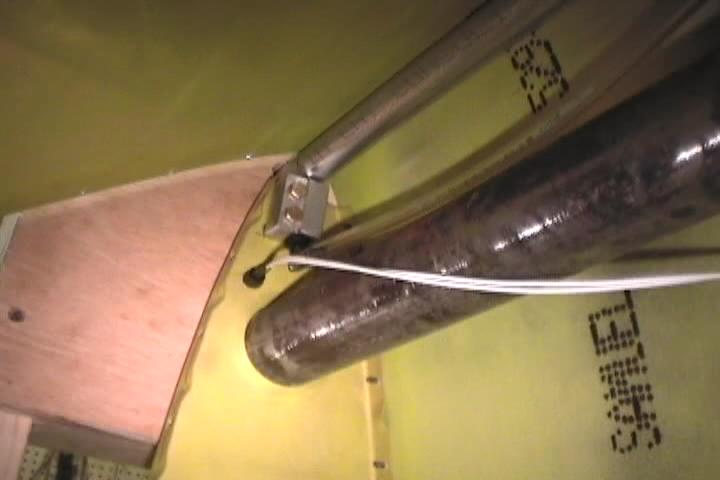
Another view of pitot mounting block. Didn't drill hole for tube in leading edge. Should be able to locate it with skin in place. 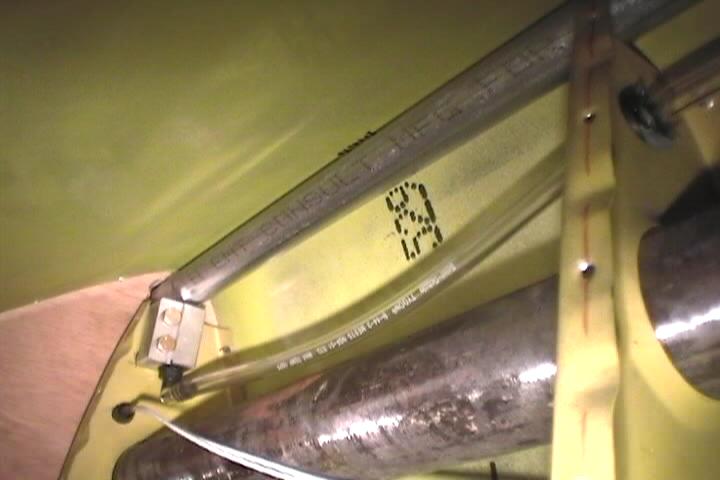
3/32" starter holes drilled. Drilling the #30 finish holes and clecoeing while the skin is strapped into place. 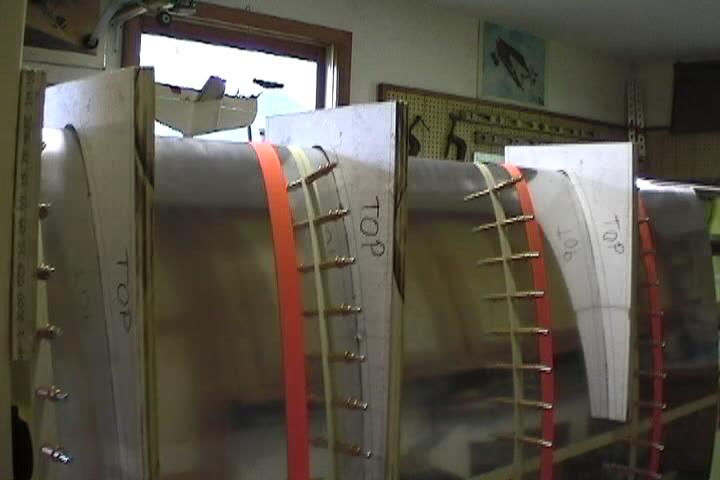
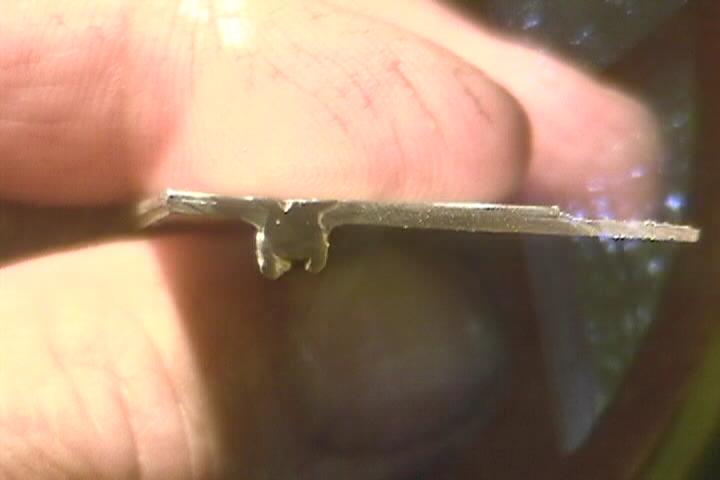
This is a cut-away of a CCC-42 in a hole dimpled with 100 degree pop rivet gun dimpler die. Made for a very flush riveted surface.